Specifying Fax Destinations
Specifying Fax Destinations
This section describes how to specify destinations using the Fax service. For more information, refer to the following:
New Recipients – page 85
Address Book – page 88
Cover Page – page 89
1.Make sure that the Fax service is enabled.
2.Press the <All Services> button on the control panel.
3.Select [Fax] on the All Services screen. Select the [Fax] tab, if not displayed already.
NOTE: You can specify destinations from any tab using the numeric keypad or the <Speed Dial> button on the control panel.
NOTE: To add another recipient after specifying a recipient, you can use the numeric keypad or the <Speed Dial> button on the control panel, or the [+ Add] or [Address Book] button on the [Fax] screen.
NOTE: To remove a recipient from the recipient list, or to view the details of a recipient in the list, select the recipient on the touch screen to display a
New Recipients
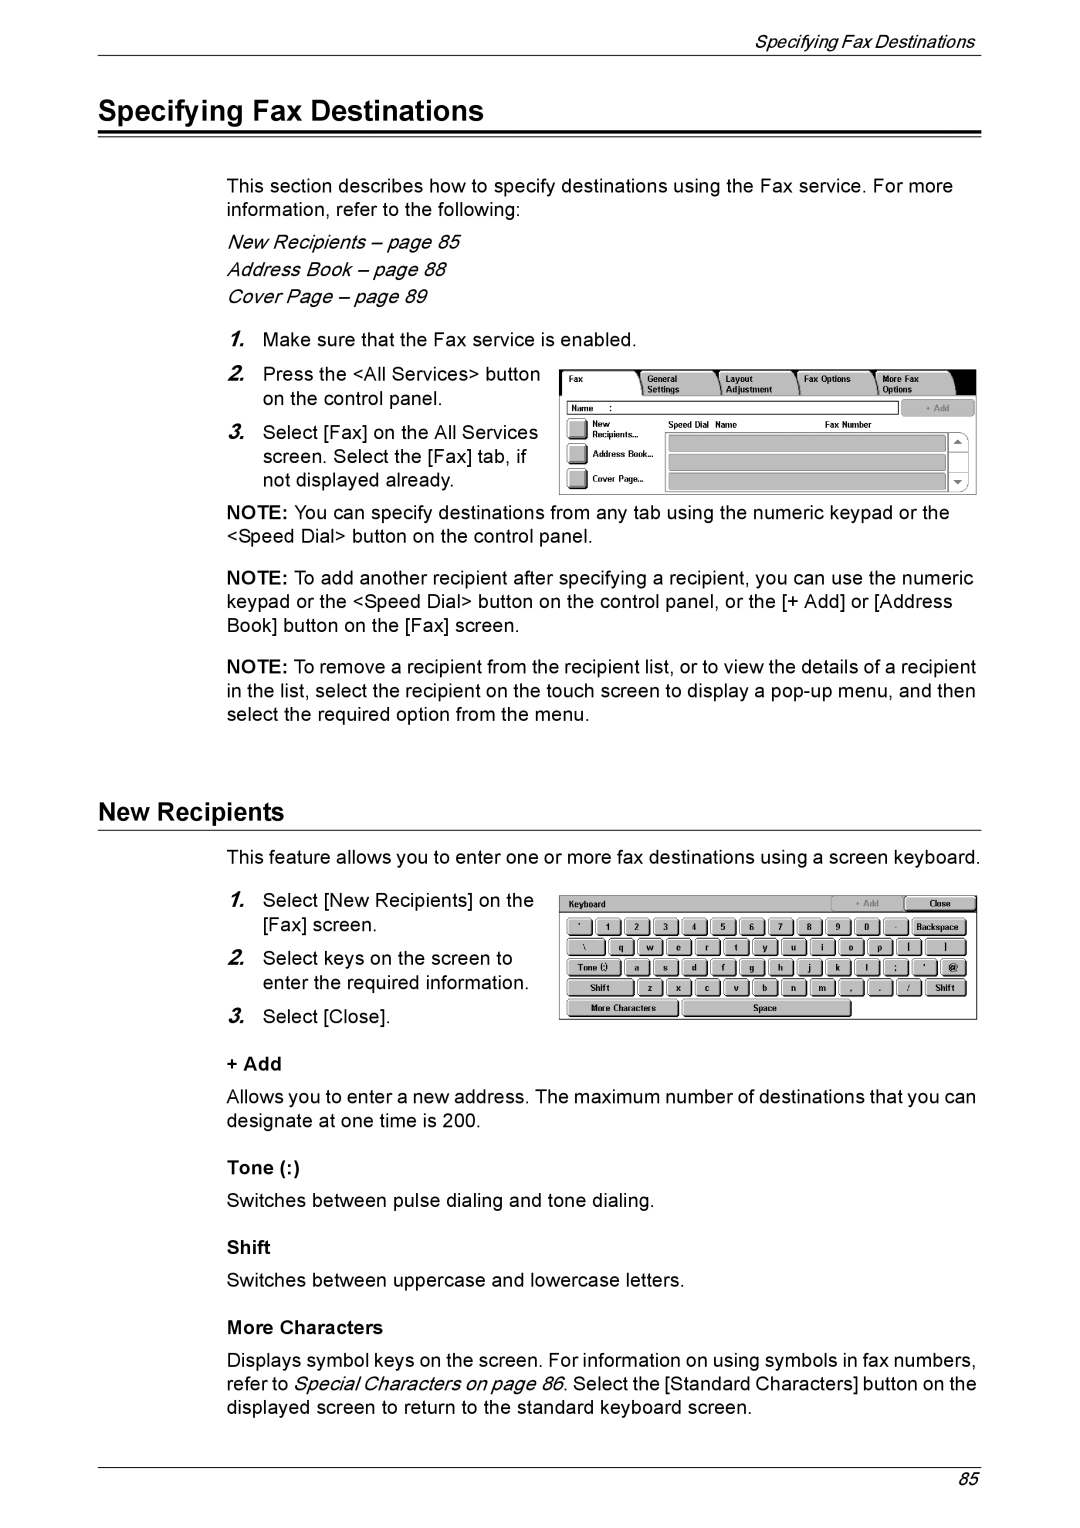
This feature allows you to enter one or more fax destinations using a screen keyboard.
1.Select [New Recipients] on the [Fax] screen.
2.Select keys on the screen to enter the required information.
3.Select [Close].
+ Add
Allows you to enter a new address. The maximum number of destinations that you can designate at one time is 200.
Tone (:)
Switches between pulse dialing and tone dialing.
Shift
Switches between uppercase and lowercase letters.
More Characters
Displays symbol keys on the screen. For information on using symbols in fax numbers, refer to Special Characters on page 86. Select the [Standard Characters] button on the displayed screen to return to the standard keyboard screen.
85