Installing a BigIron | 2 |
Follow the steps given below to connect a DC power source.
1.Use a
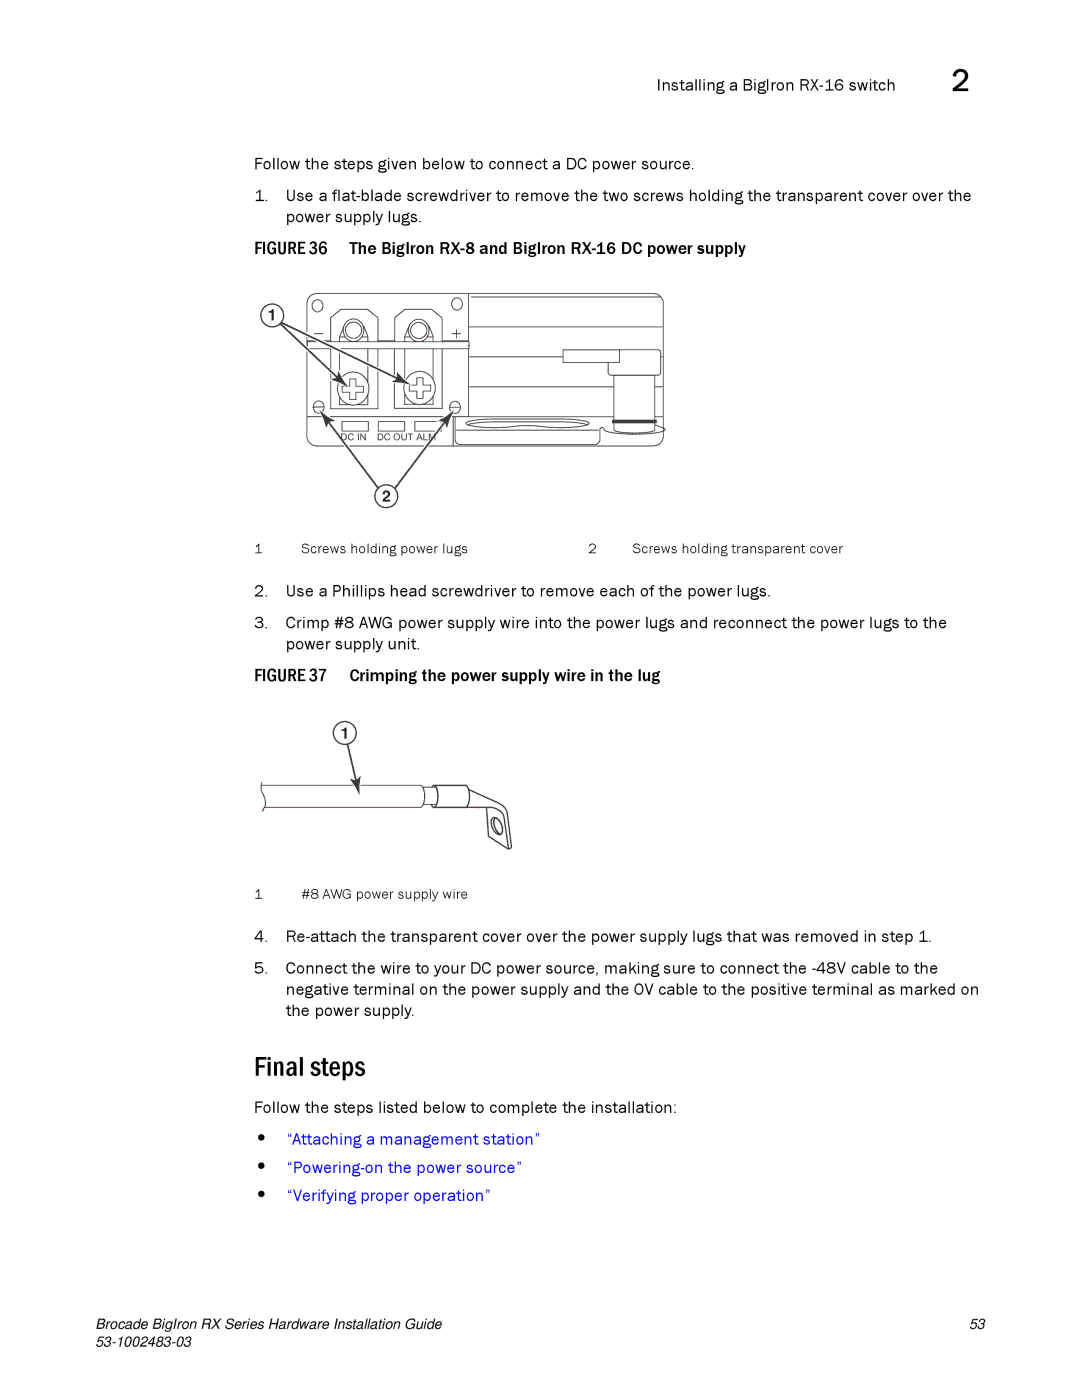
FIGURE 36 The BigIron RX-8 and BigIron RX-16 DC power supply
1
DC IN DC OUT ALM
2
1 | Screws holding power lugs | 2 | Screws holding transparent cover |
2.Use a Phillips head screwdriver to remove each of the power lugs.
3.Crimp #8 AWG power supply wire into the power lugs and reconnect the power lugs to the power supply unit.
FIGURE 37 Crimping the power supply wire in the lug
1
1 #8 AWG power supply wire
4.
5.Connect the wire to your DC power source, making sure to connect the
Final steps
Follow the steps listed below to complete the installation:
•“Attaching a management station”
•
•“Verifying proper operation”
Brocade BigIron RX Series Hardware Installation Guide | 53 |
|