Installing a BigIron | 2 |
The BigIron
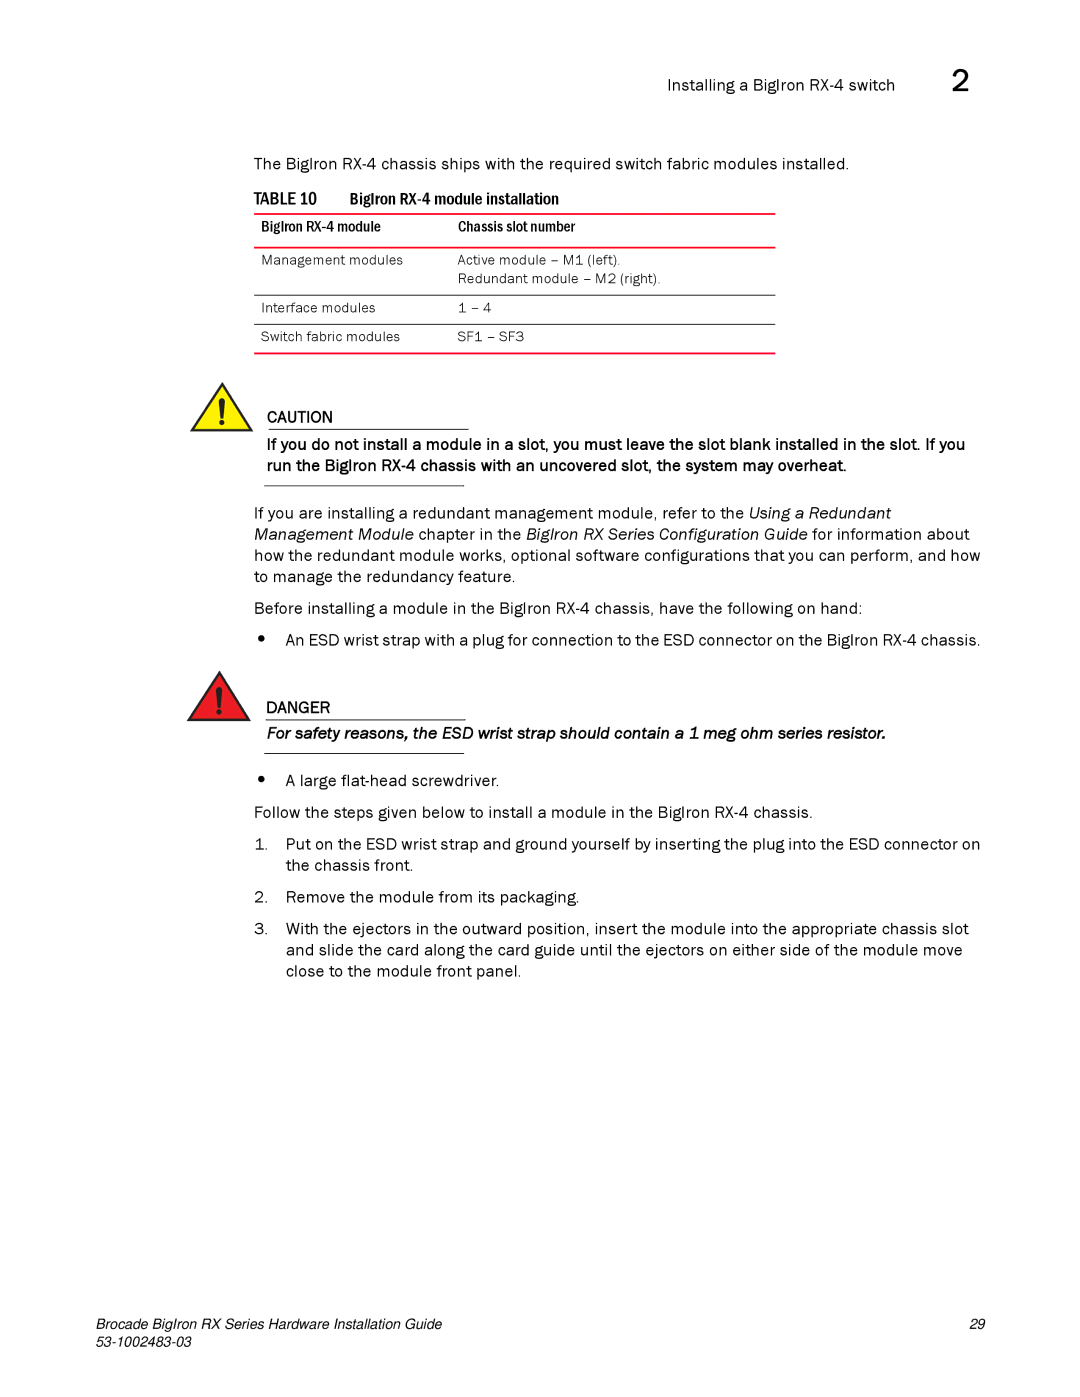
TABLE 10 BigIron
BigIron | Chassis slot number |
|
|
Management modules | Active module – M1 (left). |
| Redundant module – M2 (right). |
|
|
Interface modules | 1 – 4 |
|
|
Switch fabric modules | SF1 – SF3 |
|
|
CAUTION
If you do not install a module in a slot, you must leave the slot blank installed in the slot. If you run the BigIron
If you are installing a redundant management module, refer to the Using a Redundant Management Module chapter in the BigIron RX Series Configuration Guide for information about how the redundant module works, optional software configurations that you can perform, and how to manage the redundancy feature.
Before installing a module in the BigIron
•An ESD wrist strap with a plug for connection to the ESD connector on the BigIron
DANGER
For safety reasons, the ESD wrist strap should contain a 1 meg ohm series resistor.
•A large
Follow the steps given below to install a module in the BigIron
1.Put on the ESD wrist strap and ground yourself by inserting the plug into the ESD connector on the chassis front.
2.Remove the module from its packaging.
3.With the ejectors in the outward position, insert the module into the appropriate chassis slot and slide the card along the card guide until the ejectors on either side of the module move close to the module front panel.
Brocade BigIron RX Series Hardware Installation Guide | 29 |
|