Chapter 4 Installing and Removing Line Cards, PLIMs, and Associated Components
How to Install or Remove a Small
How to Install or Remove a Small
This section contains the following procedures:
•Installing a
•Removing a
•Replacing a SFP on a Line Card that Uses an Articulated Bracket, page
For general information about SFP modules, see the “Information About Small
http://www.cisco.com/warp/public/127/cleanfiber2.html
Warning Because invisible laser radiation may be emitted from the aperture of the port when no cable is connected, avoid exposure to laser radiation and do not stare into open apertures. Statement 70
Installing a Bale-Clasp SFP Module
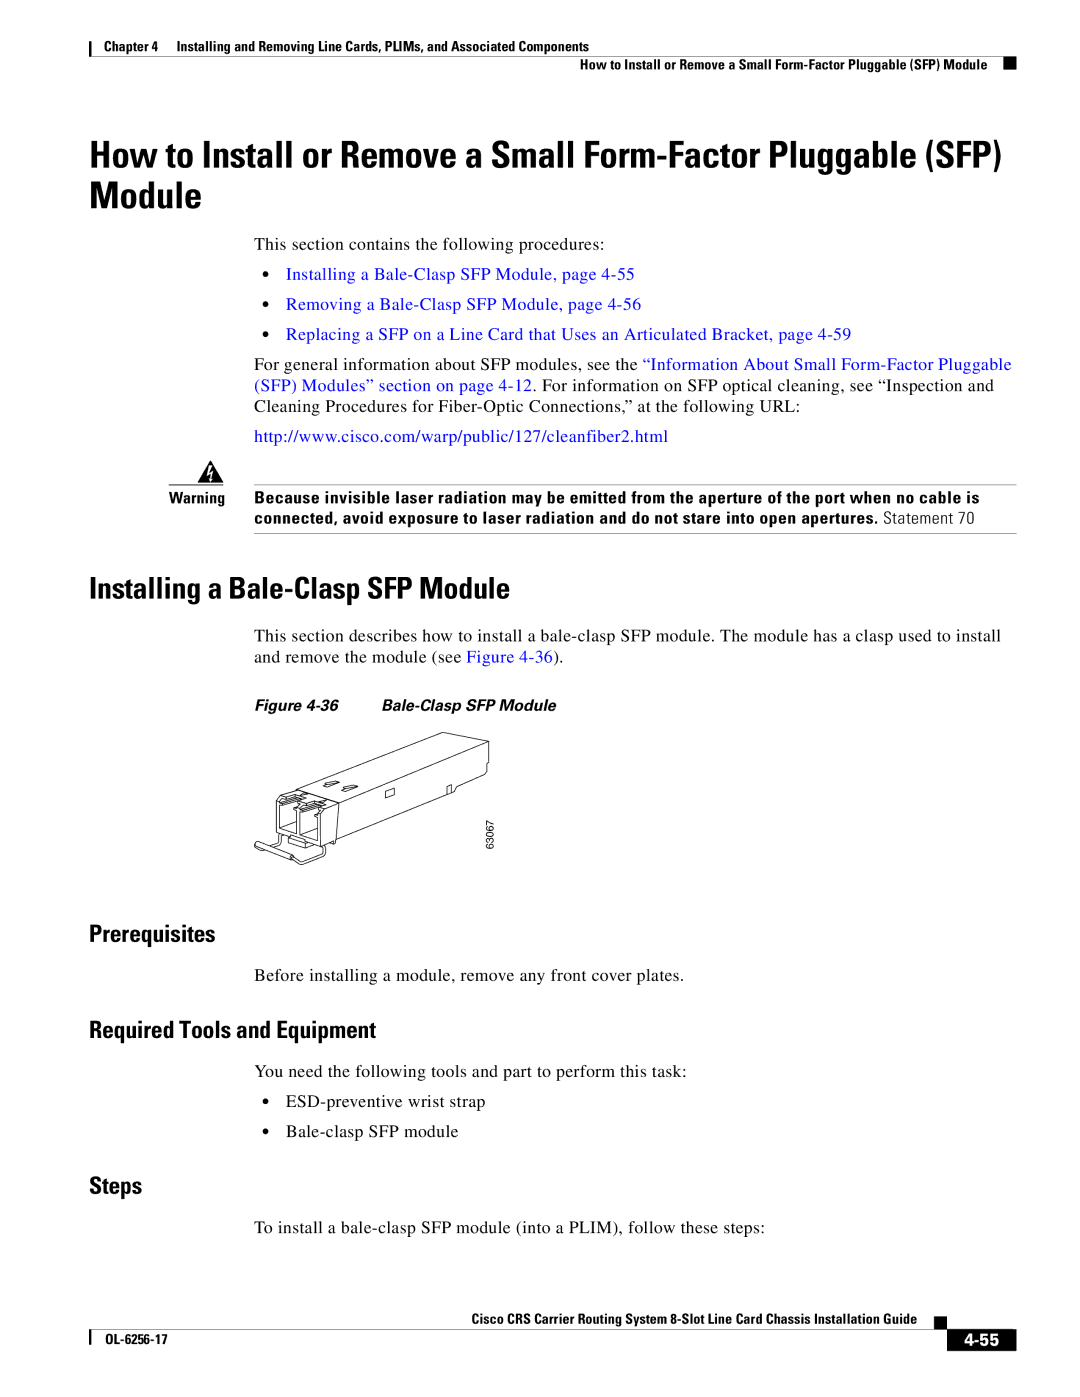
This section describes how to install a
Figure 4-36 Bale-Clasp SFP Module
63067
Prerequisites
Before installing a module, remove any front cover plates.
Required Tools and Equipment
You need the following tools and part to perform this task:
•
•
Steps
To install a
Cisco CRS Carrier Routing System
|
| ||
|
|
