5. INSTALLATION
5.2 Chart Paper Loading (RD2800)
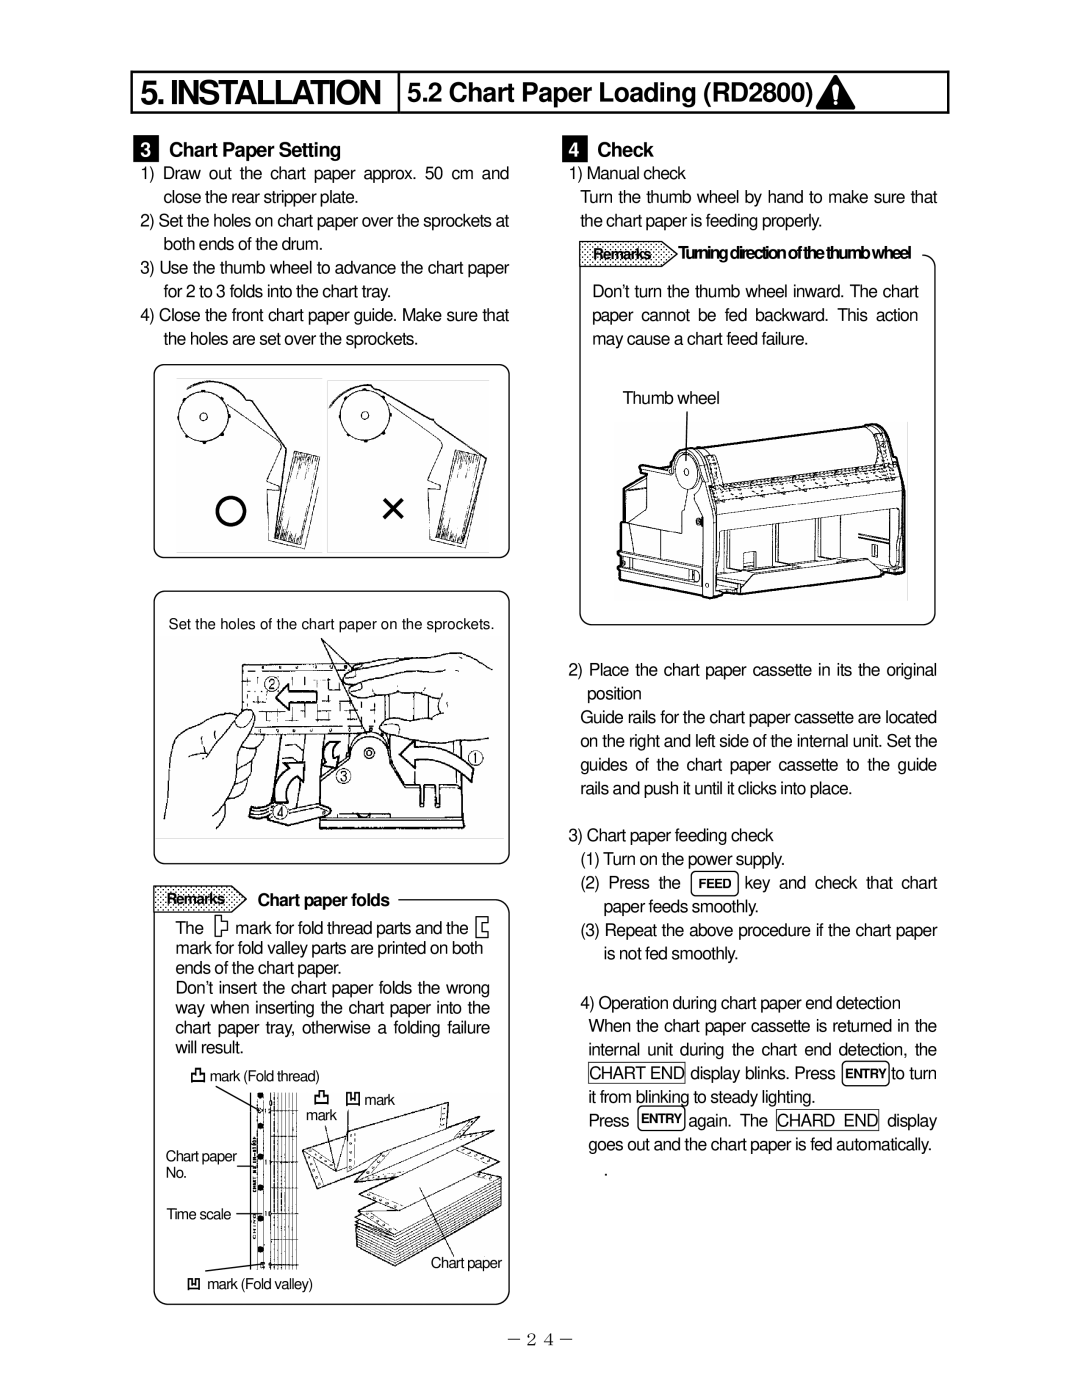
3Chart Paper Setting
1)Draw out the chart paper approx. 50 cm and close the rear stripper plate.
2)Set the holes on chart paper over the sprockets at both ends of the drum.
3)Use the thumb wheel to advance the chart paper for 2 to 3 folds into the chart tray.
4)Close the front chart paper guide. Make sure that the holes are set over the sprockets.
○ ×
4Check
1) Manual check
Turn the thumb wheel by hand to make sure that the chart paper is feeding properly.
Remarks Turningdirectionofthethumbwheel
Don’t turn the thumb wheel inward. The chart paper cannot be fed backward. This action may cause a chart feed failure.
Thumb wheel
Set the holes of the chart paper on the sprockets.
Remarks | Chart paper folds |
|
The |
|
|
mark for fold thread parts and the | ||
mark for fold valley parts are printed on both ends of the chart paper.
Don’t insert the chart paper folds the wrong way when inserting the chart paper into the chart paper tray, otherwise a folding failure will result.
凸 mark (Fold thread)
凸 凹 mark mark
Chart paper
No.
Time scale
Chart paper
凹 mark (Fold valley)
2)Place the chart paper cassette in its the original position
Guide rails for the chart paper cassette are located on the right and left side of the internal unit. Set the guides of the chart paper cassette to the guide rails and push it until it clicks into place.
3)Chart paper feeding check
(1)Turn on the power supply.
(2)Press the FEED key and check that chart paper feeds smoothly.
(3)Repeat the above procedure if the chart paper is not fed smoothly.
4)Operation during chart paper end detection When the chart paper cassette is returned in the internal unit during the chart end detection, the CHART END display blinks. Press ENTRY to turn it from blinking to steady lighting.
Press ENTRY again. The CHARD END display goes out and the chart paper is fed automatically.
.
-24-