9. PRINTING
9.3 List Printing
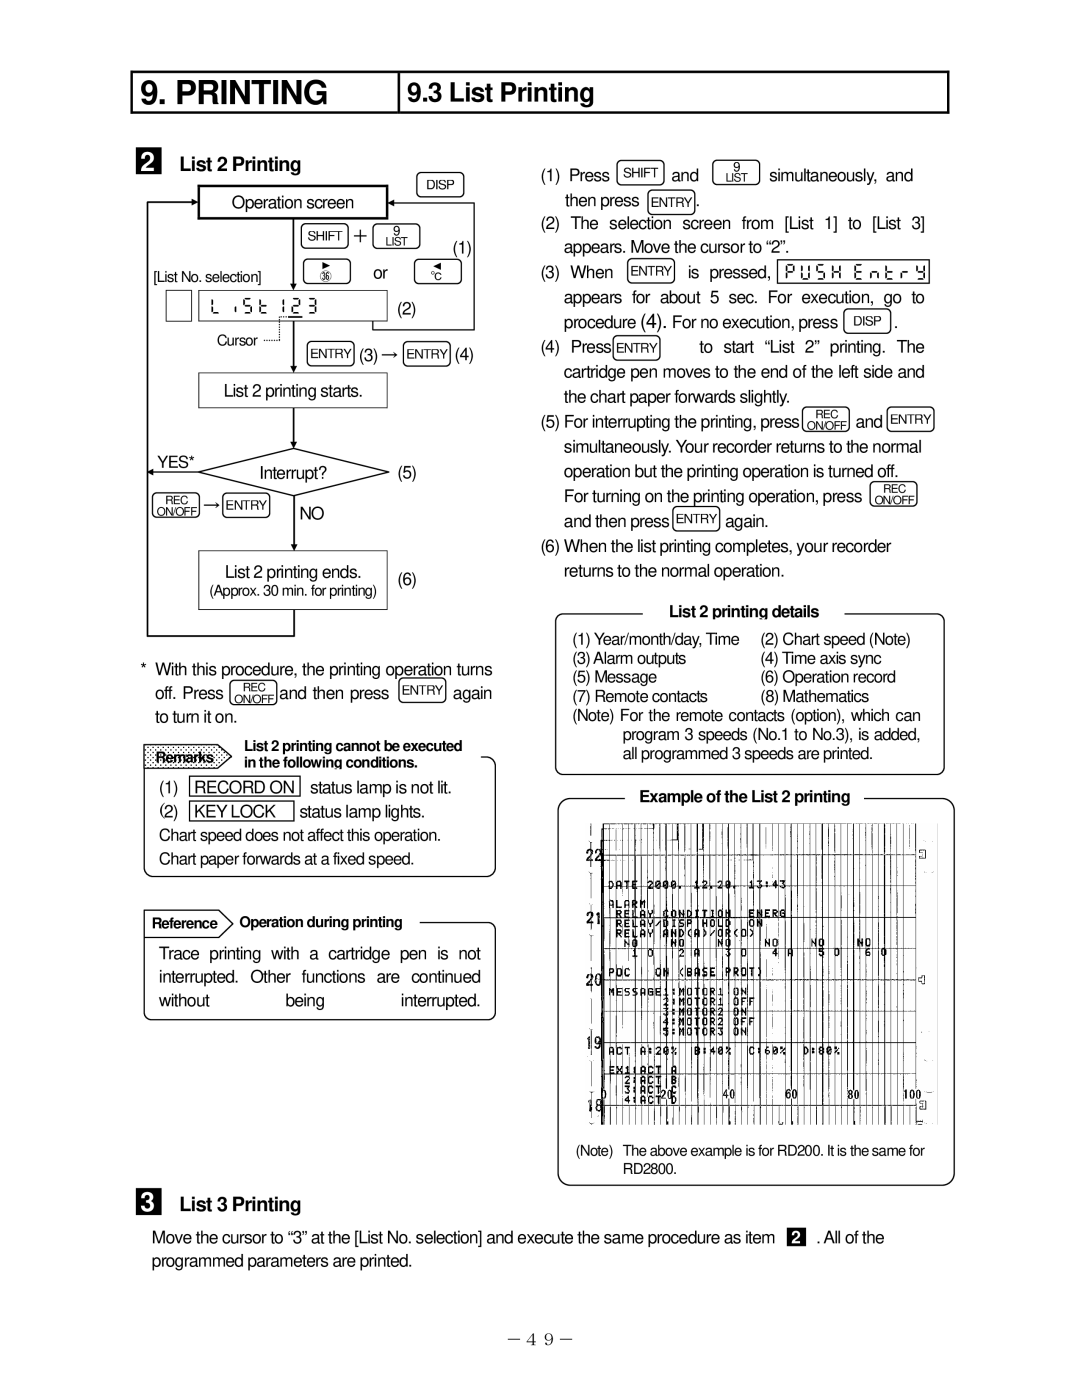
2 List 2 Printing
| Operation screen |
|
| DISP | |
|
|
|
| ||
|
| SHIFT + |
| 9 |
|
|
|
| LIST | (1) | |
|
|
|
|
| |
[List No. selection] | | or | ℃ | ||
| |
| (2) |
| |
| Cursor | ENTRY (3) → ENTRY (4) | |||
|
| ||||
| List 2 printing starts. |
|
|
| |
YES* | Interrupt? |
| (5) |
| |
|
|
| |||
ON/OFFREC | → ENTRY | NO |
|
|
|
| List 2 printing ends. |
| (6) |
| |
| (Approx. 30 min. for printing) |
| |||
|
|
| |||
* With this procedure, the printing operation turns
off. Press REC and then press ENTRY again
ON/OFF
to turn it on.
List 2 printing cannot be executed Remarks in the following conditions.
(1)RECORD ON status lamp is not lit.
(2)KEY LOCK status lamp lights. Chart speed does not affect this operation. Chart paper forwards at a fixed speed.
Reference Operation during printing
Trace printing with a cartridge pen is not interrupted. Other functions are continued
without being interrupted.
(1) Press SHIFT and 9 simultaneously, and
LIST
then press ENTRY .
(2) The selection screen from [List 1] to [List 3] appears. Move the cursor to “2”.
(3) When ENTRY is pressed, appears for about 5 sec. For execution, go to procedure (4). For no execution, press DISP .
(4) Press ENTRY to start “List 2” printing. The cartridge pen moves to the end of the left side and the chart paper forwards slightly.
(5) For interrupting the printing, press ON/OFFREC and ENTRY simultaneously. Your recorder returns to the normal operation but the printing operation is turned off.
For turning on the printing operation, press REC
ON/OFF
and then press ENTRY again.
(6)When the list printing completes, your recorder returns to the normal operation.
List 2 printing details
(1) Year/month/day, Time | (2) Chart speed (Note) |
(3) Alarm outputs | (4) Time axis sync |
(5) Message | (6) Operation record |
(7) Remote contacts | (8) Mathematics |
(Note) For the remote contacts (option), which can program 3 speeds (No.1 to No.3), is added, all programmed 3 speeds are printed.
Example of the List 2 printing
(Note) The above example is for RD200. It is the same for RD2800.
3 List 3 Printing
Move the cursor to “3” at the [List No. selection] and execute the same procedure as item programmed parameters are printed.
2
. All of the
-49-