18. ADJUSTMENT
18.1 Adjustment of Measured Values
■Adjustment
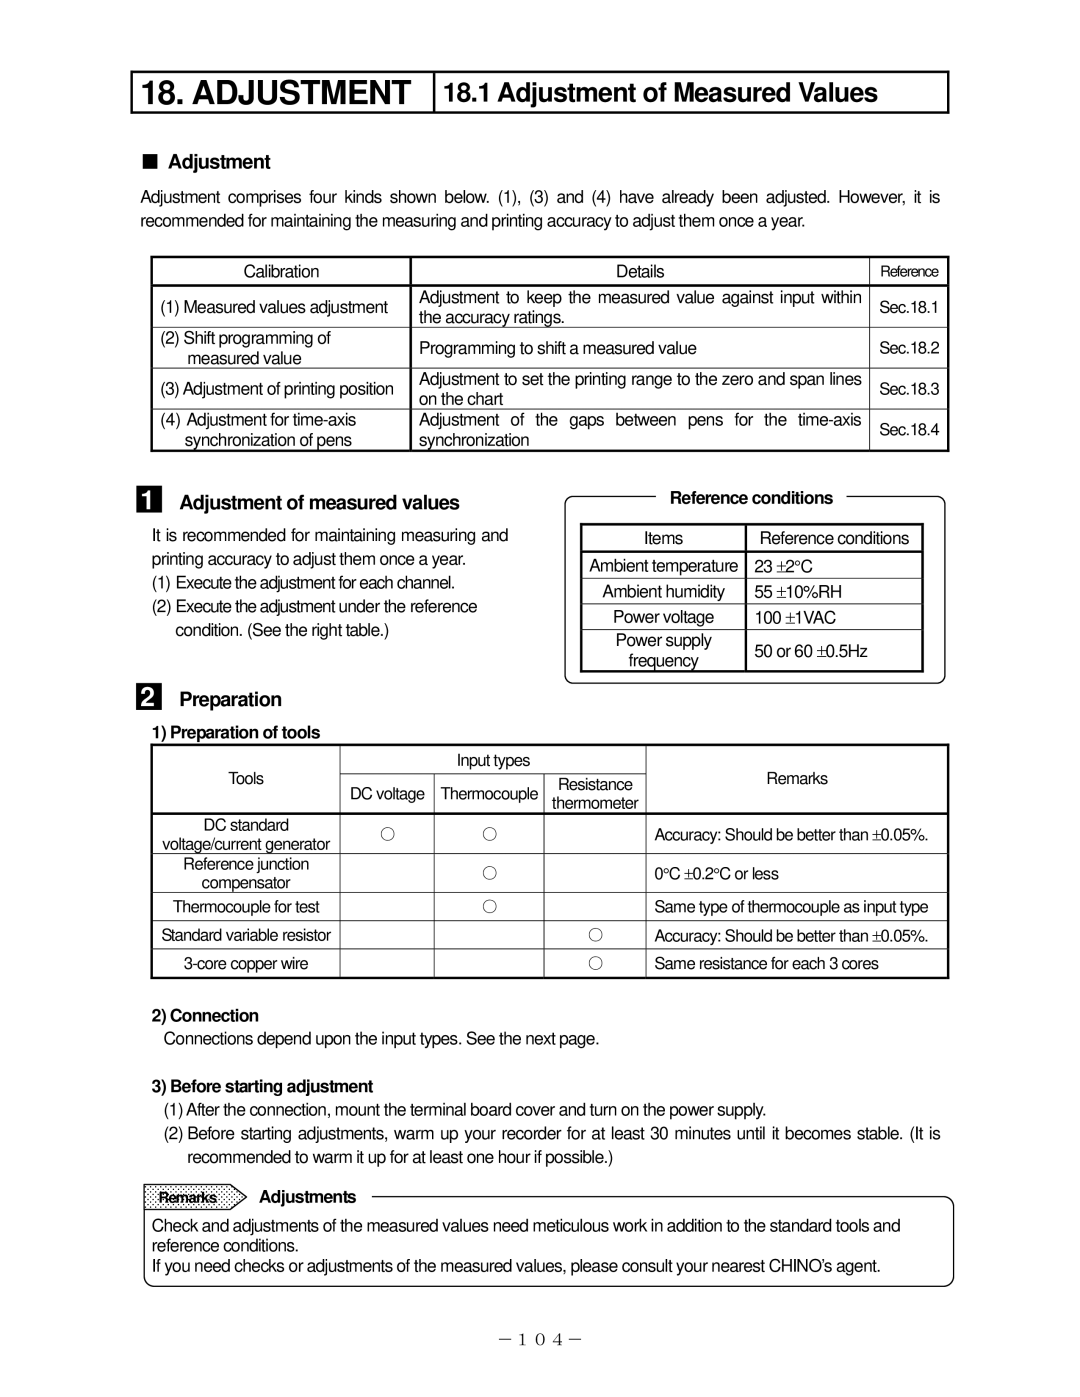
Adjustment comprises four kinds shown below. (1), (3) and (4) have already been adjusted. However, it is recommended for maintaining the measuring and printing accuracy to adjust them once a year.
Calibration | Details | Reference | |
(1) Measured values adjustment | Adjustment to keep the measured value against input within | Sec.18.1 | |
| the accuracy ratings. |
| |
(2) Shift programming of | Programming to shift a measured value | Sec.18.2 | |
measured value | |||
|
| ||
(3) Adjustment of printing position | Adjustment to set the printing range to the zero and span lines | Sec.18.3 | |
| on the chart |
| |
(4) Adjustment for | Adjustment of the gaps between pens for the | Sec.18.4 | |
synchronization of pens | synchronization |
|
1 Adjustment of measured values
It is recommended for maintaining measuring and printing accuracy to adjust them once a year.
(1)Execute the adjustment for each channel.
(2)Execute the adjustment under the reference condition. (See the right table.)
Reference conditions
Items | Reference conditions | ||
Ambient temperature | 23 | ±2°C | |
Ambient humidity | 55 | ±10%RH | |
Power voltage | 100 ±1VAC | ||
Power supply | 50 or 60 ±0.5Hz | ||
frequency | |||
|
| ||
2
Preparation
1) Preparation of tools
Tools |
| Input types |
|
| Remarks |
|
|
|
| ||
DC voltage | Thermocouple | Resistance |
| ||
|
|
| |||
| thermometer |
|
| ||
DC standard | ○ | ○ |
|
| ± |
voltage/current generator |
|
|
| Accuracy: Should be better than 0.05%. | |
|
|
|
|
| |
Reference junction |
| ○ |
| ° | ± ° |
compensator |
|
|
| 0 C | 0.2 C or less |
|
|
|
|
| |
Thermocouple for test |
| ○ |
| Same type of thermocouple as input type | |
|
|
|
|
| |
Standard variable resistor |
|
| ○ | Accuracy: Should be better than ±0.05%. | |
|
| ○ | Same resistance for each 3 cores | ||
|
|
|
|
|
|
2) Connection
Connections depend upon the input types. See the next page.
3)Before starting adjustment
(1)After the connection, mount the terminal board cover and turn on the power supply.
(2)Before starting adjustments, warm up your recorder for at least 30 minutes until it becomes stable. (It is recommended to warm it up for at least one hour if possible.)
Remarks Adjustments
Check and adjustments of the measured values need meticulous work in addition to the standard tools and reference conditions.
If you need checks or adjustments of the measured values, please consult your nearest CHINO’s agent.
-104-
