4GETTING STARTED
Before plugging in the
Powering ON the system:
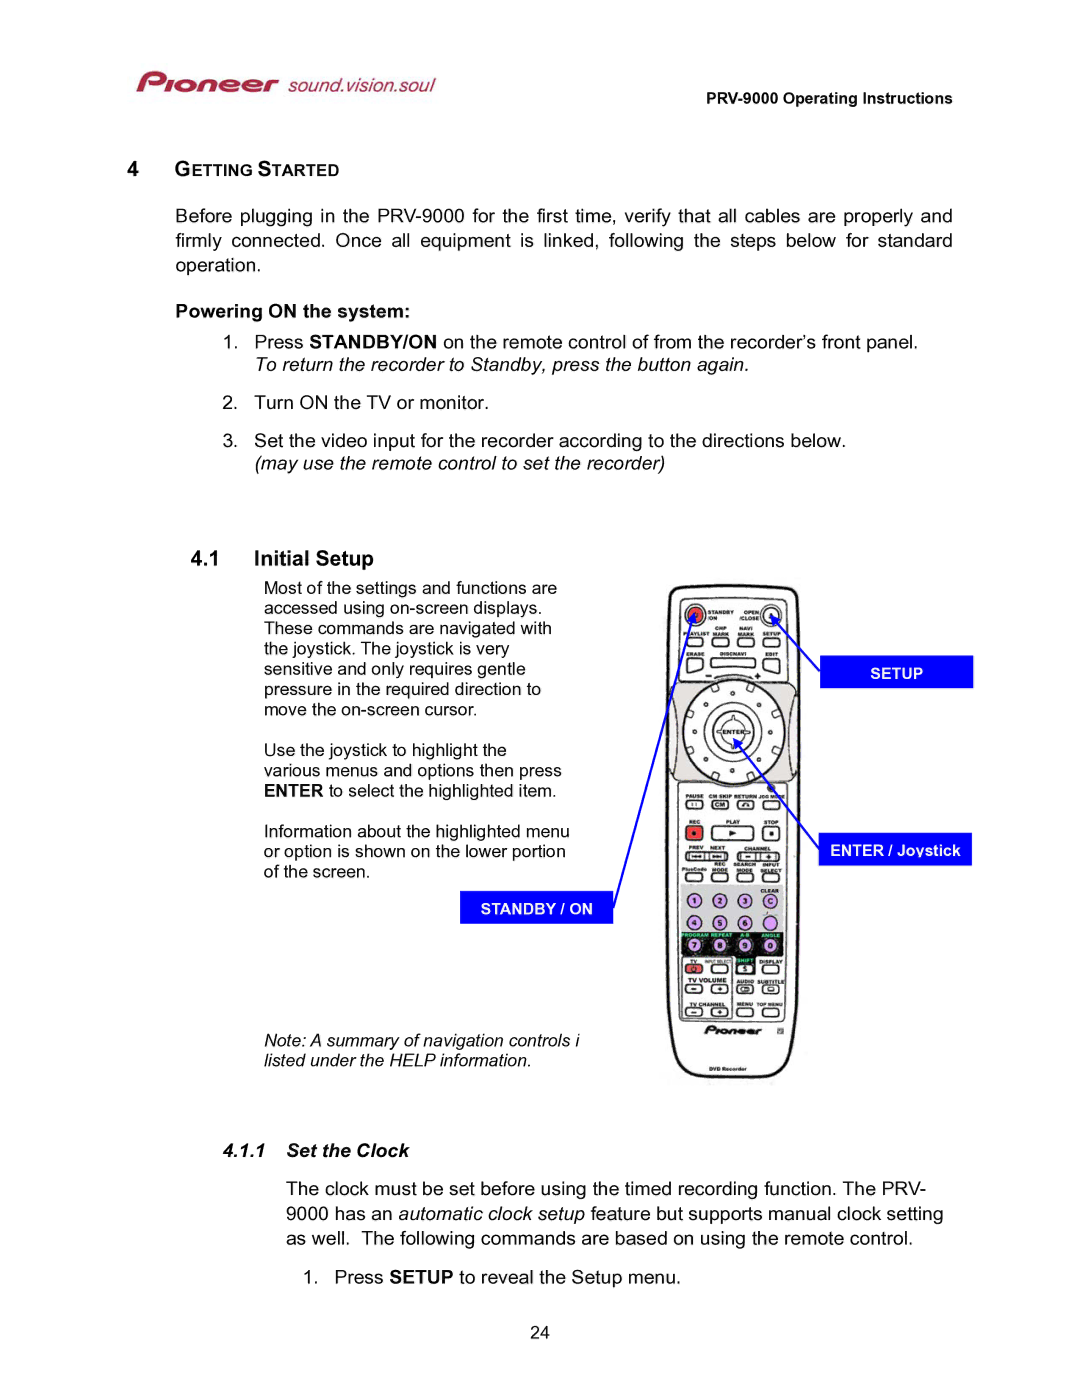
1.Press STANDBY/ON on the remote control of from the recorder’s front panel. To return the recorder to Standby, press the button again.
2.Turn ON the TV or monitor.
3.Set the video input for the recorder according to the directions below. (may use the remote control to set the recorder)
4.1Initial Setup
Most of the settings and functions are accessed using
Use the joystick to highlight the various menus and options then press ENTER to select the highlighted item.
Information about the highlighted menu or option is shown on the lower portion of the screen.
STANDBY / ON
Note: A summary of navigation controls i listed under the HELP information.
4.1.1Set the Clock
SETUP
ENTER / Joystick
The clock must be set before using the timed recording function. The PRV- 9000 has an automatic clock setup feature but supports manual clock setting as well. The following commands are based on using the remote control.
1.Press SETUP to reveal the Setup menu.
24