2.3.1Connecting a VCR or an Analog Camcorder
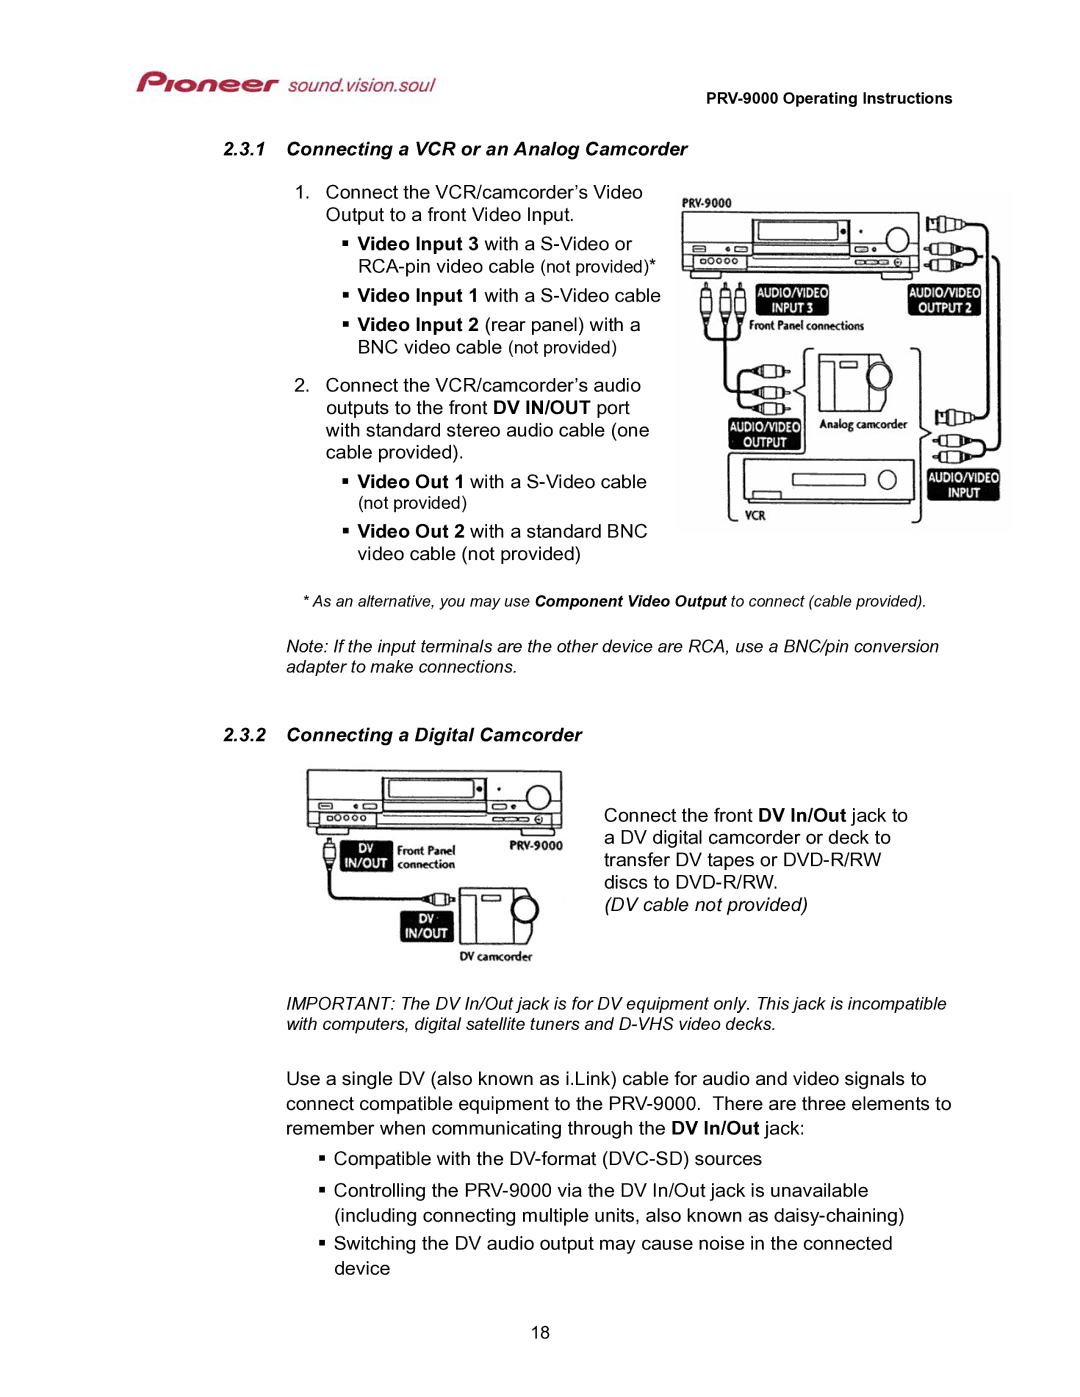
1.Connect the VCR/camcorder’s Video Output to a front Video Input.
Video Input 3 with a
Video Input 1 with a
Video Input 2 (rear panel) with a
BNC video cable (not provided)
2.Connect the VCR/camcorder’s audio outputs to the front DV IN/OUT port with standard stereo audio cable (one cable provided).
Video Out 1 with a
(not provided)
Video Out 2 with a standard BNC video cable (not provided)
* As an alternative, you may use Component Video Output to connect (cable provided).
Note: If the input terminals are the other device are RCA, use a BNC/pin conversion adapter to make connections.
2.3.2Connecting a Digital Camcorder
Connect the front DV In/Out jack to a DV digital camcorder or deck to transfer DV tapes or
(DV cable not provided)
IMPORTANT: The DV In/Out jack is for DV equipment only. This jack is incompatible with computers, digital satellite tuners and
Use a single DV (also known as i.Link) cable for audio and video signals to connect compatible equipment to the
Compatible with the
Controlling the
Switching the DV audio output may cause noise in the connected device
18