3.Load a recordable disc on to the tray.
Unformatted discs require up to one minute to initialize.
4.Set the recording mode (if necessary).
Refer to the previous sections 4.10.1 Initialize for VR Mode Recording and 4.10.2 Initialize for Video Mode Recording for more information.
5.Use the CHANNEL +/– buttons to scroll to the TV channel.
If the recorder is stopped, use number buttons to enter a channel.
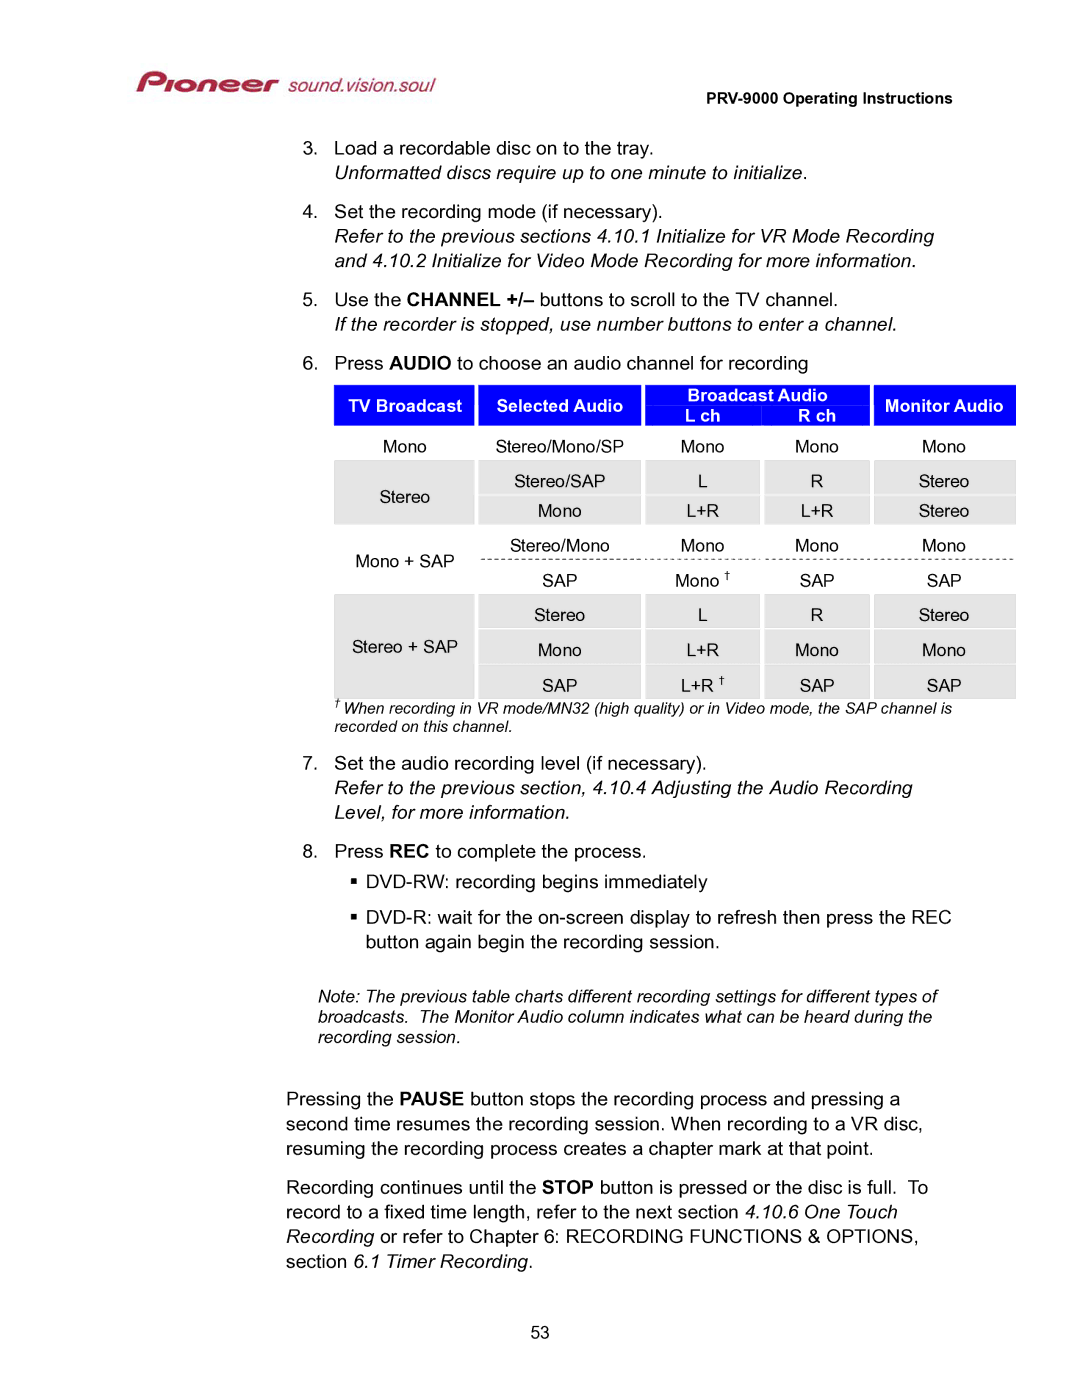
6.Press AUDIO to choose an audio channel for recording
| TV Broadcast |
|
|
| Selected Audio |
|
|
| Broadcast Audio |
|
|
| Monitor Audio |
| ||||
|
|
|
|
|
|
| L ch |
|
|
| R ch |
|
|
|
| |||
|
|
|
|
|
|
|
|
|
|
|
|
|
|
|
|
| ||
| Mono |
|
|
| Stereo/Mono/SP | Mono |
|
|
| Mono |
|
|
| Mono |
| |||
|
|
|
|
|
|
|
|
|
|
|
|
|
|
|
| |||
| Stereo |
|
|
| Stereo/SAP |
|
|
| L |
|
|
| R |
|
|
| Stereo |
|
|
|
|
|
|
|
|
|
|
|
|
|
|
|
|
|
|
| |
|
|
|
| Mono |
|
|
| L+R |
|
|
| L+R |
|
|
| Stereo |
| |
|
|
|
|
|
|
|
|
|
|
|
|
|
|
| ||||
| Mono + SAP |
|
|
| Stereo/Mono | Mono |
|
|
| Mono |
|
|
| Mono |
| |||
|
|
|
| SAP | Mono † |
|
|
| SAP |
|
|
| SAP |
| ||||
|
|
|
|
|
|
|
|
|
|
|
| |||||||
|
|
|
|
| Stereo |
|
|
| L |
|
|
| R |
|
|
| Stereo |
|
| Stereo + SAP |
|
|
|
|
|
|
|
|
|
|
|
|
|
| |||
|
|
|
| Mono |
|
|
| L+R |
|
|
| Mono |
|
|
| Mono |
| |
|
|
|
|
| SAP | L+R † |
|
|
| SAP |
|
|
| SAP |
| |||
† When recording in VR mode/MN32 (high quality) or in Video mode, the SAP channel is recorded on this channel.
7.Set the audio recording level (if necessary).
Refer to the previous section, 4.10.4 Adjusting the Audio Recording Level, for more information.
8.Press REC to complete the process.
Note: The previous table charts different recording settings for different types of broadcasts. The Monitor Audio column indicates what can be heard during the recording session.
Pressing the PAUSE button stops the recording process and pressing a second time resumes the recording session. When recording to a VR disc, resuming the recording process creates a chapter mark at that point.
Recording continues until the STOP button is pressed or the disc is full. To record to a fixed time length, refer to the next section 4.10.6 One Touch Recording or refer to Chapter 6: RECORDING FUNCTIONS & OPTIONS, section 6.1 Timer Recording.
53
