PRV-9000 Operating Instructions
with two or more soundtracks, the recorder supports switching between soundtracks during playback.
Note: Some material only allows switching soundtracks from the disc menu. Press MENU on the remote control to check for soundtrack options.
Some discs provide both Dolby Digital and DTS soundtracks. Selecting DTS limits playback to digital audio output with analog audio unsupported. To listen to a DTS soundtrack, connect a DTS decoder to one of the recorder’s digital ports. For more information, refer to the Chapter 2: CONNECTIONS, section 2.2.4 Connect to Other A/V Sources – Satellite/Cable.
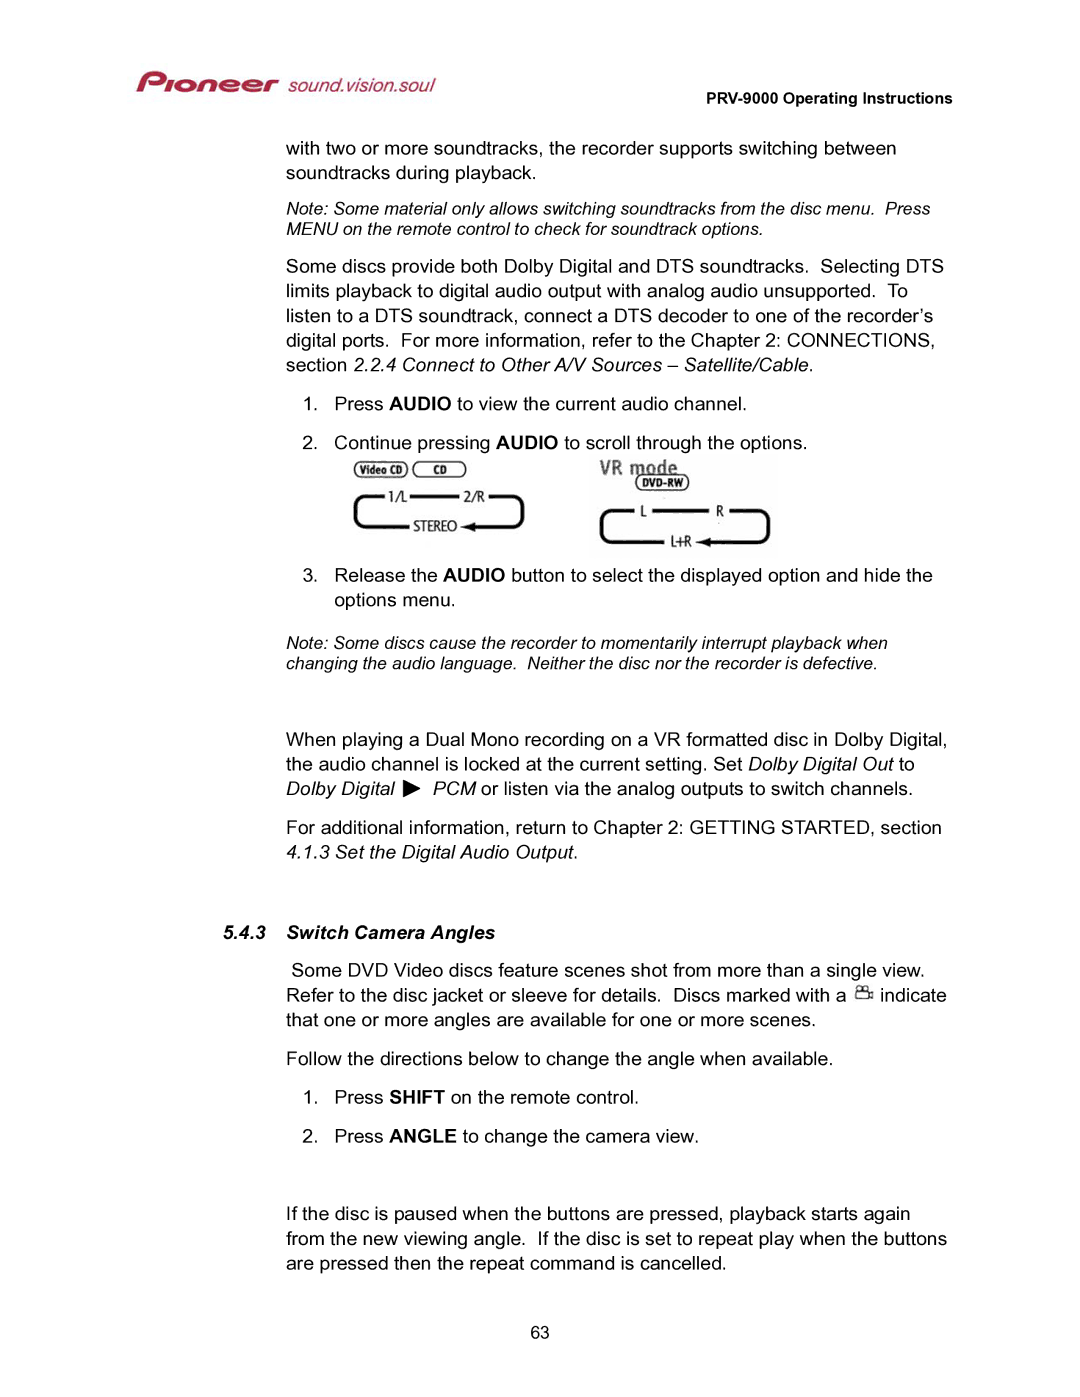
1.Press AUDIO to view the current audio channel.
2.Continue pressing AUDIO to scroll through the options.
3.Release the AUDIO button to select the displayed option and hide the options menu.
Note: Some discs cause the recorder to momentarily interrupt playback when changing the audio language. Neither the disc nor the recorder is defective.
When playing a Dual Mono recording on a VR formatted disc in Dolby Digital, the audio channel is locked at the current setting. Set Dolby Digital Out to Dolby Digital ![]() PCM or listen via the analog outputs to switch channels.
PCM or listen via the analog outputs to switch channels.
For additional information, return to Chapter 2: GETTING STARTED, section
4.1.3 Set the Digital Audio Output.
5.4.3Switch Camera Angles
Some DVD Video discs feature scenes shot from more than a single view. Refer to the disc jacket or sleeve for details. Discs marked with a ![]() indicate that one or more angles are available for one or more scenes.
indicate that one or more angles are available for one or more scenes.
Follow the directions below to change the angle when available.
1.Press SHIFT on the remote control.
2.Press ANGLE to change the camera view.
If the disc is paused when the buttons are pressed, playback starts again from the new viewing angle. If the disc is set to repeat play when the buttons are pressed then the repeat command is cancelled.
63