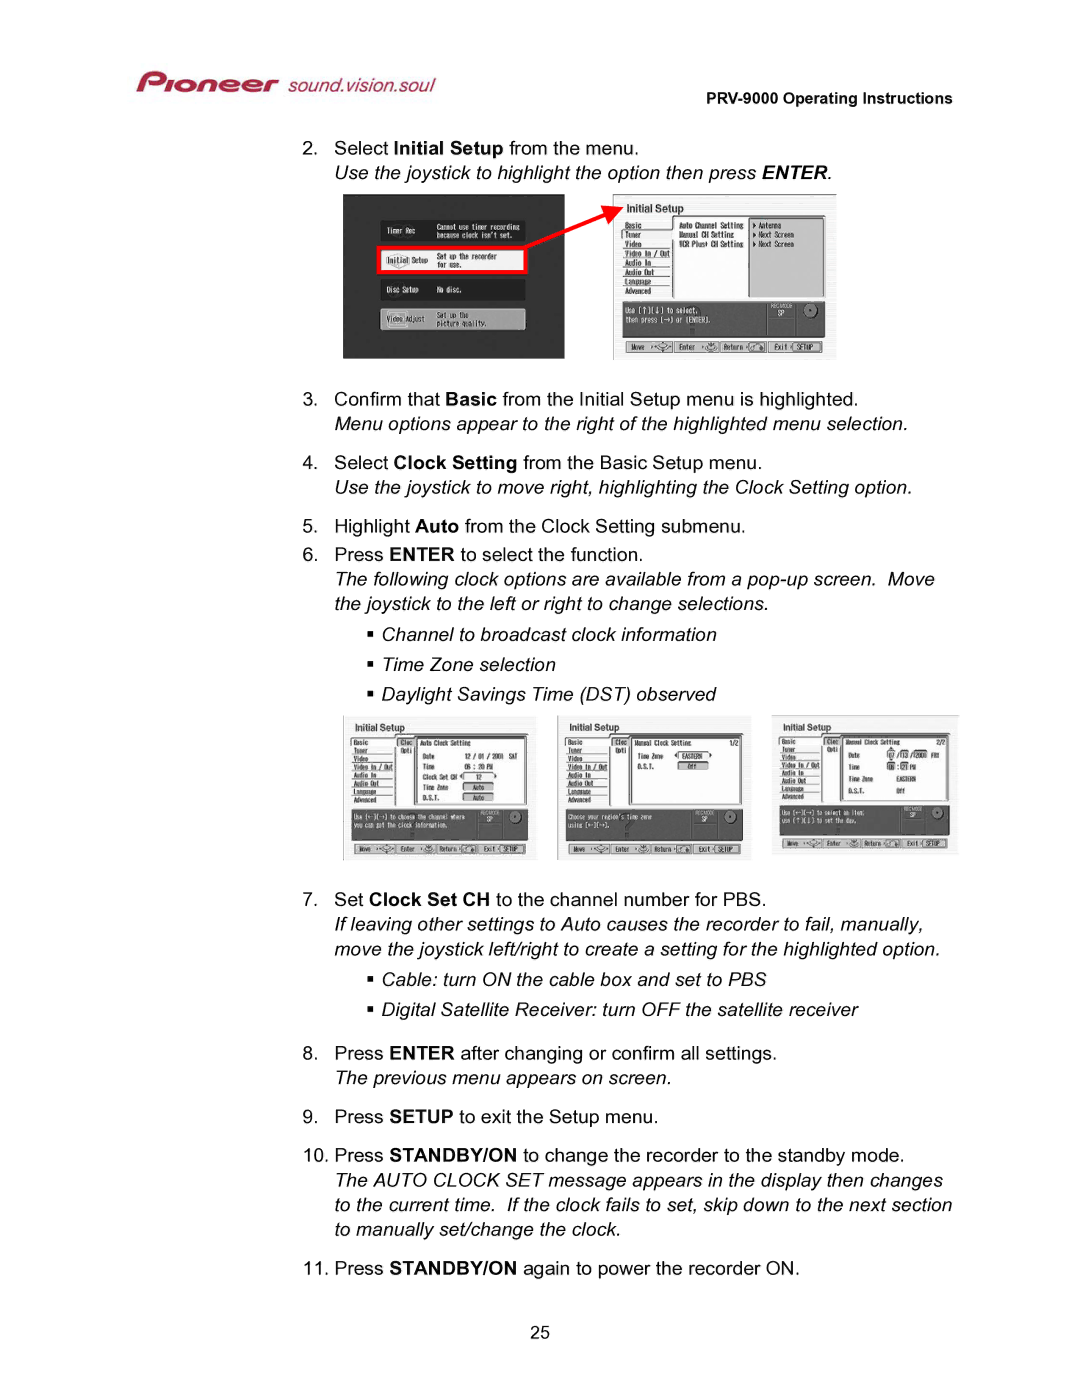
2.Select Initial Setup from the menu.
Use the joystick to highlight the option then press ENTER.
3.Confirm that Basic from the Initial Setup menu is highlighted. Menu options appear to the right of the highlighted menu selection.
4.Select Clock Setting from the Basic Setup menu.
Use the joystick to move right, highlighting the Clock Setting option.
5.Highlight Auto from the Clock Setting submenu.
6.Press ENTER to select the function.
The following clock options are available from a
Channel to broadcast clock information Time Zone selection
Daylight Savings Time (DST) observed
7.Set Clock Set CH to the channel number for PBS.
If leaving other settings to Auto causes the recorder to fail, manually, move the joystick left/right to create a setting for the highlighted option.
Cable: turn ON the cable box and set to PBS
Digital Satellite Receiver: turn OFF the satellite receiver
8.Press ENTER after changing or confirm all settings. The previous menu appears on screen.
9.Press SETUP to exit the Setup menu.
10.Press STANDBY/ON to change the recorder to the standby mode. The AUTO CLOCK SET message appears in the display then changes to the current time. If the clock fails to set, skip down to the next section to manually set/change the clock.
11.Press STANDBY/ON again to power the recorder ON.
25