1.Press SETUP to access the menu.
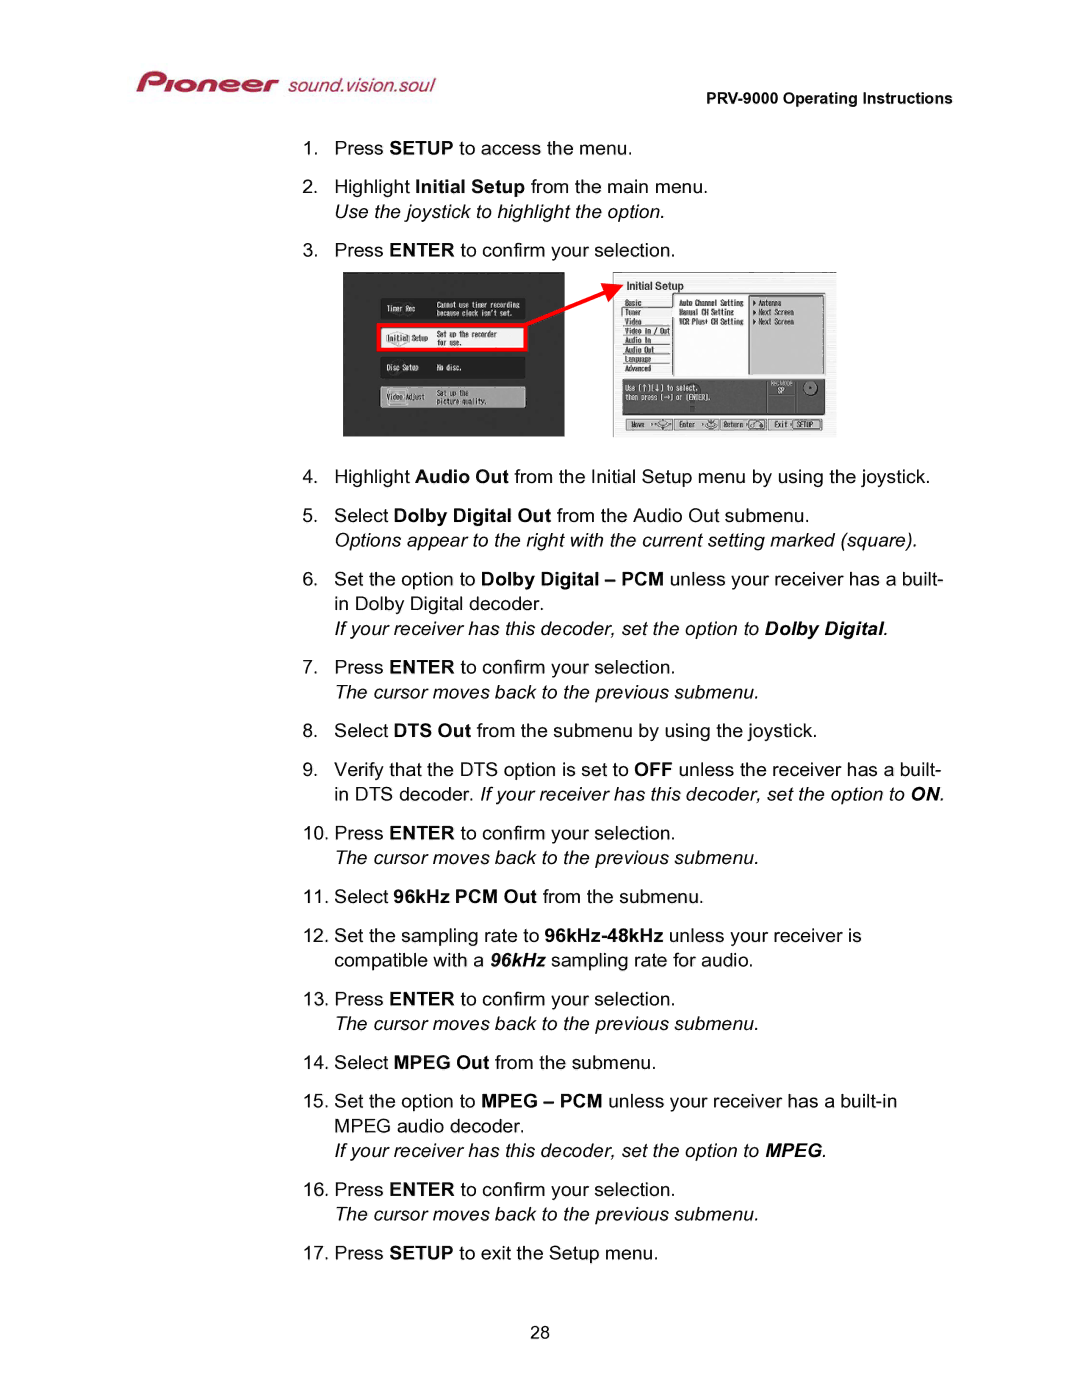
2.Highlight Initial Setup from the main menu. Use the joystick to highlight the option.
3.Press ENTER to confirm your selection.
4.Highlight Audio Out from the Initial Setup menu by using the joystick.
5.Select Dolby Digital Out from the Audio Out submenu.
Options appear to the right with the current setting marked (square).
6.Set the option to Dolby Digital – PCM unless your receiver has a built- in Dolby Digital decoder.
If your receiver has this decoder, set the option to Dolby Digital.
7.Press ENTER to confirm your selection.
The cursor moves back to the previous submenu.
8.Select DTS Out from the submenu by using the joystick.
9.Verify that the DTS option is set to OFF unless the receiver has a built- in DTS decoder. If your receiver has this decoder, set the option to ON.
10.Press ENTER to confirm your selection.
The cursor moves back to the previous submenu.
11.Select 96kHz PCM Out from the submenu.
12.Set the sampling rate to
13.Press ENTER to confirm your selection.
The cursor moves back to the previous submenu.
14.Select MPEG Out from the submenu.
15.Set the option to MPEG – PCM unless your receiver has a
If your receiver has this decoder, set the option to MPEG.
16.Press ENTER to confirm your selection.
The cursor moves back to the previous submenu.
17.Press SETUP to exit the Setup menu.
28
