Change a filter over time using keyframes:
1With Black and White chosen in the “Tint type”
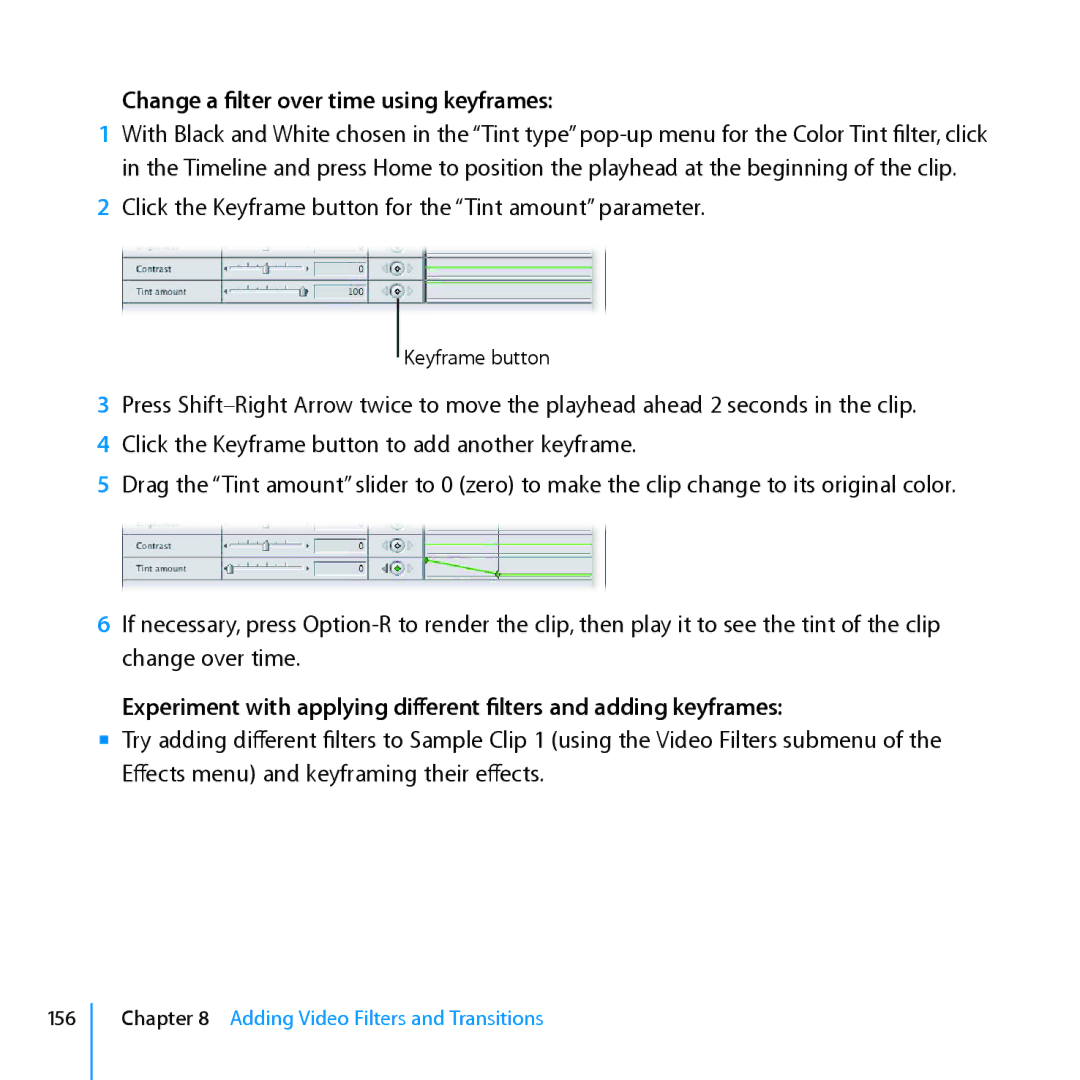
2Click the Keyframe button for the “Tint amount” parameter.
Keyframe button
3Press
4Click the Keyframe button to add another keyframe.
5Drag the “Tint amount” slider to 0 (zero) to make the clip change to its original color.
6If necessary, press
Experiment with applying different filters and adding keyframes:
mm Try adding different filters to Sample Clip 1 (using the Video Filters submenu of the Effects menu) and keyframing their effects.
156
Chapter 8 Adding Video Filters and Transitions
