NEAX 2400 Switch Administration
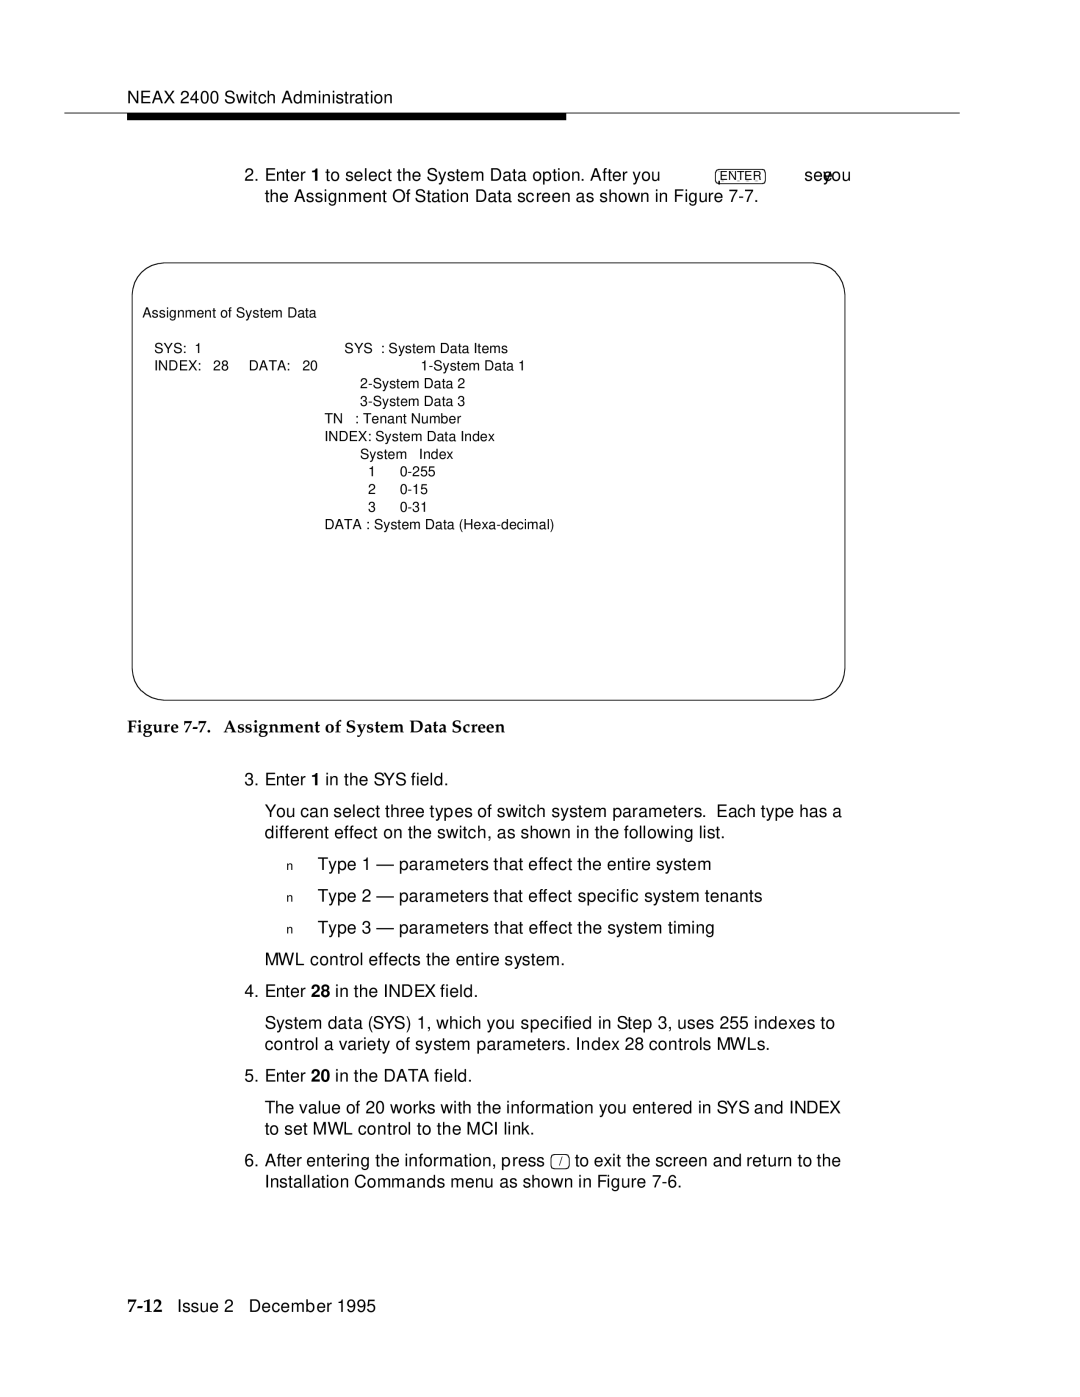
2. Enter 1 to select the System Data option. After you | ENTER | seeyou |
the Assignment Of Station Data screen as shown in Figure |
| |
Assignment of System Data |
|
|
| ||
SYS: | 1 |
| SYS | : System Data Items | |
INDEX: | 28 | DATA: | 20 | Data 1 | |
|
|
|
| Data 2 | |
|
|
|
| Data 3 | |
|
|
| TN | : Tenant Number | |
|
|
| INDEX: System Data Index | ||
|
|
|
| System | Index |
|
|
|
| 1 | |
|
|
|
| 2 | |
|
|
|
| 3 | |
DATA : System Data
Figure 7-7. Assignment of System Data Screen
3.Enter 1 in the SYS field.
You can select three types of switch system parameters. Each type has a different effect on the switch, as shown in the following list.
■Type 1 — parameters that effect the entire system
■Type 2 — parameters that effect specific system tenants
■Type 3 — parameters that effect the system timing
MWL control effects the entire system.
4.Enter 28 in the INDEX field.
System data (SYS) 1, which you specified in Step 3, uses 255 indexes to control a variety of system parameters. Index 28 controls MWLs.
5.Enter 20 in the DATA field.
The value of 20 works with the information you entered in SYS and INDEX to set MWL control to the MCI link.
6. After entering the information, press / to exit the screen and return to the Installation Commands menu as shown in Figure