Switch Integration Device Administration
Follow the instructions on the next page to use the AutoFill feature.
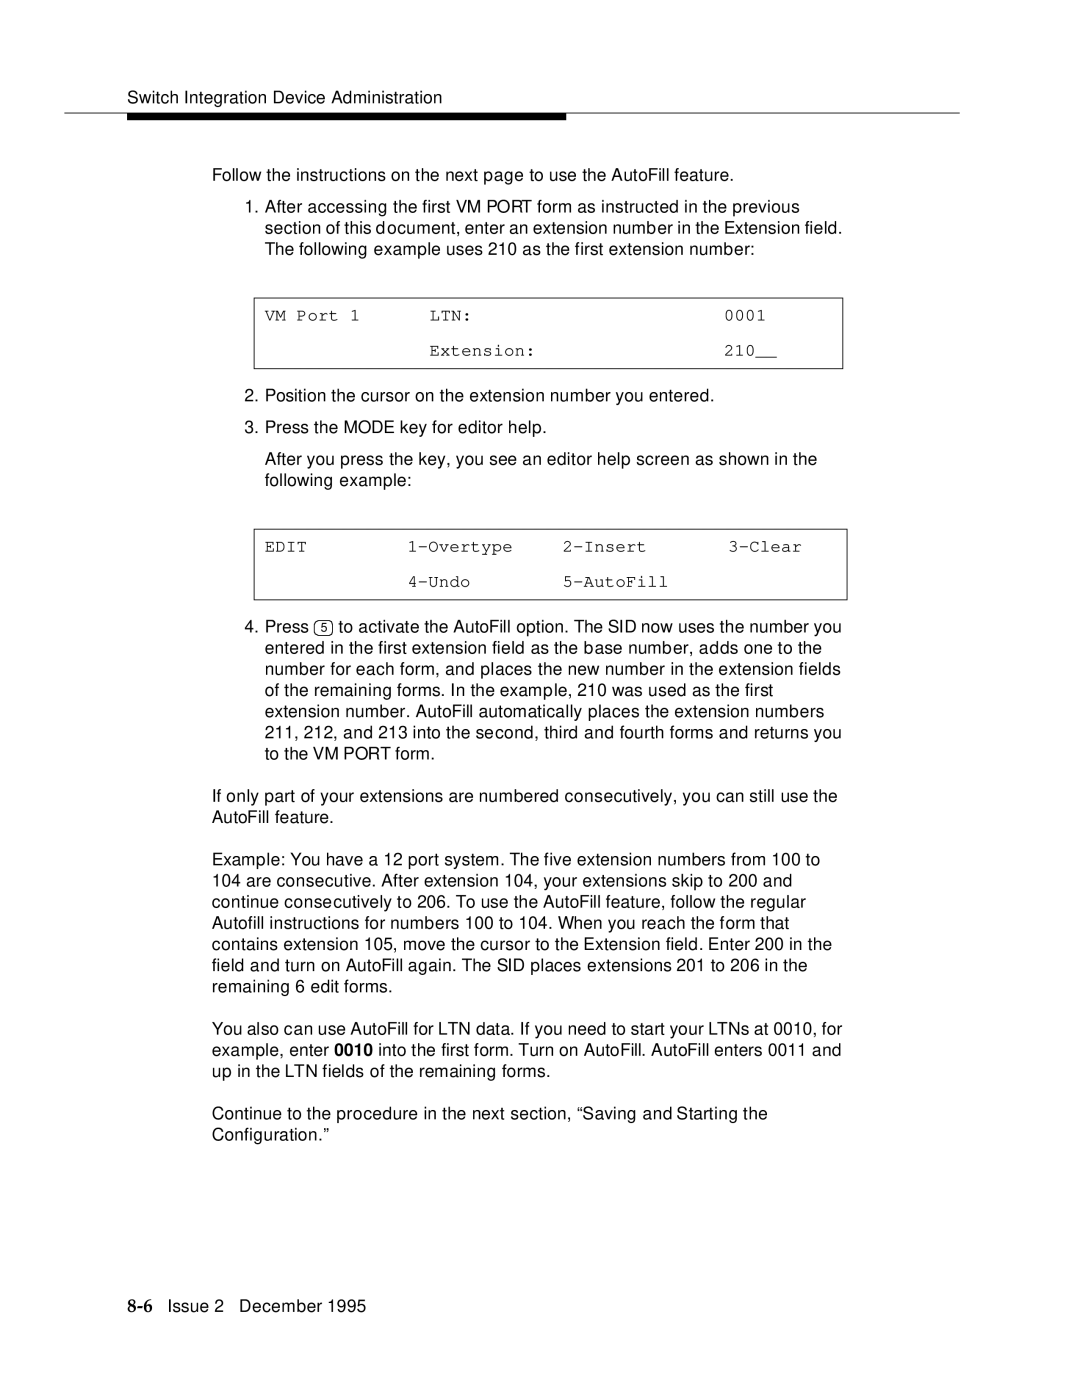
1.After accessing the first VM PORT form as instructed in the previous section of this document, enter an extension number in the Extension field. The following example uses 210 as the first extension number:
VM Port 1 | LTN: | 0001 |
| Extension: | 210__ |
|
|
|
2.Position the cursor on the extension number you entered.
3.Press the MODE key for editor help.
After you press the key, you see an editor help screen as shown in the following example:
EDIT |
4.Press 5 to activate the AutoFill option. The SID now uses the number you entered in the first extension field as the base number, adds one to the number for each form, and places the new number in the extension fields of the remaining forms. In the example, 210 was used as the first extension number. AutoFill automatically places the extension numbers 211, 212, and 213 into the second, third and fourth forms and returns you to the VM PORT form.
If only part of your extensions are numbered consecutively, you can still use the AutoFill feature.
Example: You have a 12 port system. The five extension numbers from 100 to 104 are consecutive. After extension 104, your extensions skip to 200 and continue consecutively to 206. To use the AutoFill feature, follow the regular Autofill instructions for numbers 100 to 104. When you reach the form that contains extension 105, move the cursor to the Extension field. Enter 200 in the field and turn on AutoFill again. The SID places extensions 201 to 206 in the remaining 6 edit forms.
You also can use AutoFill for LTN data. If you need to start your LTNs at 0010, for example, enter 0010 into the first form. Turn on AutoFill. AutoFill enters 0011 and up in the LTN fields of the remaining forms.
Continue to the procedure in the next section, “Saving and Starting the Configuration.”