Saving and Starting the Configuration
Saving and Starting the Configuration
After you administer the basic parameters and assign extensions and LTNs, you must save the configuration. You also can start the integration at this point, although you should perform the tasks in the “Administer Serial Data Links” section to check the default settings for the MCI and SMDI communication links.
Use the following instructions to save the configuration and start the system.
1.Press FUNC on the SID keypad.
After you press the key, you see the SETUP menu.
2.Press FUNC again to return to the MAIN MENU.
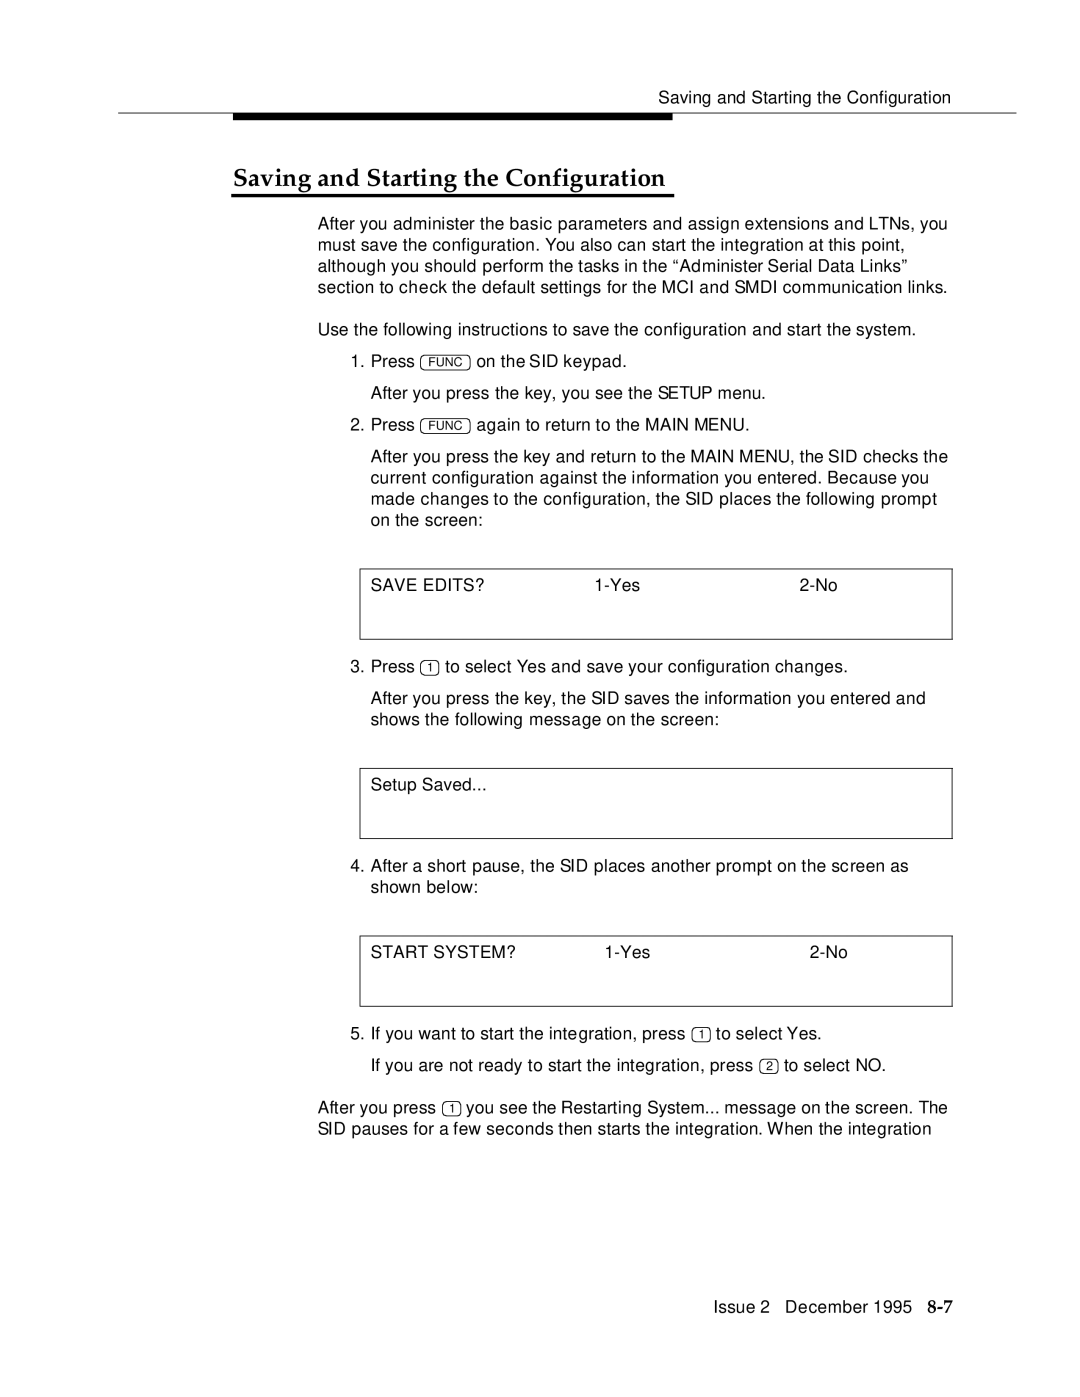
After you press the key and return to the MAIN MENU, the SID checks the current configuration against the information you entered. Because you made changes to the configuration, the SID places the following prompt on the screen:
SAVE EDITS? |
3.Press 1 to select Yes and save your configuration changes.
After you press the key, the SID saves the information you entered and shows the following message on the screen:
Setup Saved...
4.After a short pause, the SID places another prompt on the screen as shown below:
| START SYSTEM? | ||
|
|
| |
5. If you want to start the integration, press | 1 to select Yes. | ||
If you are not ready to start the integration, press 2 to select NO.
After you press 1 you see the Restarting System... message on the screen. The SID pauses for a few seconds then starts the integration. When the integration
Issue 2 December 1995