NEAX 2400 Switch Administration
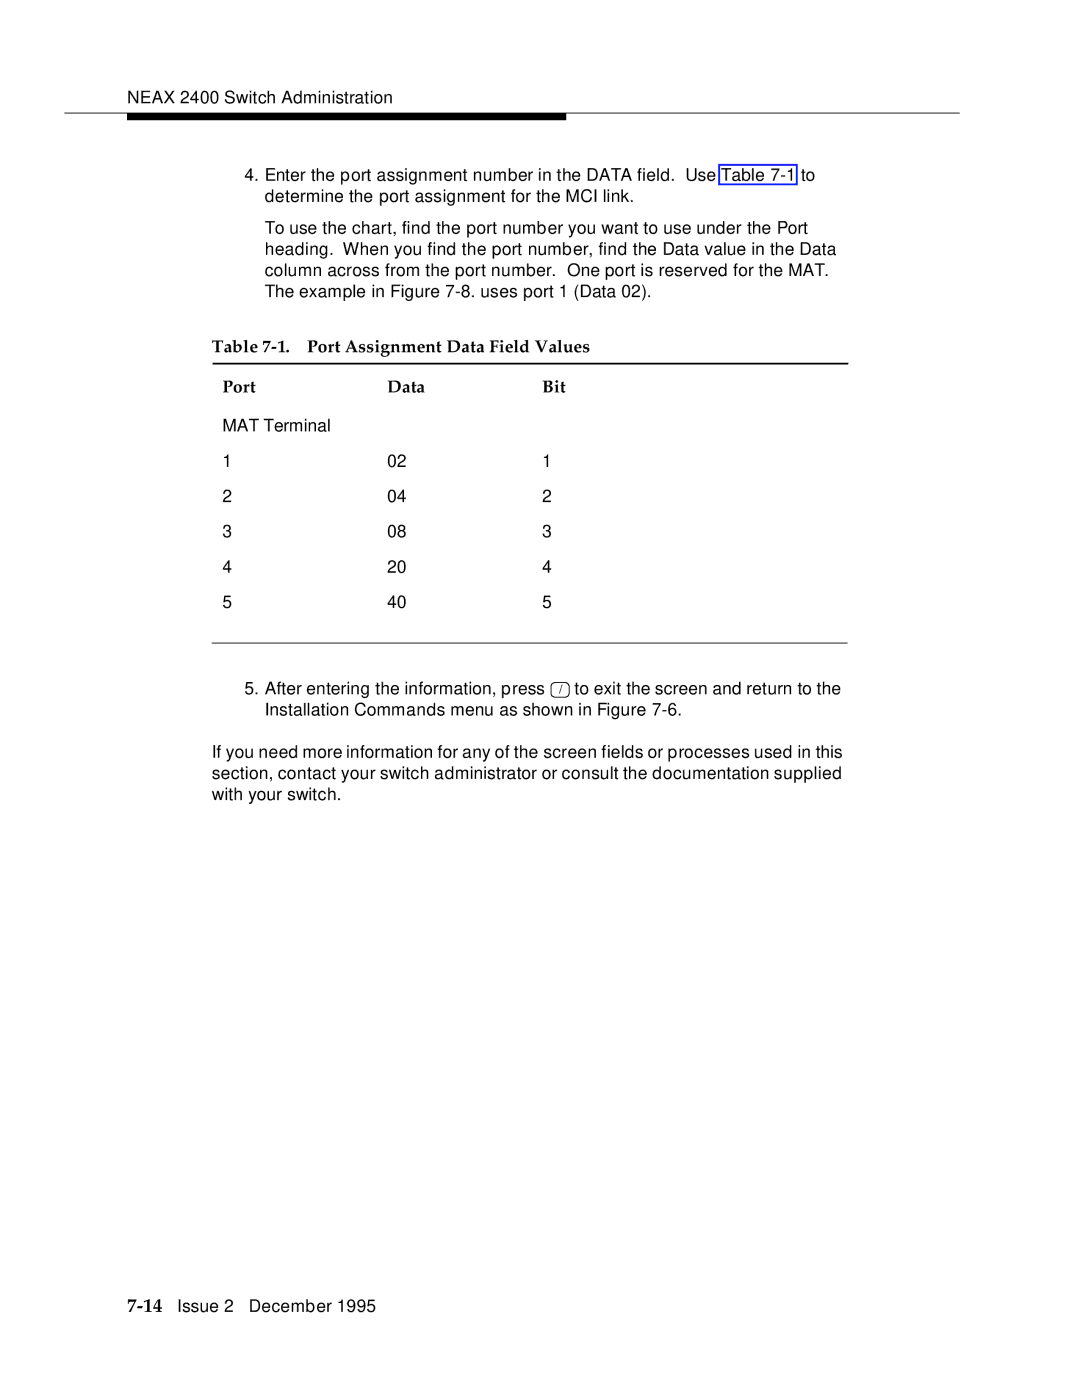
4.Enter the port assignment number in the DATA field. Use Table
To use the chart, find the port number you want to use under the Port heading. When you find the port number, find the Data value in the Data column across from the port number. One port is reserved for the MAT. The example in Figure
Table 7-1. Port Assignment Data Field Values
Port | Data | Bit |
MAT Terminal |
|
|
1 | 02 | 1 |
2 | 04 | 2 |
3 | 08 | 3 |
4 | 20 | 4 |
5 | 40 | 5 |
|
|
|
5. After entering the information, press / to exit the screen and return to the Installation Commands menu as shown in Figure
If you need more information for any of the screen fields or processes used in this section, contact your switch administrator or consult the documentation supplied with your switch.