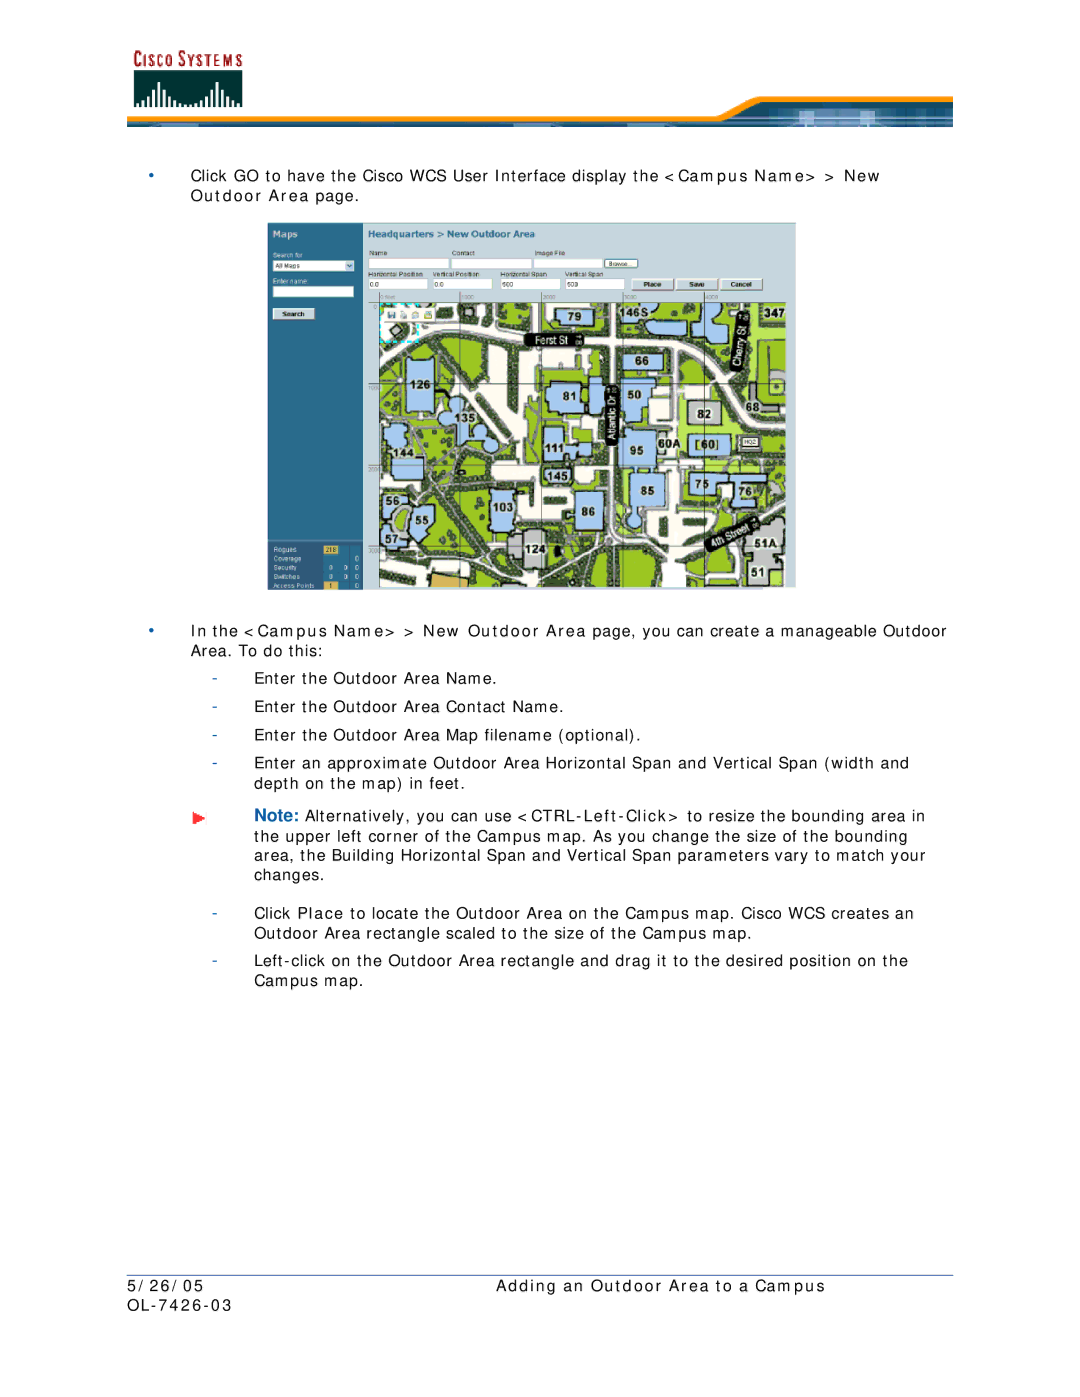
•Click GO to have the Cisco WCS User Interface display the <Campus Name> > New Outdoor Area page.
•In the <Campus Name> > New Outdoor Area page, you can create a manageable Outdoor Area. To do this:
-Enter the Outdoor Area Name.
-Enter the Outdoor Area Contact Name.
-Enter the Outdoor Area Map filename (optional).
-Enter an approximate Outdoor Area Horizontal Span and Vertical Span (width and depth on the map) in feet.
Note: Alternatively, you can use
-Click Place to locate the Outdoor Area on the Campus map. Cisco WCS creates an Outdoor Area rectangle scaled to the size of the Campus map.
-
5/26/05 | Adding an Outdoor Area to a Campus |
|
|