•In the <Building Name> > New Floor page, you can add floors to a Building to organize related Floor Plan maps. To do this:
-Enter the Floor or Basement Name.
-Enter the Floor or Basement Contact Name.
-Select the Floor or Basement number.
-Enter the
-When you are importing a .FPE floor plan map file from the Floor Plan Editor, check the Import FPE File box. Otherwise, leave this box unchecked.
Also, when you are importing a .FPE floor plan map file from the Floor Plan Editor, click Browse to search for and select the .FPE desired Floor or Basement graphic name.
-In all cases, click Browse to search for and select the desired Floor or Basement graphic name. Note that when you select the Floor or Basement graphic, Cisco WCS displays the graphic in the
-Enter an approximate Floor or Basement Horizontal Span and Vertical Span (width and depth on the map) in feet. Note that these numbers should be smaller than or the same as the Building Horizontal Span and Vertical Span in the Cisco WCS database.
-If necessary, click Place to locate the Floor or Basement graphic on the Building grid.
Note: You can use
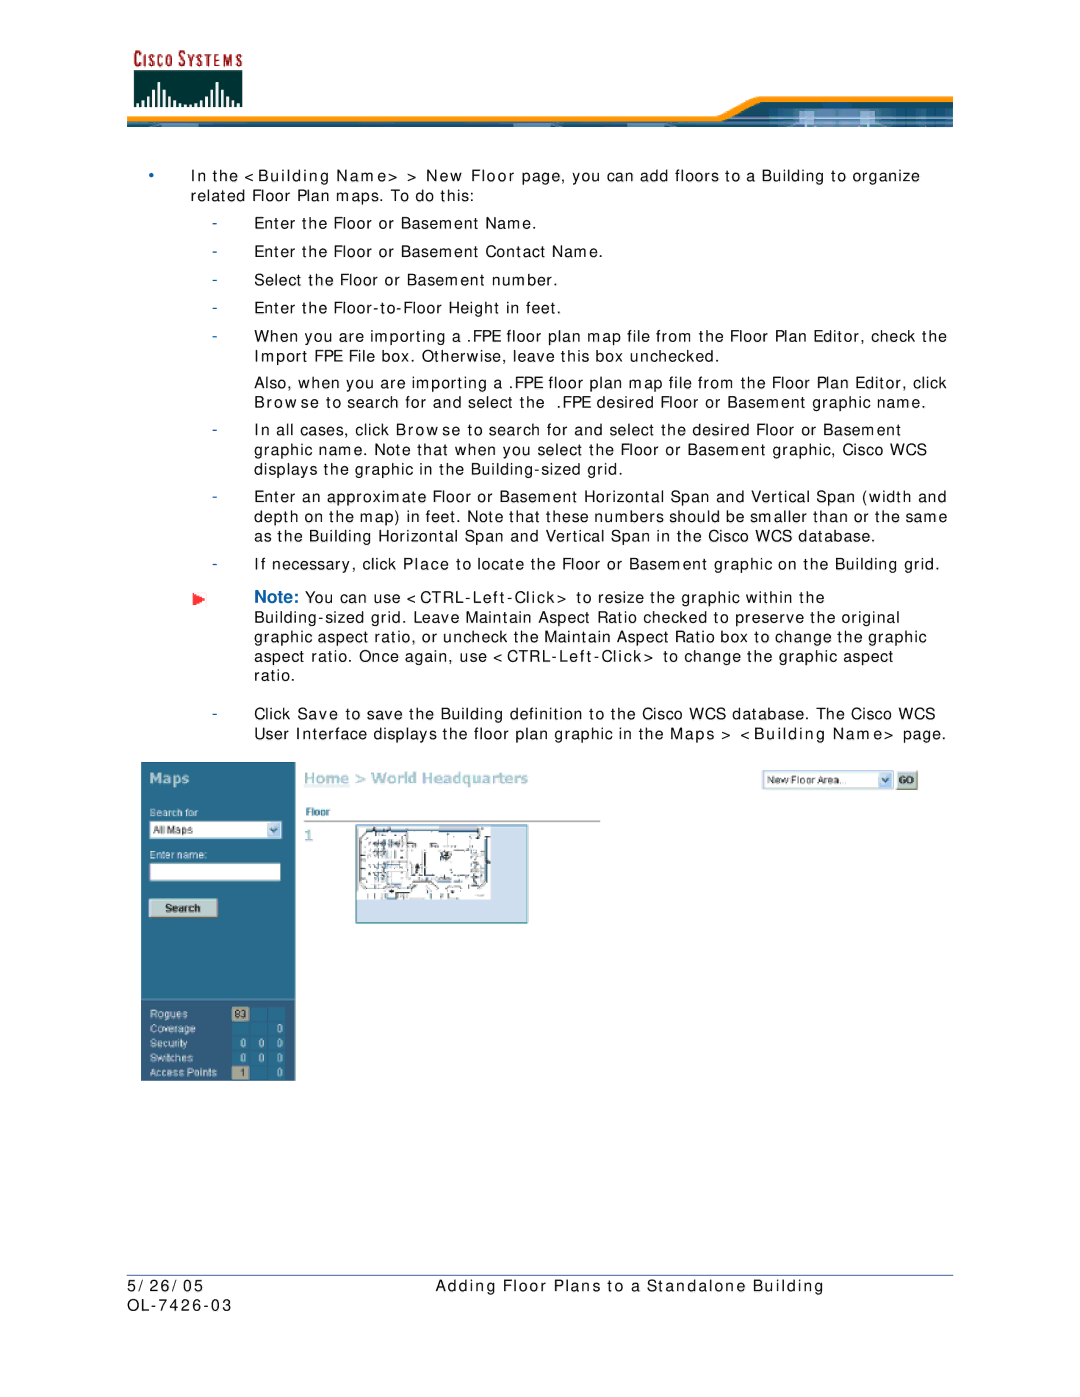
-Click Save to save the Building definition to the Cisco WCS database. The Cisco WCS User Interface displays the floor plan graphic in the Maps > <Building Name> page.
5/26/05 | Adding Floor Plans to a Standalone Building |
|
|
