User and
Installation Guide
MOUNTING THE ANTENNA ON THE ROOF
Materials Required
♦2 lag screws, 1/4” x 3”
♦4 lag screws, 5/16” x 2”
♦roof sealant
Tools Required
♦drill
♦1/8” twist drill bit
♦3/16” twist drill bit
♦7/16” socket or
♦bubble level
♦ladder
♦pencil
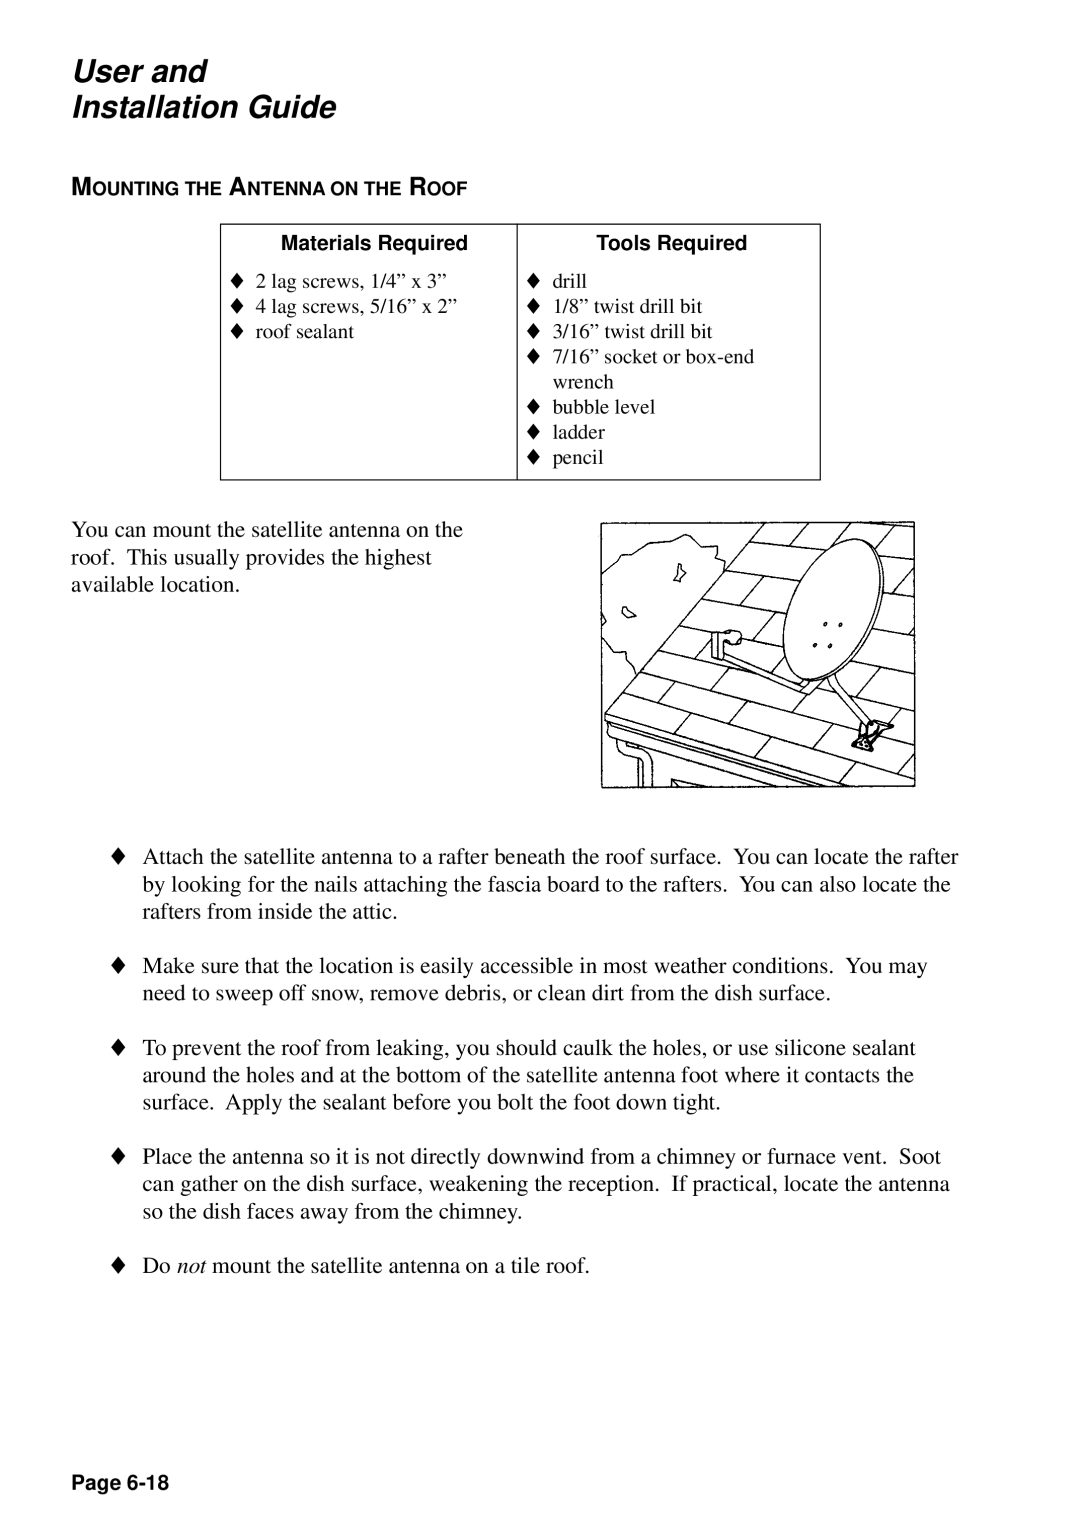
You can mount the satellite antenna on the roof. This usually provides the highest available location.
♦Attach the satellite antenna to a rafter beneath the roof surface. You can locate the rafter by looking for the nails attaching the fascia board to the rafters. You can also locate the rafters from inside the attic.
♦Make sure that the location is easily accessible in most weather conditions. You may need to sweep off snow, remove debris, or clean dirt from the dish surface.
♦To prevent the roof from leaking, you should caulk the holes, or use silicone sealant around the holes and at the bottom of the satellite antenna foot where it contacts the surface. Apply the sealant before you bolt the foot down tight.
♦Place the antenna so it is not directly downwind from a chimney or furnace vent. Soot can gather on the dish surface, weakening the reception. If practical, locate the antenna so the dish faces away from the chimney.
♦Do not mount the satellite antenna on a tile roof.
Page