Chapter 8 Managing Drives and Disks
Working with Tape Drives
Figure 138 Delete Warning
Window
Changing a Drive State
3Click OK to close the message window and proceed.
4After the Status Screen informs you that the drive has been successfully deleted, click Close.
The drive state function allows you to change the logical (database) state to online or offline.
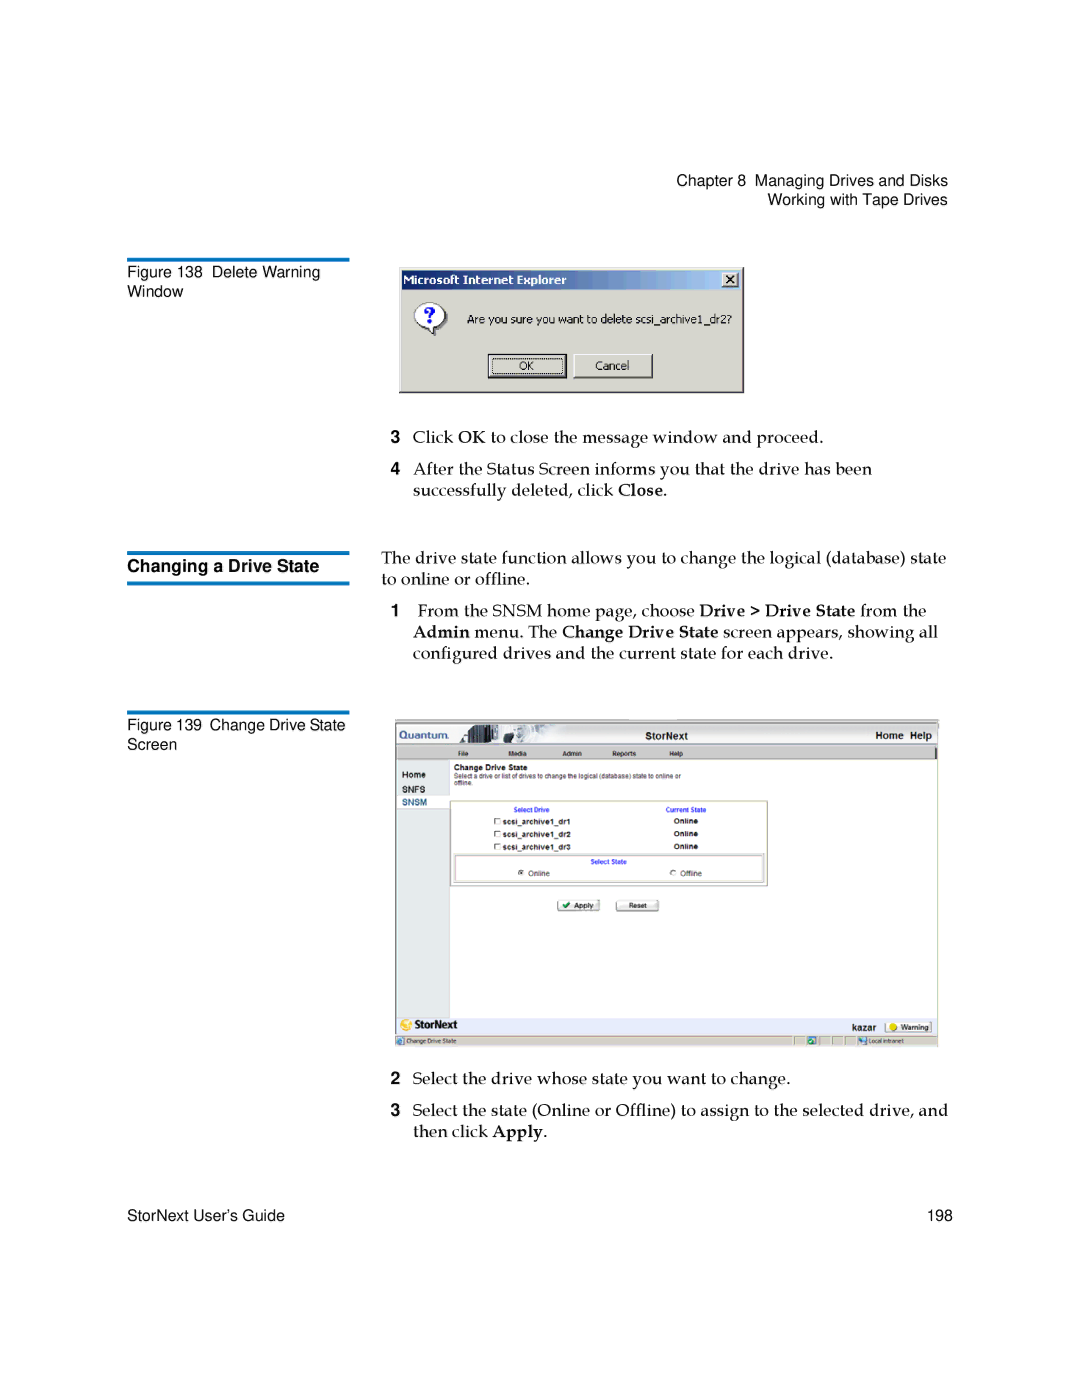
1From the SNSM home page, choose Drive > Drive State from the Admin menu. The Change Drive State screen appears, showing all configured drives and the current state for each drive.
Figure 139 Change Drive State
Screen
2Select the drive whose state you want to change.
3Select the state (Online or Offline) to assign to the selected drive, and then click Apply.
StorNext User’s Guide | 198 |
