Cancelling the Eject Media Process
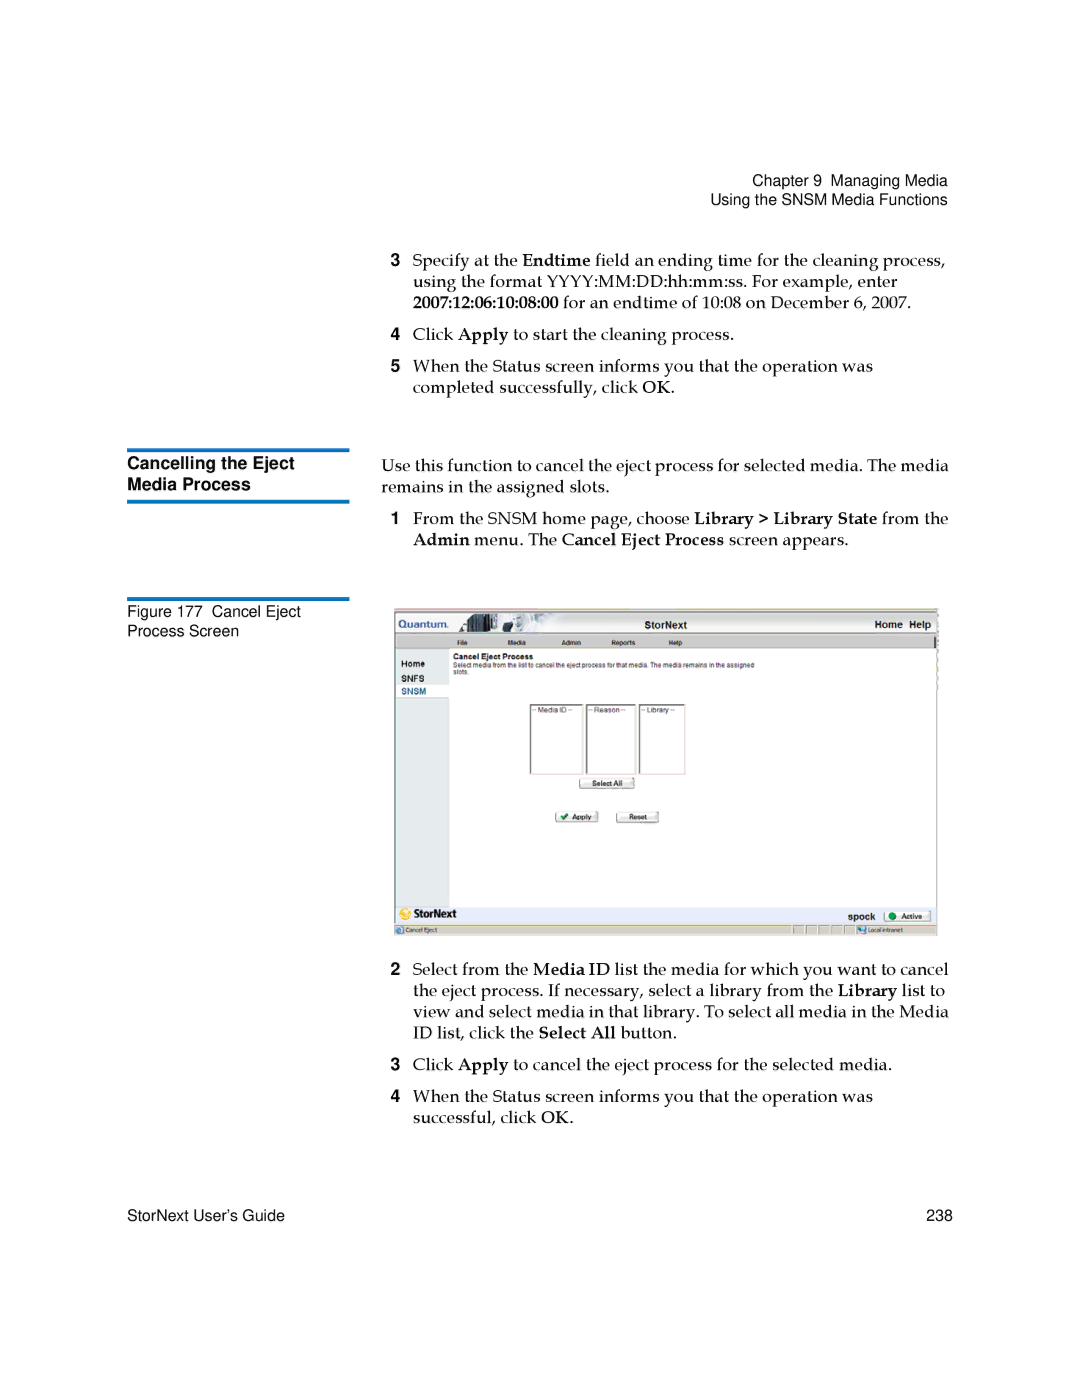
Figure 177 Cancel Eject Process Screen
Chapter 9 Managing Media
Using the SNSM Media Functions
3Specify at the Endtime field an ending time for the cleaning process, using the format YYYY:MM:DD:hh:mm:ss. For example, enter 2007:12:06:10:08:00 for an endtime of 10:08 on December 6, 2007.
4Click Apply to start the cleaning process.
5When the Status screen informs you that the operation was completed successfully, click OK.
Use this function to cancel the eject process for selected media. The media remains in the assigned slots.
1From the SNSM home page, choose Library > Library State from the Admin menu. The Cancel Eject Process screen appears.
2Select from the Media ID list the media for which you want to cancel the eject process. If necessary, select a library from the Library list to view and select media in that library. To select all media in the Media ID list, click the Select All button.
3Click Apply to cancel the eject process for the selected media.
4When the Status screen informs you that the operation was successful, click OK.
StorNext User’s Guide | 238 |
