Configuring routing | Network configuration |
|
|
5Select OK to save the new route.
6Repeat steps 1 to 5 to add more routes as required.
Configuring the routing table
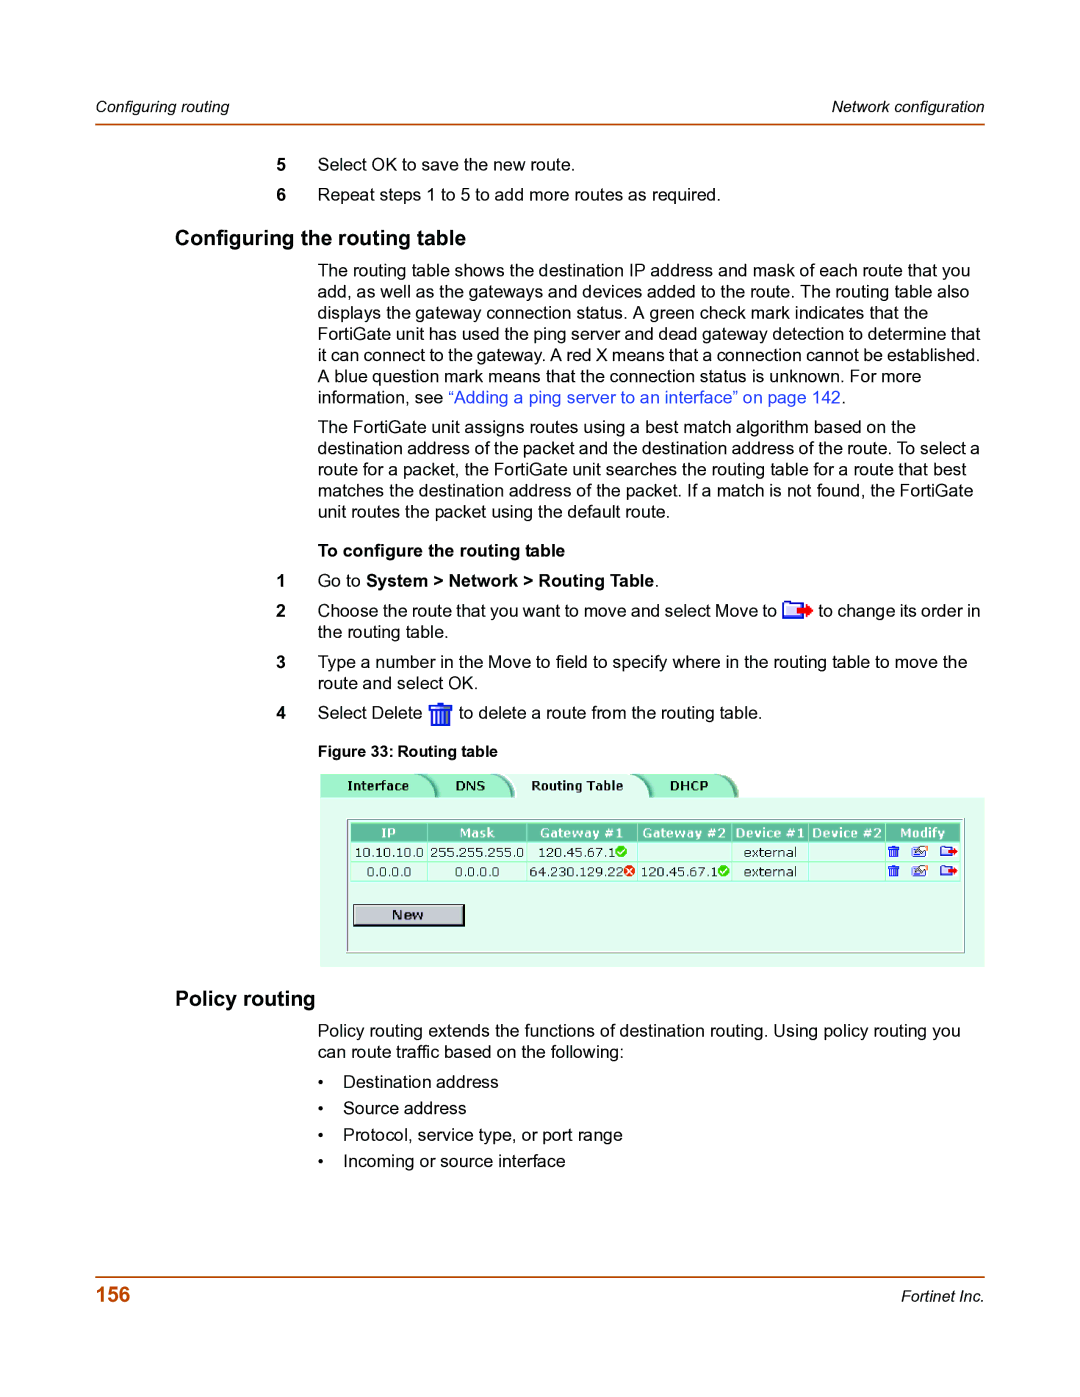
The routing table shows the destination IP address and mask of each route that you add, as well as the gateways and devices added to the route. The routing table also displays the gateway connection status. A green check mark indicates that the FortiGate unit has used the ping server and dead gateway detection to determine that it can connect to the gateway. A red X means that a connection cannot be established. A blue question mark means that the connection status is unknown. For more information, see “Adding a ping server to an interface” on page 142.
The FortiGate unit assigns routes using a best match algorithm based on the destination address of the packet and the destination address of the route. To select a route for a packet, the FortiGate unit searches the routing table for a route that best matches the destination address of the packet. If a match is not found, the FortiGate unit routes the packet using the default route.
To configure the routing table
1Go to System > Network > Routing Table.
2Choose the route that you want to move and select Move to ![]() to change its order in the routing table.
to change its order in the routing table.
3Type a number in the Move to field to specify where in the routing table to move the route and select OK.
4Select Delete ![]() to delete a route from the routing table.
to delete a route from the routing table.
Figure 33: Routing table
Policy routing
Policy routing extends the functions of destination routing. Using policy routing you can route traffic based on the following:
•Destination address
•Source address
•Protocol, service type, or port range
•Incoming or source interface
156 | Fortinet Inc. |