Using the front control buttons and LCD | NAT/Route mode installation |
|
|
Using the front control buttons and LCD
As an alternative to the setup wizard, use the information that you recorded in Table 10 on page 42 and Table 12 on page 43 to complete the following procedure. Starting with Main Menu displayed on the LCD, use the front control buttons and LCD:
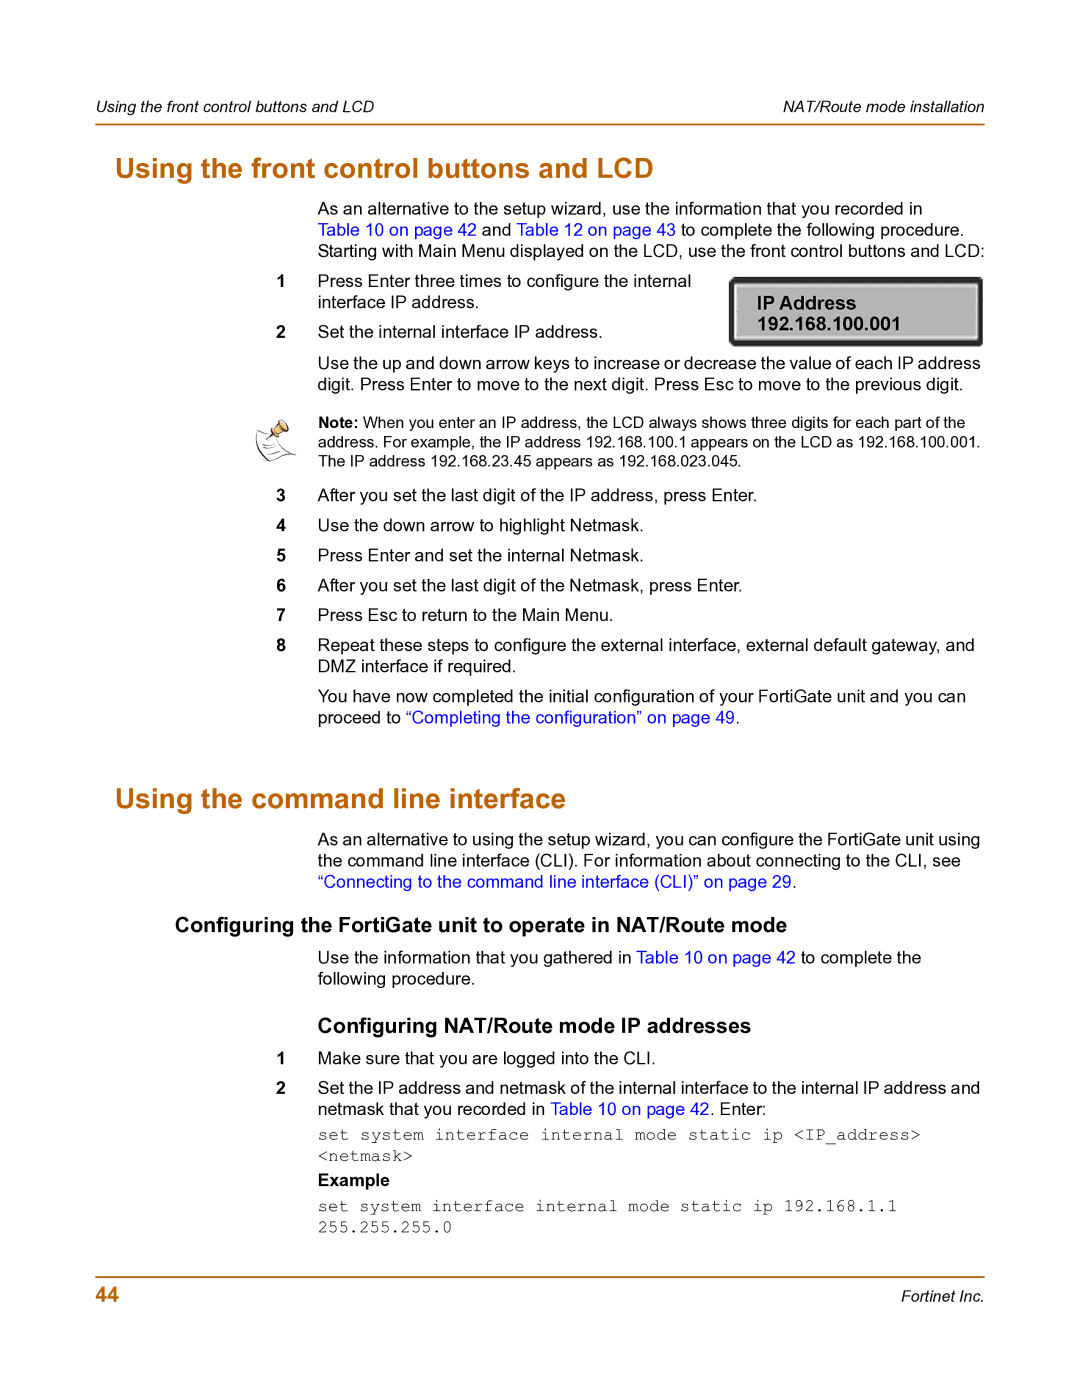
1Press Enter three times to configure the internal interface IP address.
2Set the internal interface IP address.
Use the up and down arrow keys to increase or decrease the value of each IP address digit. Press Enter to move to the next digit. Press Esc to move to the previous digit.
Note: When you enter an IP address, the LCD always shows three digits for each part of the address. For example, the IP address 192.168.100.1 appears on the LCD as 192.168.100.001. The IP address 192.168.23.45 appears as 192.168.023.045.
3After you set the last digit of the IP address, press Enter.
4Use the down arrow to highlight Netmask.
5Press Enter and set the internal Netmask.
6After you set the last digit of the Netmask, press Enter.
7Press Esc to return to the Main Menu.
8Repeat these steps to configure the external interface, external default gateway, and DMZ interface if required.
You have now completed the initial configuration of your FortiGate unit and you can proceed to “Completing the configuration” on page 49.
Using the command line interface
As an alternative to using the setup wizard, you can configure the FortiGate unit using the command line interface (CLI). For information about connecting to the CLI, see “Connecting to the command line interface (CLI)” on page 29.
Configuring the FortiGate unit to operate in NAT/Route mode
Use the information that you gathered in Table 10 on page 42 to complete the following procedure.
Configuring NAT/Route mode IP addresses
1Make sure that you are logged into the CLI.
2Set the IP address and netmask of the internal interface to the internal IP address and netmask that you recorded in Table 10 on page 42. Enter:
set system interface internal mode static ip <IP_address> <netmask>
Example
set system interface internal mode static ip 192.168.1.1 255.255.255.0
44 | Fortinet Inc. |