5Remove one screw (callout 4), and disconnect the top edge of the grounding strip.
4
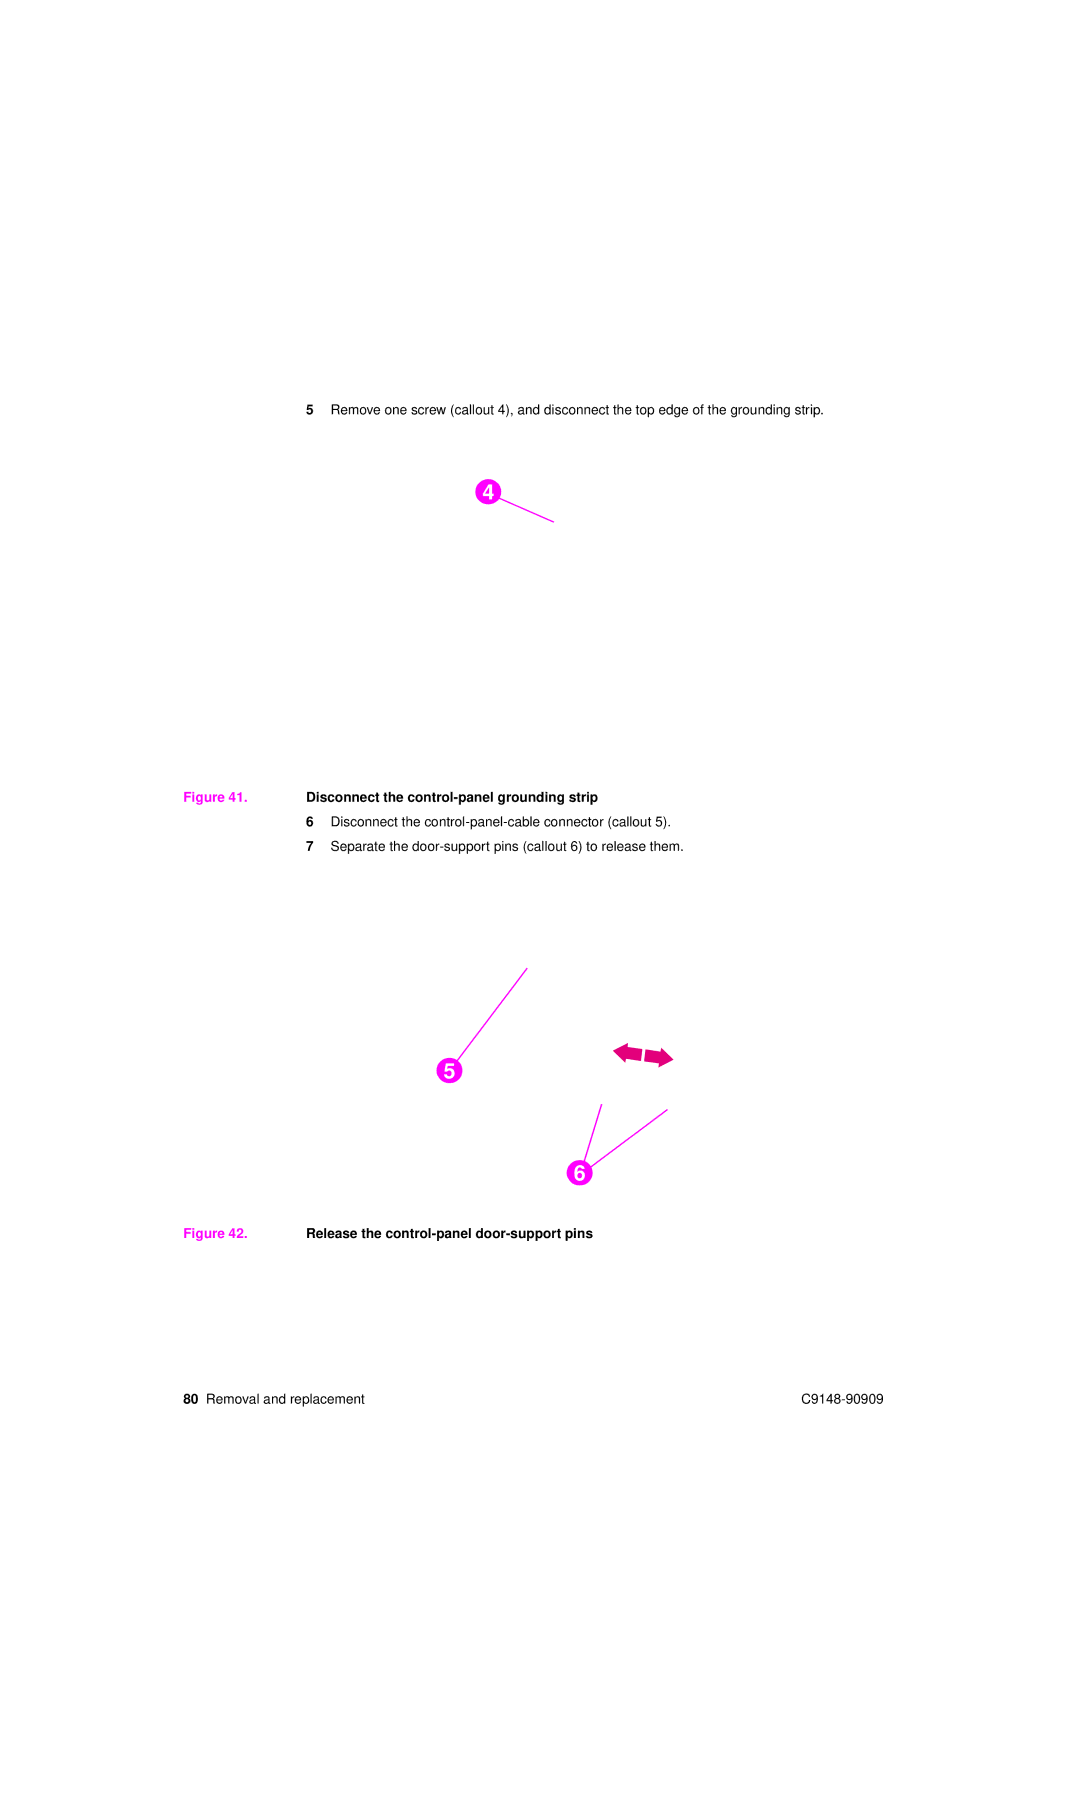
Figure 41. Disconnect the control-panel grounding strip
6Disconnect the
7Separate the
5
6
Figure 42. Release the control-panel door-support pins
80 Removal and replacement |