Scanning lamp
1Remove the glass. See “Glass” on page 92.
CAUTION | Do not touch the lamp, because skin oils can create hot spots. Do not touch the mirror, because |
| fingerprints will affect print quality. |
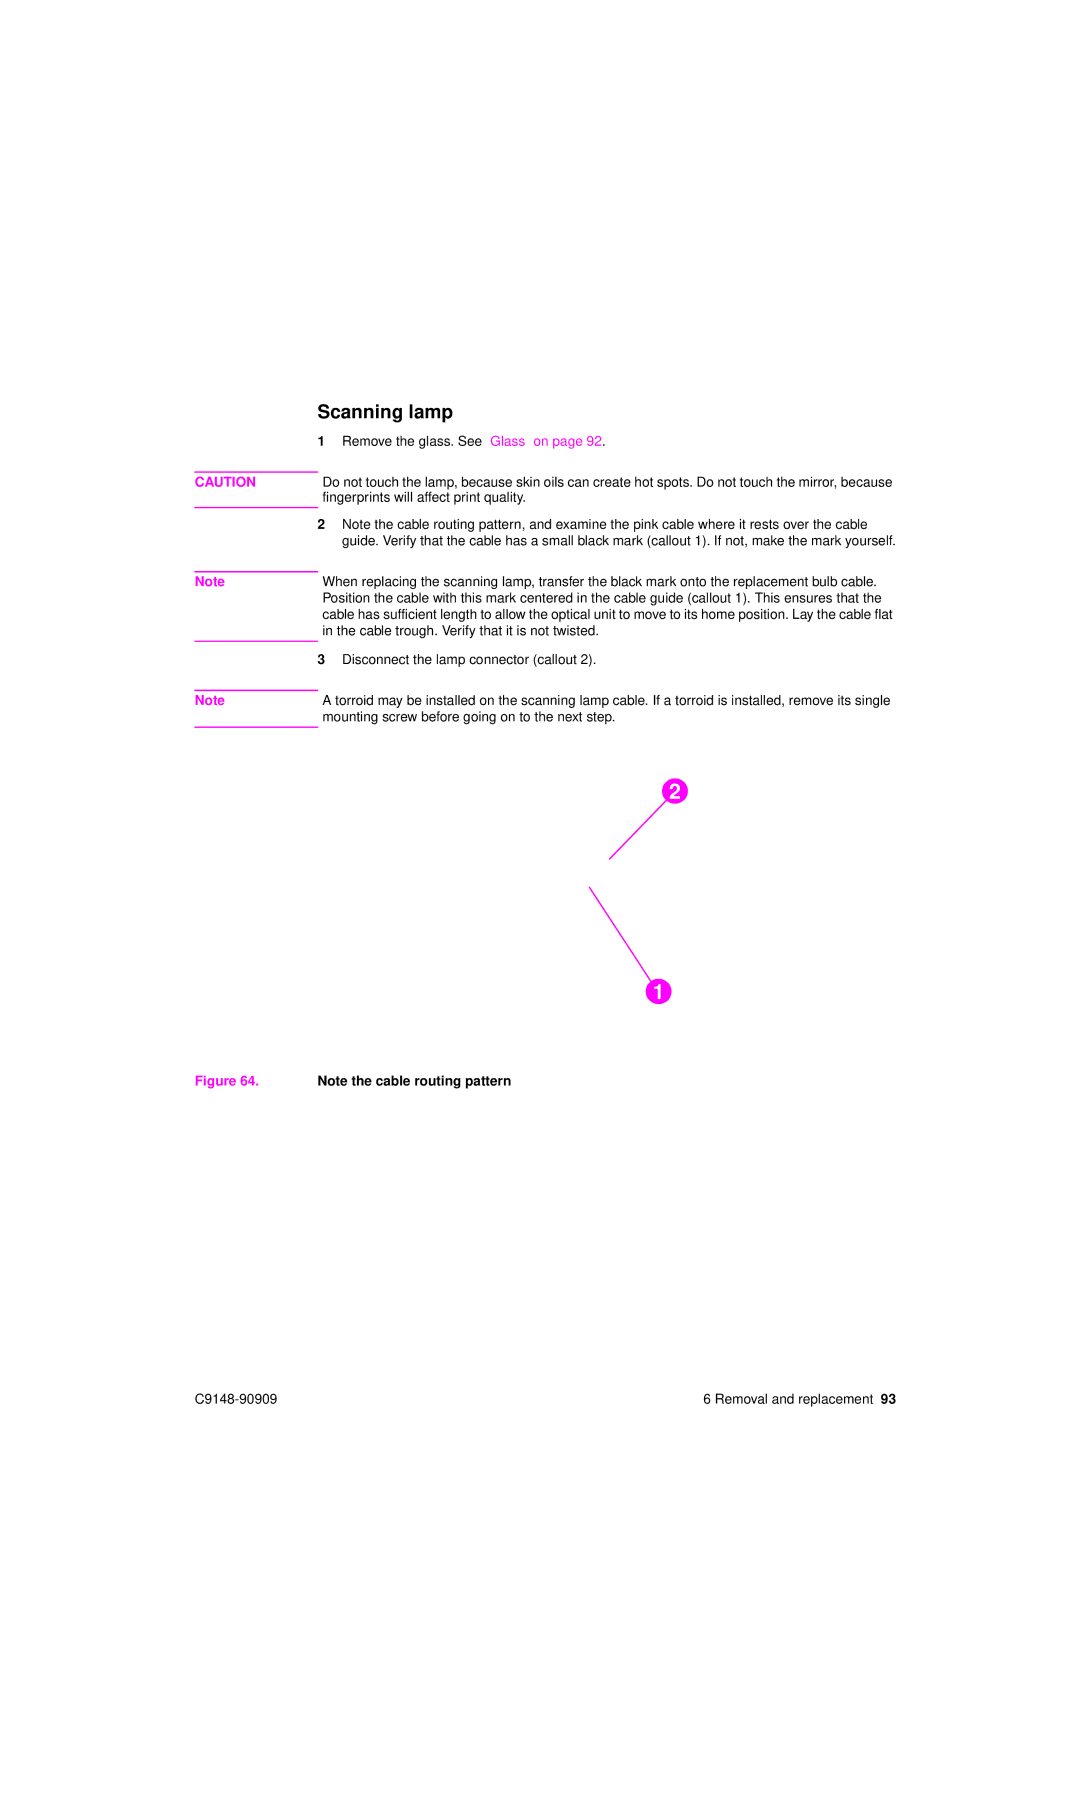
2Note the cable routing pattern, and examine the pink cable where it rests over the cable guide. Verify that the cable has a small black mark (callout 1). If not, make the mark yourself.
Note | When replacing the scanning lamp, transfer the black mark onto the replacement bulb cable. |
| Position the cable with this mark centered in the cable guide (callout 1). This ensures that the |
| cable has sufficient length to allow the optical unit to move to its home position. Lay the cable flat |
| in the cable trough. Verify that it is not twisted. |
|
|
| 3 Disconnect the lamp connector (callout 2). |
|
|
Note | A torroid may be installed on the scanning lamp cable. If a torroid is installed, remove its single |
| mounting screw before going on to the next step. |
|
|
21
12
Figure 64. Note the cable routing pattern
6 Removal and replacement 93 |