Reinstall Note Anytime the glass is removed and replaced, calibrate the ADF/scan unit. See “Calibration” on page 47.
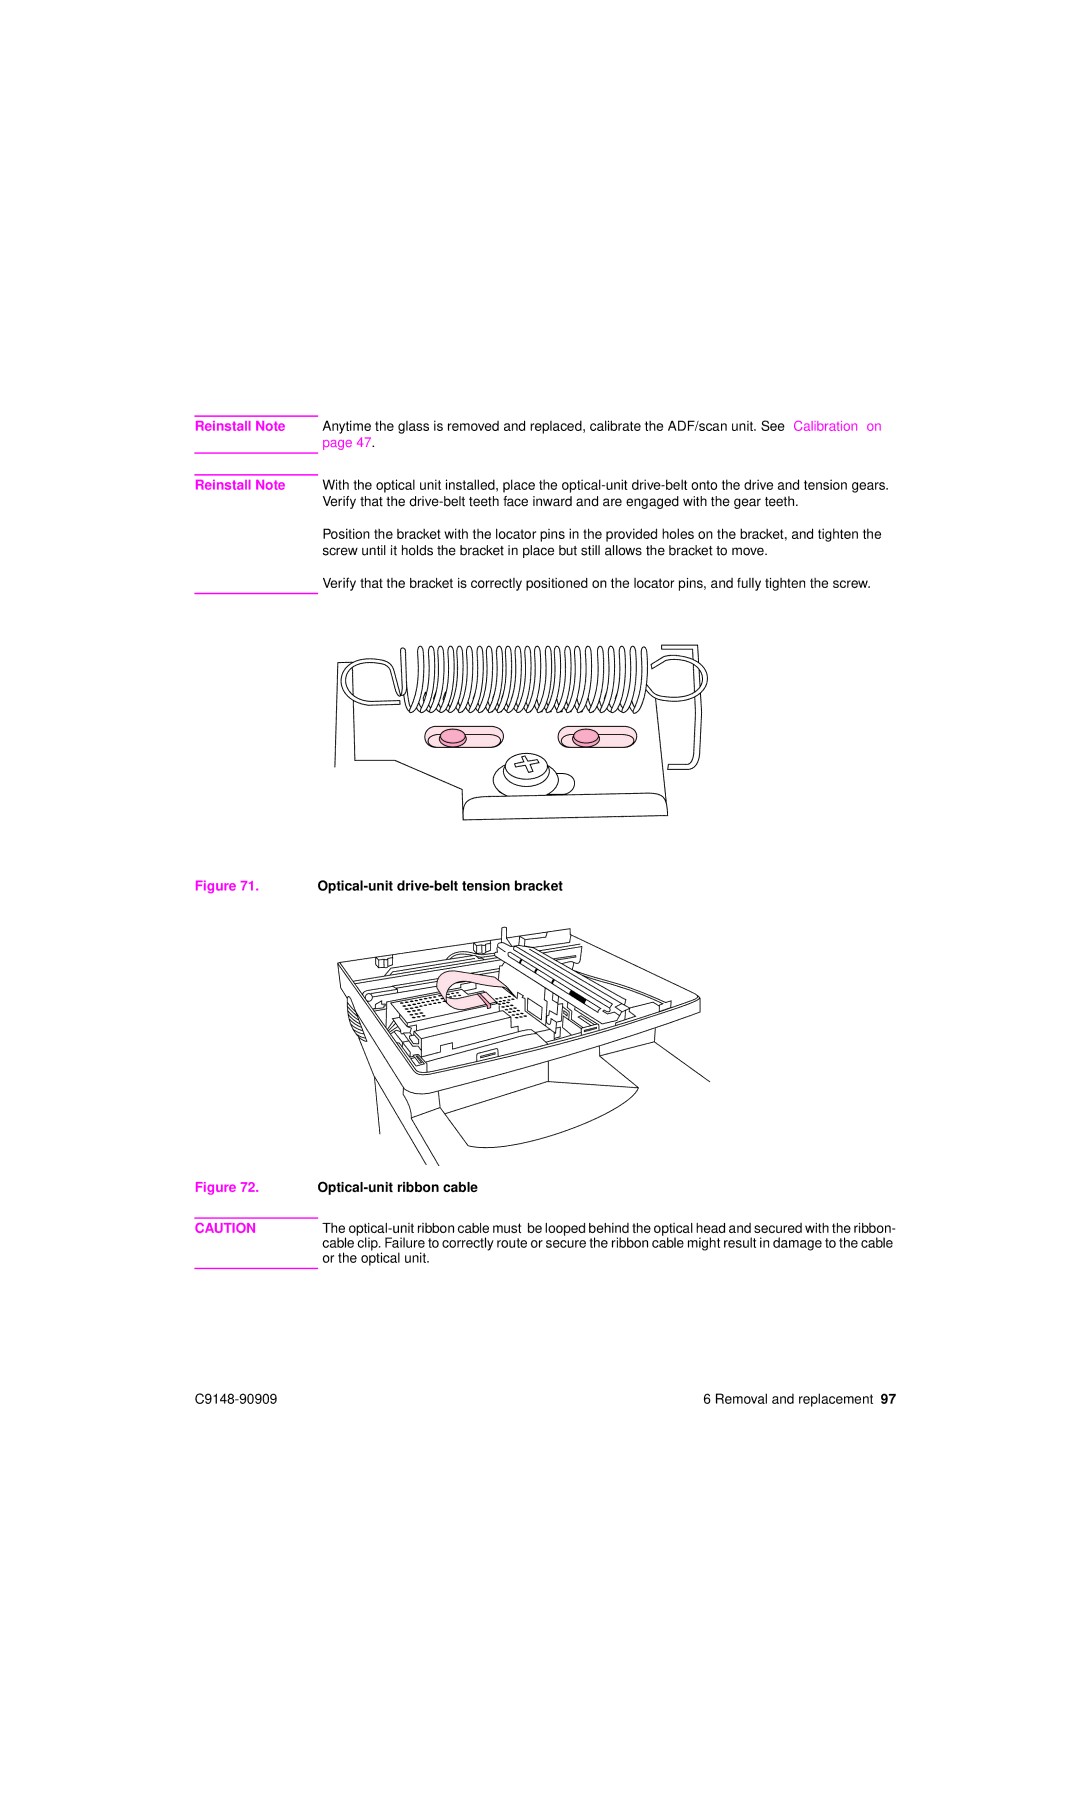
Reinstall Note With the optical unit installed, place the
Position the bracket with the locator pins in the provided holes on the bracket, and tighten the screw until it holds the bracket in place but still allows the bracket to move.
Verify that the bracket is correctly positioned on the locator pins, and fully tighten the screw.
Figure 71. Optical-unit drive-belt tension bracket
Figure 72. Optical-unit ribbon cable
CAUTIONThe
6 Removal and replacement 97 |
