4Reach through the copy processor board cavity, and grasp the scanner controller PCB.
Figure 80. Grasp the scanner controller PCB
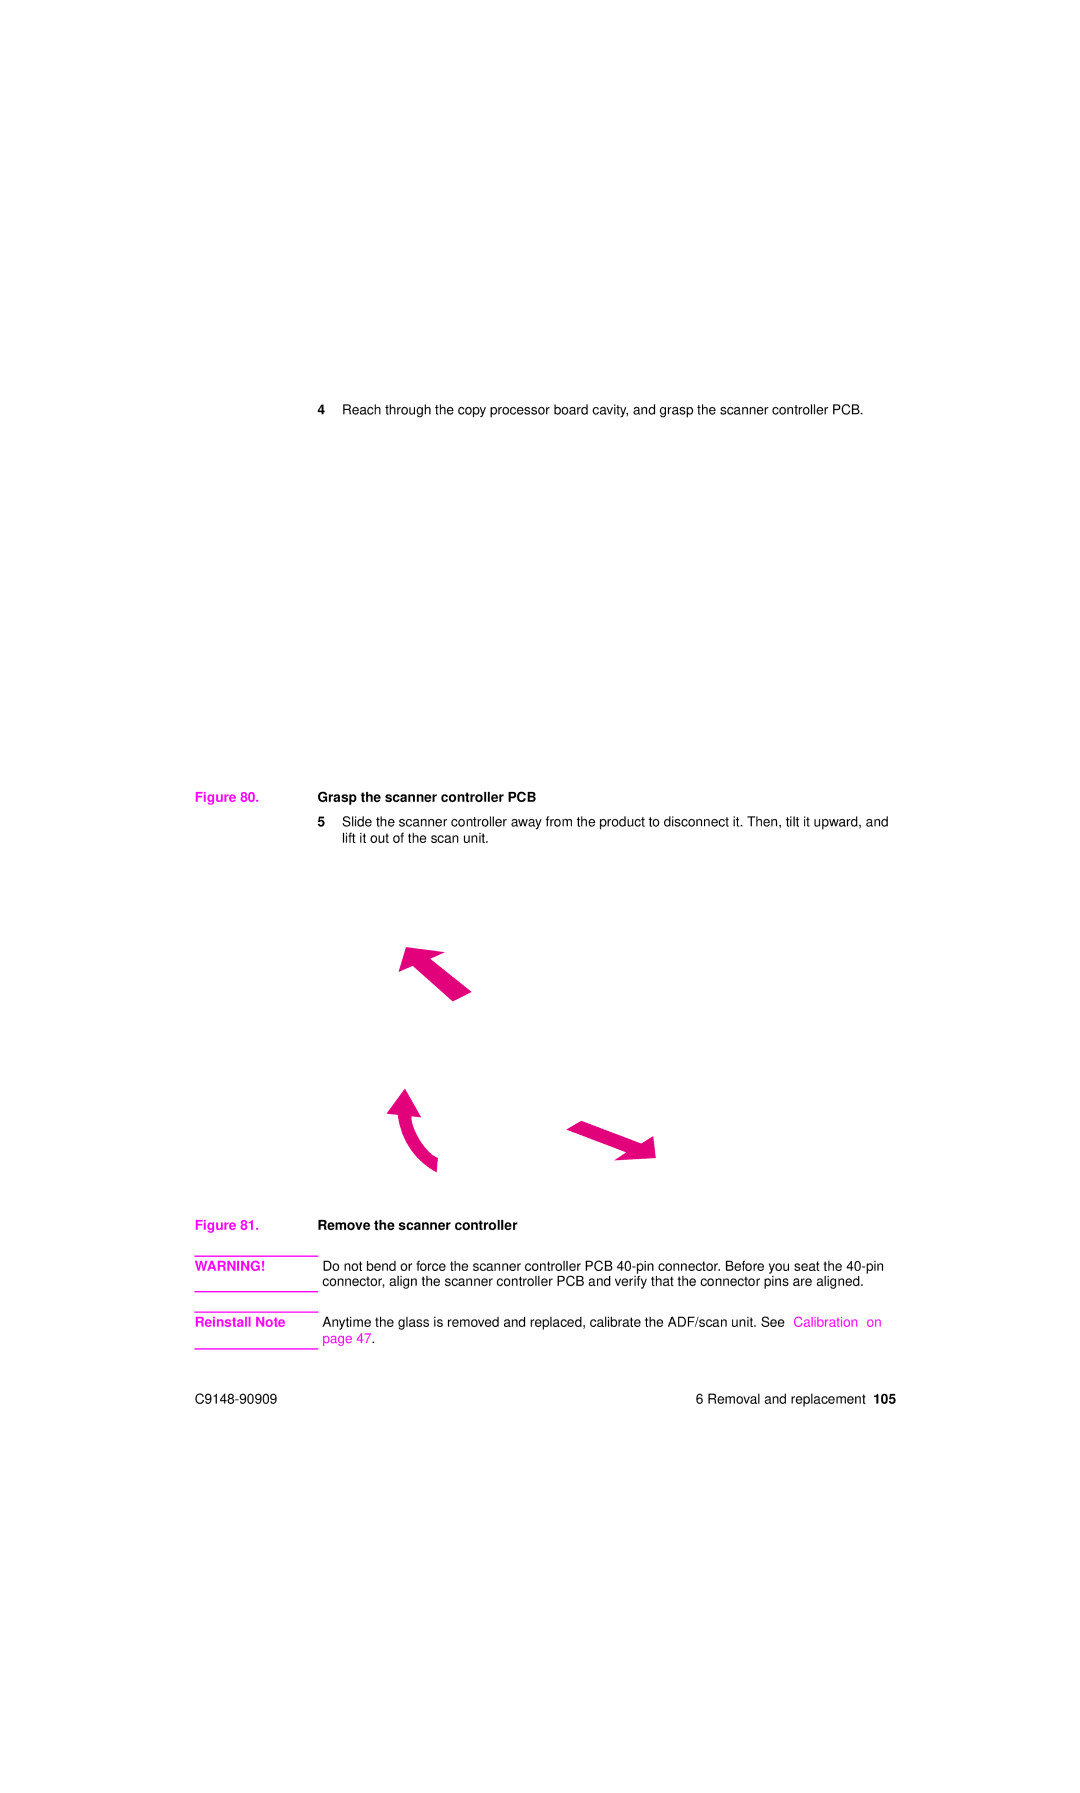
5Slide the scanner controller away from the product to disconnect it. Then, tilt it upward, and lift it out of the scan unit.
Figure 81. Remove the scanner controller
WARNING! Do not bend or force the scanner controller PCB
Reinstall Note Anytime the glass is removed and replaced, calibrate the ADF/scan unit. See “Calibration” on page 47.
6 Removal and replacement 105 |