Glass
Note | It is not necessary to remove the scan unit from the print unit (as shown) to remove the glass. |
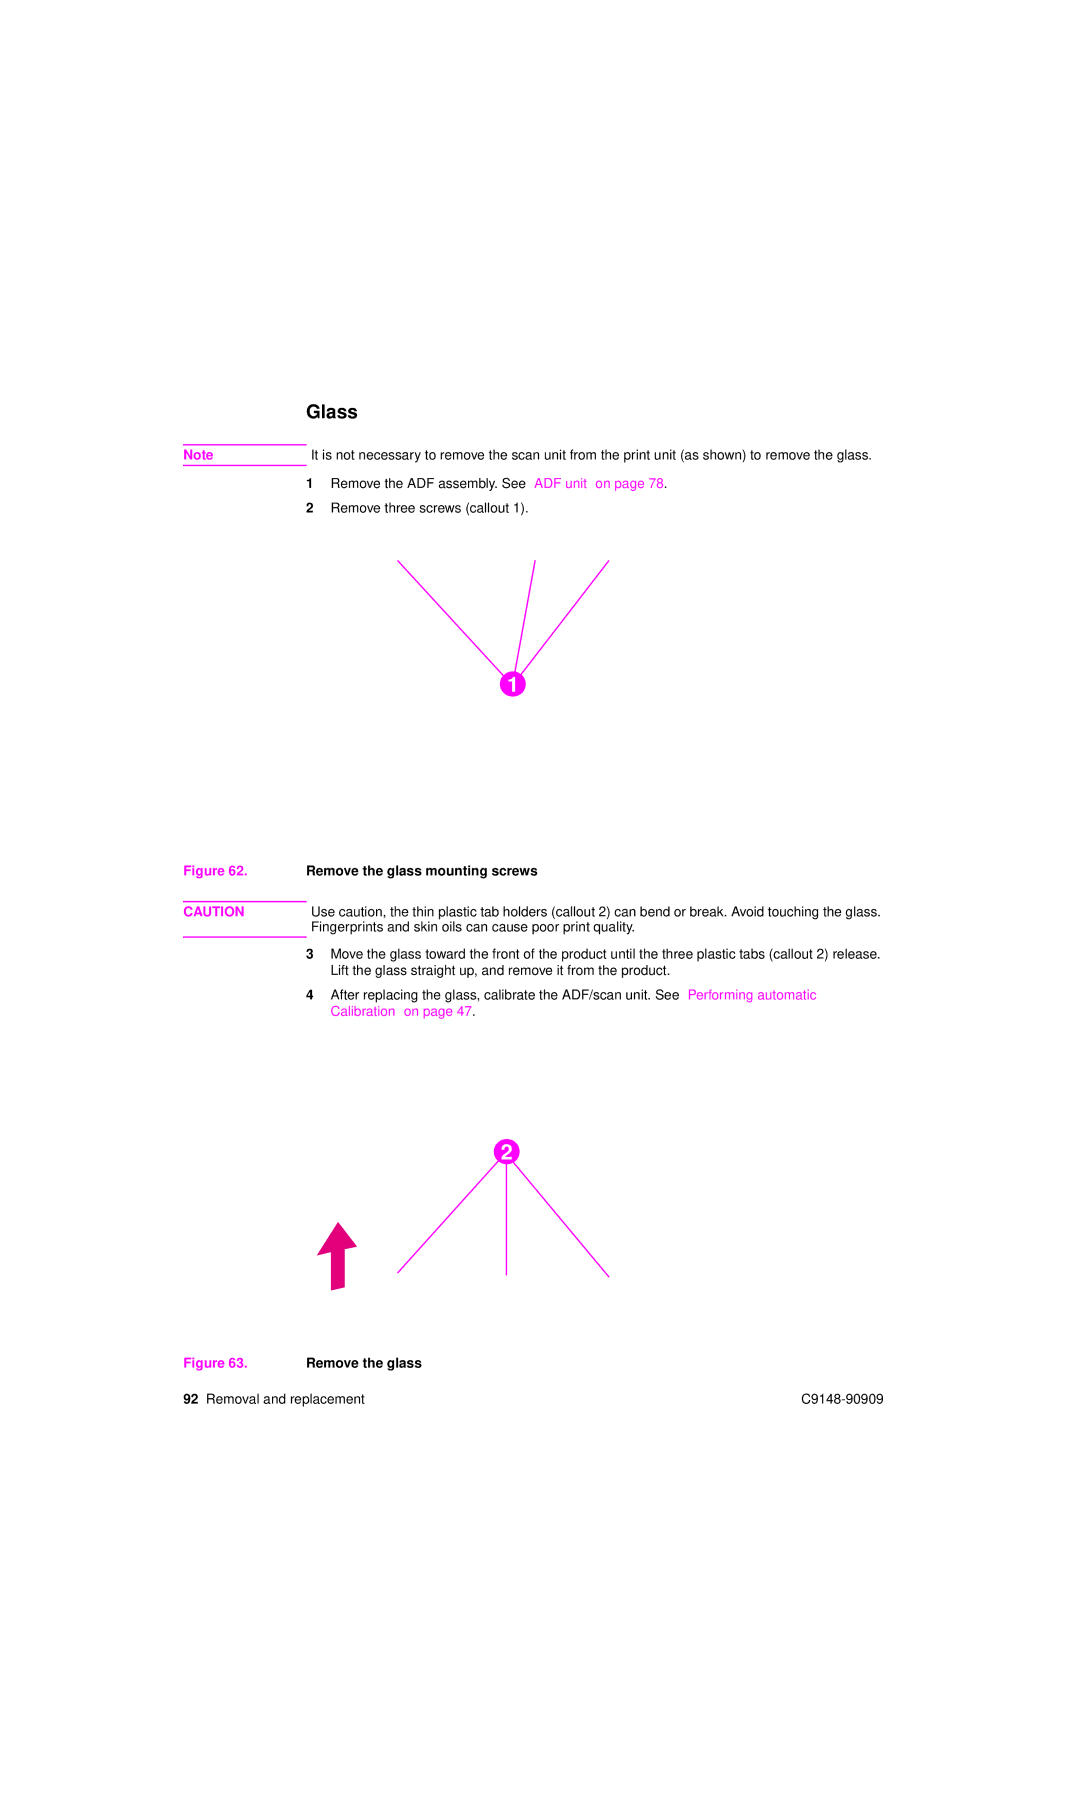
1Remove the ADF assembly. See “ADF unit” on page 78.
2Remove three screws (callout 1).
1
Figure 62. | Remove the glass mounting screws | ||
|
|
| |
CAUTION |
| Use caution, the thin plastic tab holders (callout 2) can bend or break. Avoid touching the glass. | |
|
| Fingerprints and skin oils can cause poor print quality. | |
| 3 | Move the glass toward the front of the product until the three plastic tabs (callout 2) release. | |
|
|
| Lift the glass straight up, and remove it from the product. |
| 4 | After replacing the glass, calibrate the ADF/scan unit. See “Performing automatic | |
|
|
| Calibration” on page 47. |
2
Figure 63. | Remove the glass |
92 Removal and replacement |