8Flex the left arm (callout 7) to the right (inward), and move the
7
Figure 43. Remove the control-panel door
NoteStep 9 is essential. The MFP must retain the original serial- and
WARNING! The control panel in figure 44 is shown installed in the open position so that the label panel screws can be easily seen. Remove the control panel and lay it on a flat surface before
removing the label panel to keep from dropping the mounting screws into the print unit.
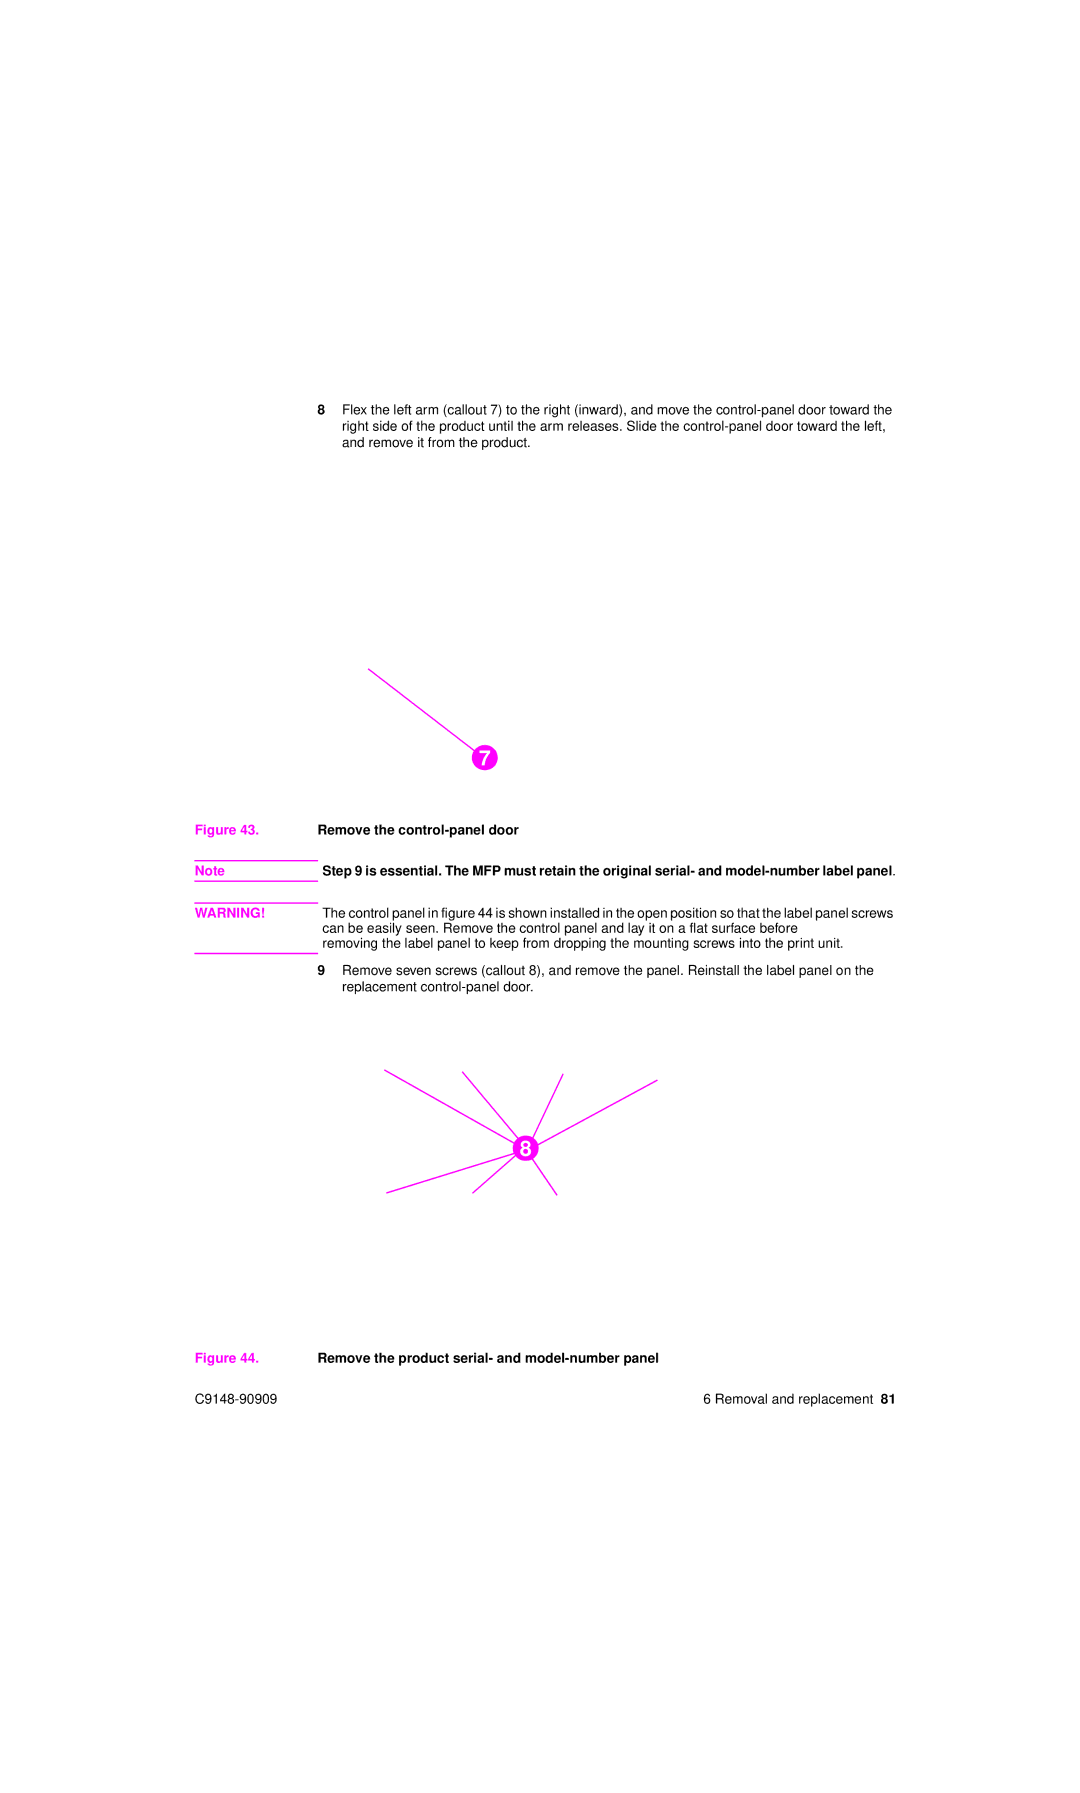
9Remove seven screws (callout 8), and remove the panel. Reinstall the label panel on the replacement
8
Figure 44. Remove the product serial- and model-number panel
6 Removal and replacement 81 |