3.Create a new Cluster Group for the resources to be allocated to the secondary Active node.
a.Click Add New Resources. Add the new Physical Disk to the new Cluster Group you have created.
b.Move the Cluster Group with all its resources to the appropriate active node by right clicking over the selected group and selecting Move Group.
Note All drive letters or resource names in the cluster resources must be unique. Drive letters or resource names cannot be used more than once. If you have identical drive letters or resources, they will not failover to the another node because it already contains the same drive letter. If the disk drive does not failover to another node during failure, it will not be managed by FMA.
4.Log on to the secondary active node and verify the resources have come online.
a.Open the control panel by clicking Start → Settings → Control Panel.
b.Open Administrative Tools and then Computer Management.
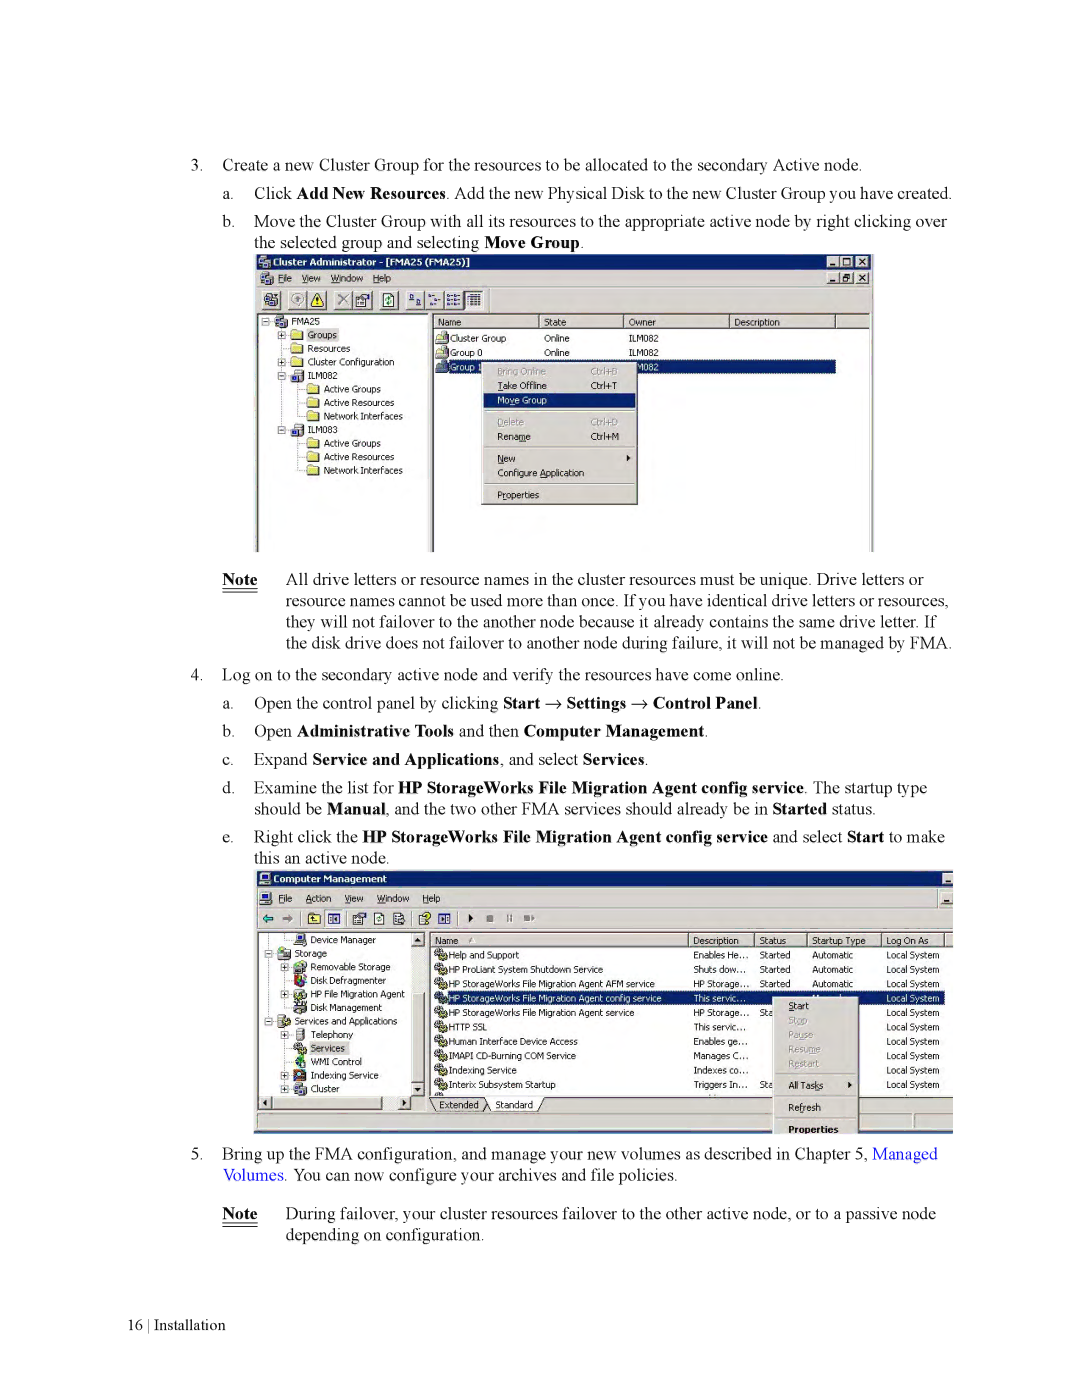
c.Expand Service and Applications, and select Services.
d.Examine the list for HP StorageWorks File Migration Agent config service. The startup type should be Manual, and the two other FMA services should already be in Started status.
e.Right click the HP StorageWorks File Migration Agent config service and select Start to make this an active node.
5.Bring up the FMA configuration, and manage your new volumes as described in Chapter 5, Managed Volumes. You can now configure your archives and file policies.
Note During failover, your cluster resources failover to the other active node, or to a passive node depending on configuration.