Sending Scan File by
E-mail Screen
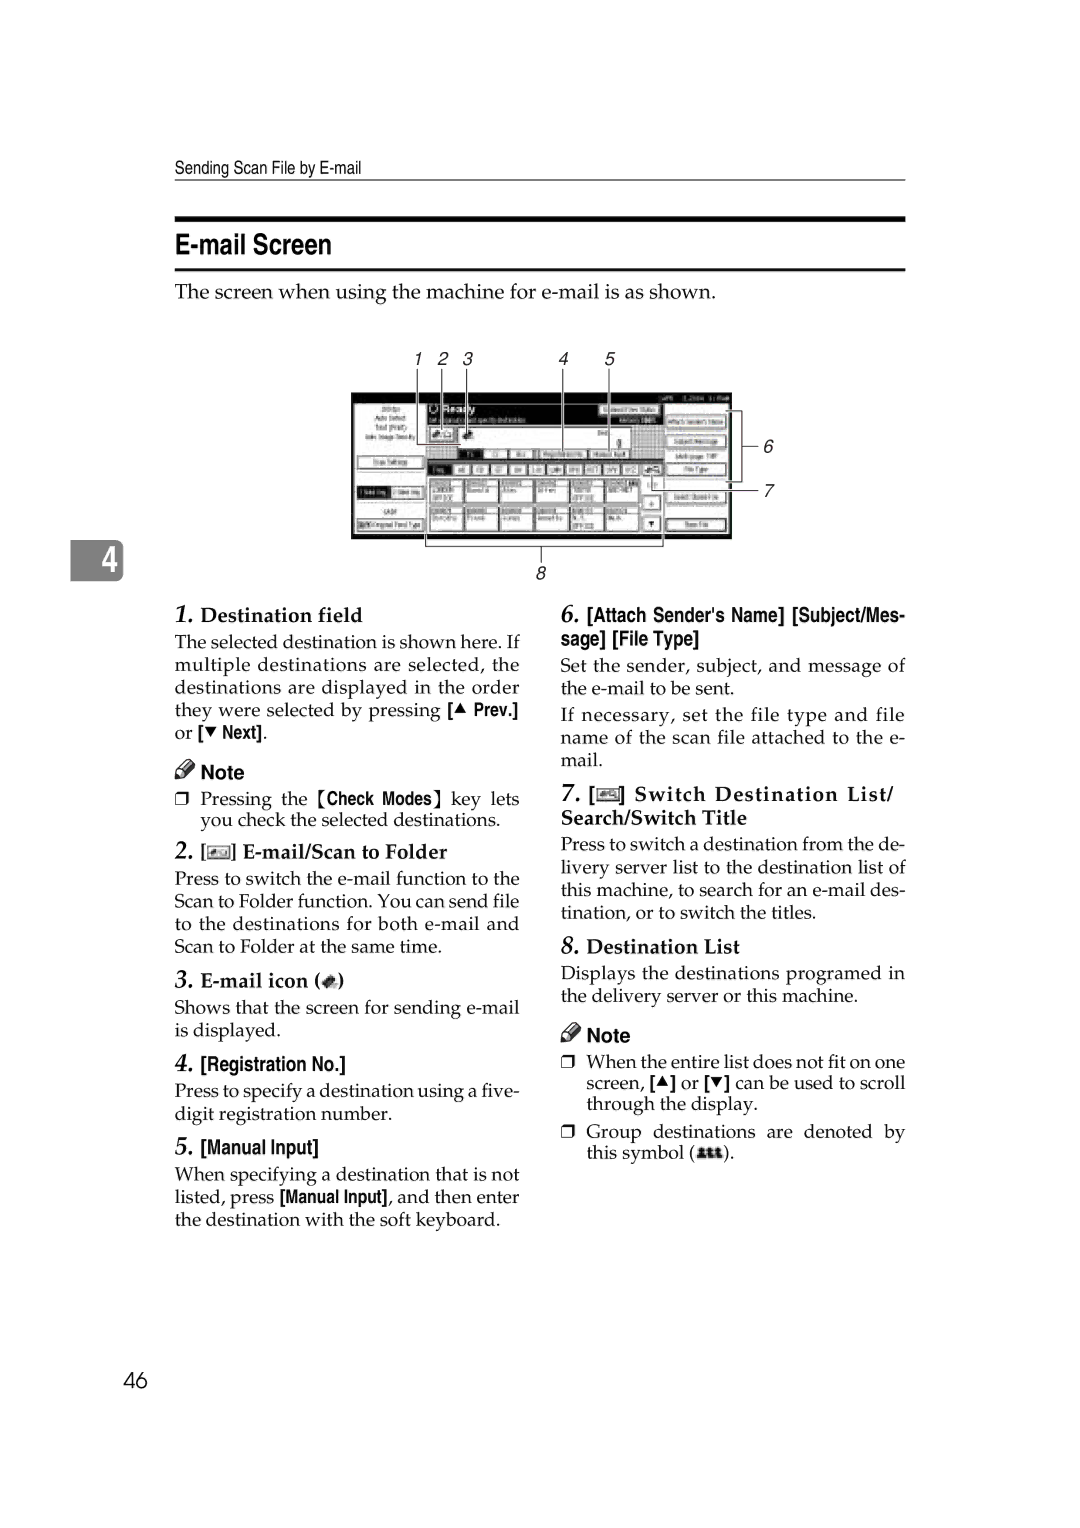
The screen when using the machine for
1 | 2 | 3 | 4 | 5 |
6
7
|
|
|
| |
4 |
|
| ||
8 | ||||
| ||||
1.Destination field
The selected destination is shown here. If multiple destinations are selected, the destinations are displayed in the order they were selected by pressing [U Prev.] or [TNext].
![]()
![]() Note
Note
rPressing the {Check Modes} key lets you check the selected destinations.
2.[ ]
] E-mail/Scan to Folder
Press to switch the
3.![]() )
)
Shows that the screen for sending
4.[Registration No.]
Press to specify a destination using a five- digit registration number.
5.[Manual Input]
When specifying a destination that is not listed, press [Manual Input], and then enter the destination with the soft keyboard.
6.[Attach Sender's Name] [Subject/Mes- sage] [File Type]
Set the sender, subject, and message of the
If necessary, set the file type and file name of the scan file attached to the e- mail.
7.[ ] Switch Destination List/ Search/Switch Title
Press to switch a destination from the de- livery server list to the destination list of this machine, to search for an
8.Destination List
Displays the destinations programed in the delivery server or this machine.
![]()
![]() Note
Note
rWhen the entire list does not fit on one screen, [U] or [T] can be used to scroll through the display.
rGroup destinations are denoted by this symbol (![]() ).
).
46