Preparations for Use as a Network Scanner
•Scan Size
X3: 10 - 432 mm (0.4” - 17.0”)
Y3: 10 - 297 mm (0.4” - 11.7”)
Keep the scan area settings within these range.
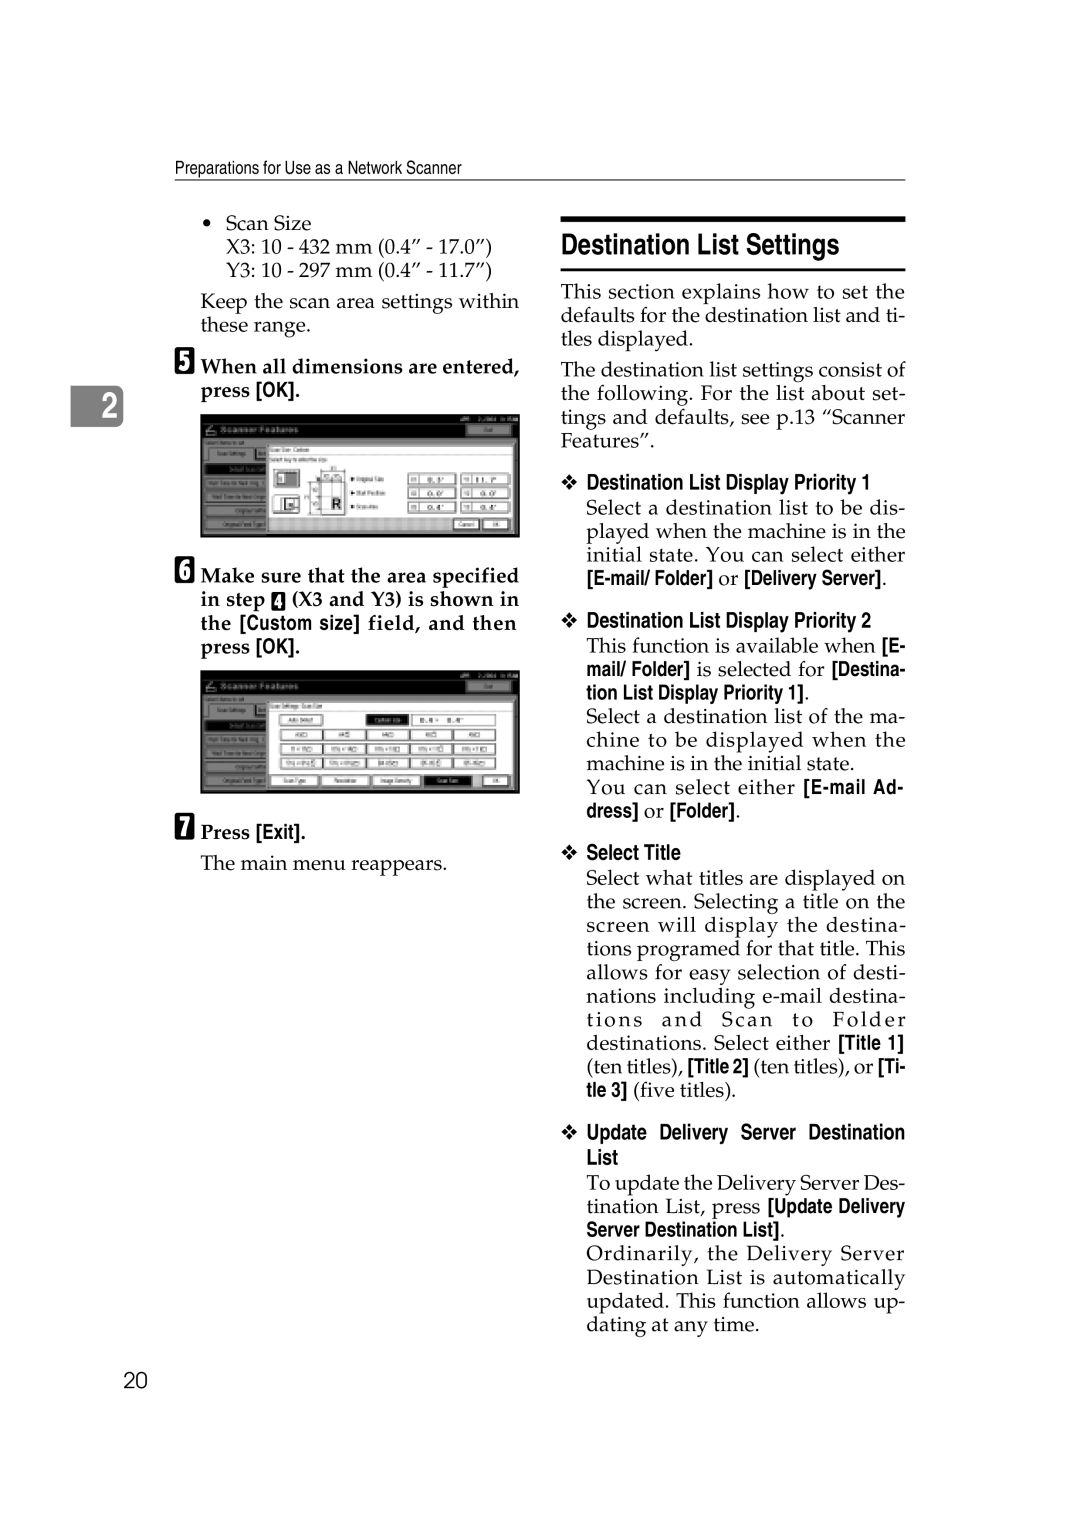
E When all dimensions are entered,
Destination List Settings
This section explains how to set the defaults for the destination list and ti- tles displayed.
The destination list settings consist of
2
press [OK].
the following. For the list about set- tings and defaults, see p.13 “Scanner Features”.
F Make sure that the area specified in step D (X3 and Y3) is shown in the [Custom size] field, and then press [OK].
G Press [Exit].
The main menu reappears.
vDestination List Display Priority 1
Select a destination list to be dis- played when the machine is in the initial state. You can select either
[E-mail/ Folder] or [Delivery Server].
vDestination List Display Priority 2
This function is available when [E- mail/ Folder] is selected for [Destina- tion List Display Priority 1].
Select a destination list of the ma- chine to be displayed when the machine is in the initial state.
You can select either
vSelect Title
Select what titles are displayed on the screen. Selecting a title on the screen will display the destina- tions programed for that title. This allows for easy selection of desti- nations including
vUpdate Delivery Server Destination List
To update the Delivery Server Des- tination List, press [Update Delivery Server Destination List].
Ordinarily, the Delivery Server Destination List is automatically updated. This function allows up- dating at any time.
20
