Using the Network Delivery Scanner Function
B Press [Switch Destination List]. | Note |
|
CPress [Delivery Server].
DPress [Exit].
The Network Delivery Scanner screen appears.
F Specify the destination.
| To specify a destination, you can |
| select it from the list, specifying a |
| registration number, select it after |
| search for it, or directly enter the e- |
7 | mail address. |
![]()
![]() Note
Note
rWhen using ScanRouter V2 Lite/Professional , the destina- tion list is updated automatical- ly.
When selecting a destination from the list
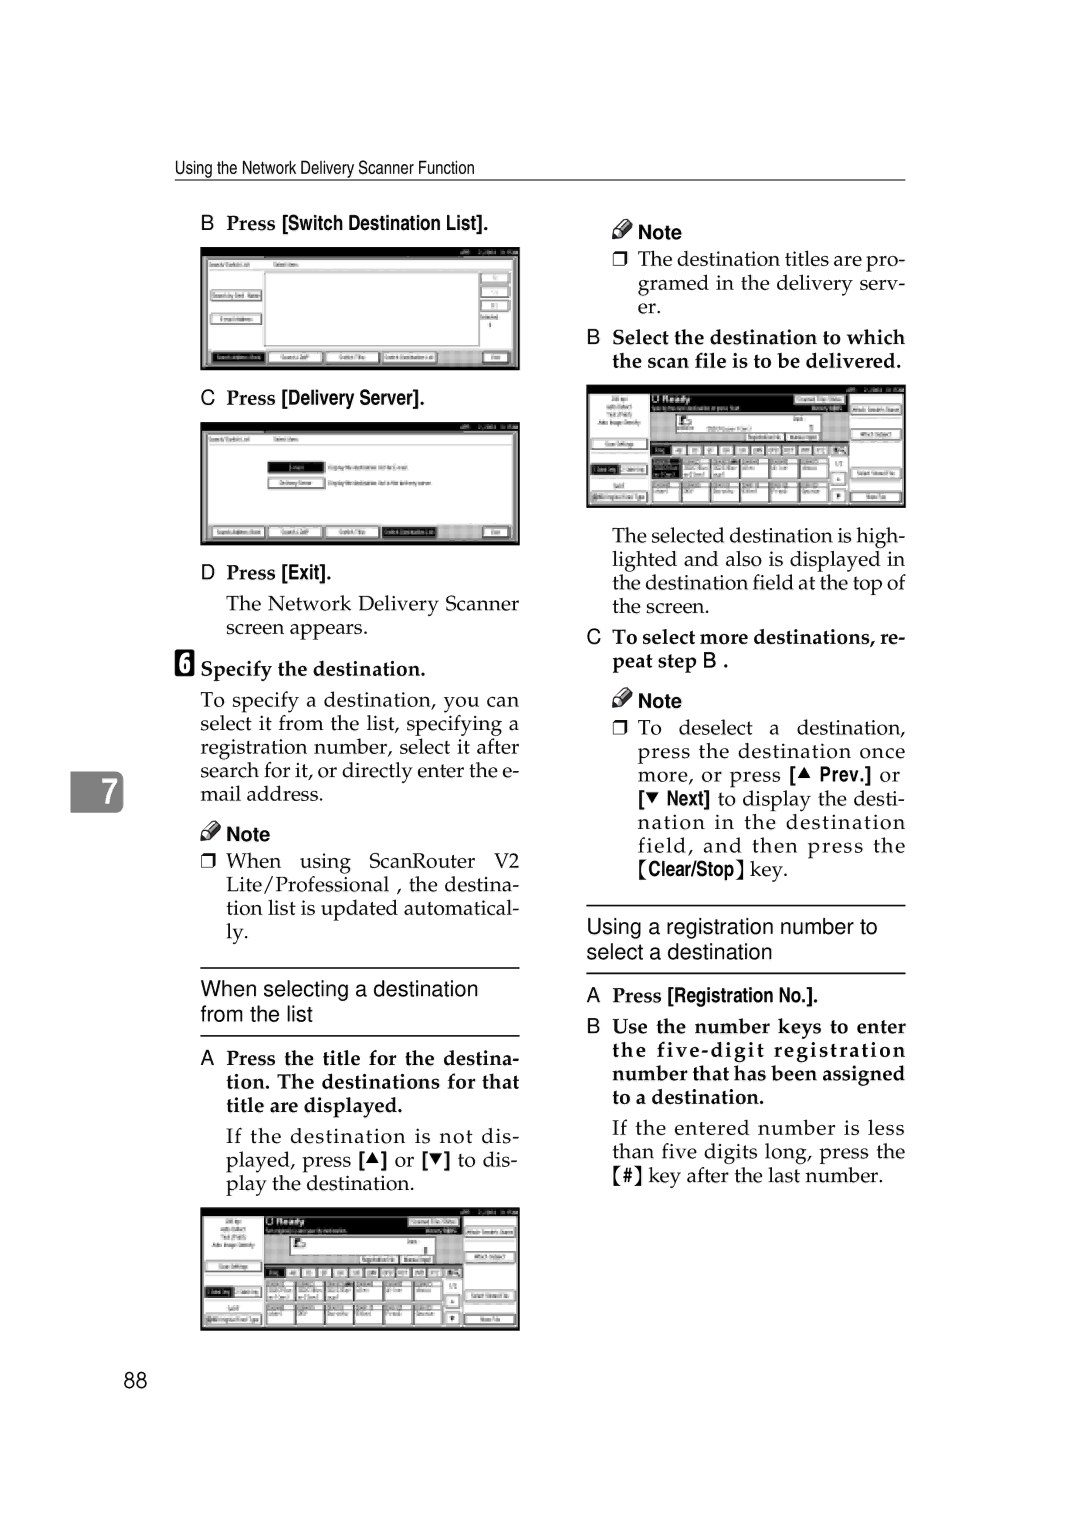
A Press the title for the destina- tion. The destinations for that title are displayed.
If the destination is not dis- played, press [U] or [T] to dis- play the destination.
rThe destination titles are pro- gramed in the delivery serv- er.
B Select the destination to which the scan file is to be delivered.
The selected destination is high- lighted and also is displayed in the destination field at the top of the screen.
CTo select more destinations, re- peat step B.
![]()
![]() Note
Note
r To deselect a destination,
press the destination once more, or press [U Prev.] or [T Next] to display the desti- nation in the destination
field, and then press the {Clear/Stop}key.
Using a registration number to select a destination
APress [Registration No.].
BUse the number keys to enter the
If the entered number is less
than five digits long, press the {#}key after the last number.
88
