Sending Scan File by
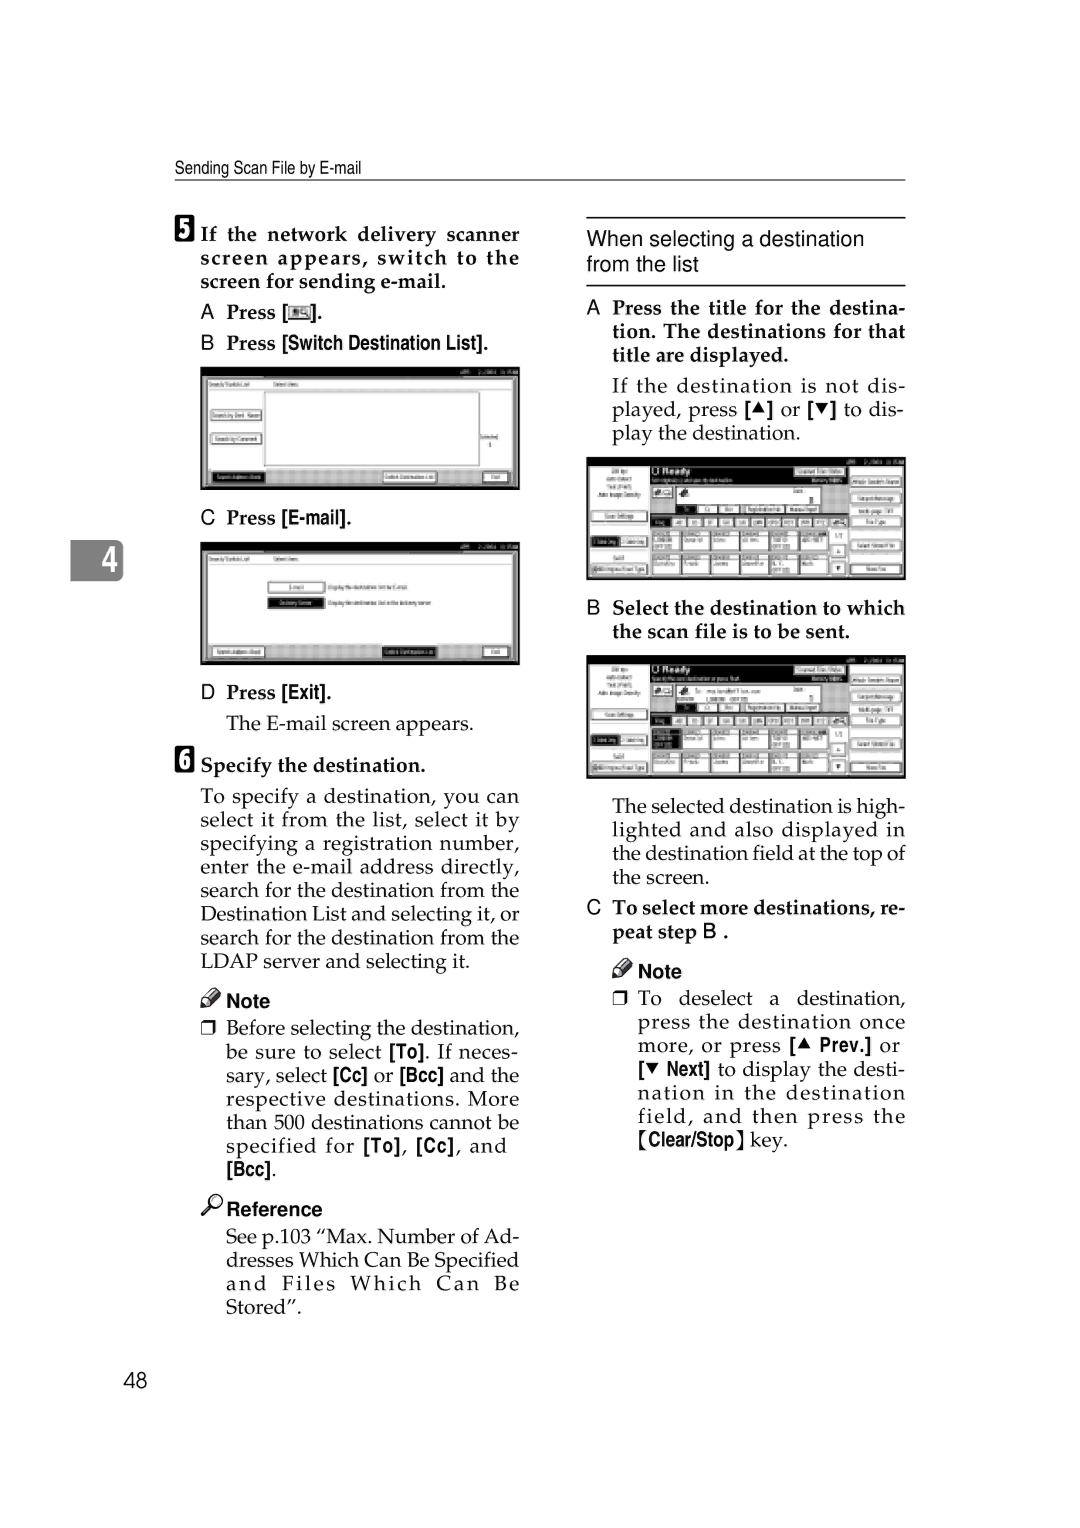
E If the network delivery scanner screen appears, switch to the screen for sending
APress [![]() ].
].
BPress [Switch Destination List].
CPress [E-mail].
4
DPress [Exit].
The
F Specify the destination.
To specify a destination, you can select it from the list, select it by specifying a registration number, enter the
![]()
![]() Note
Note
rBefore selecting the destination, be sure to select [To]. If neces- sary, select [Cc] or [Bcc] and the respective destinations. More than 500 destinations cannot be specified for [To], [Cc], and
[Bcc].

 Reference
When selecting a destination from the list
A Press the title for the destina- tion. The destinations for that title are displayed.
If the destination is not dis- played, press [U] or [T] to dis- play the destination.
B Select the destination to which the scan file is to be sent.
The selected destination is high- lighted and also displayed in the destination field at the top of the screen.
CTo select more destinations, re- peat step B.
![]()
![]() Note
Note
r To deselect a destination,
press the destination once more, or press [U Prev.] or [T Next] to display the desti- nation in the destination
field, and then press the {Clear/Stop}key.
See p.103 “Max. Number of Ad- dresses Which Can Be Specified and Files Which Can Be Stored”.
48
