Using the Network Delivery Scanner Function
B Enter the destination.
![]()
![]() Note
Note
rEnter the
rIt is possible to use letters, numbers, and periods. The symbols ()\,;:” cannot be used.

 Reference
For information about how to enter characters, see Gener- al Settings Guide.
CPress [OK].
DTo enter more destinations, re- peat steps A to C.
![]()
![]() Note
Note
r To deselect a destination, press [U Prev.] or [T Next] to
| display the destination in the |
7 | destination field, and then |
press the {Clear/Stop}key. |
rPressing the {Check Modes} key on the control panel lets you check the list of selected destinations.
Checking selected destinations
A Use the destination field at the top of the screen to check which destinations are select- ed.
![]()
![]() Note
Note
rWhen multiple destinations are selected, the selected des- tinations are displayed in the
order they were selected by pressing [UPrev.] or [TNext].
rPressing the {Check Modes} key on the control panel lets you check the list of selected destinations.
G Specify the sender (scan file de- livery source) if necessary.
To specify a sender, you can select the sender from the list, enter the
![]()
![]() Note
Note
rWhen a sender has been speci- fied, this information is added to the scan file. Select a sender from the senders programed in the delivery server.
When selecting a sender from the list
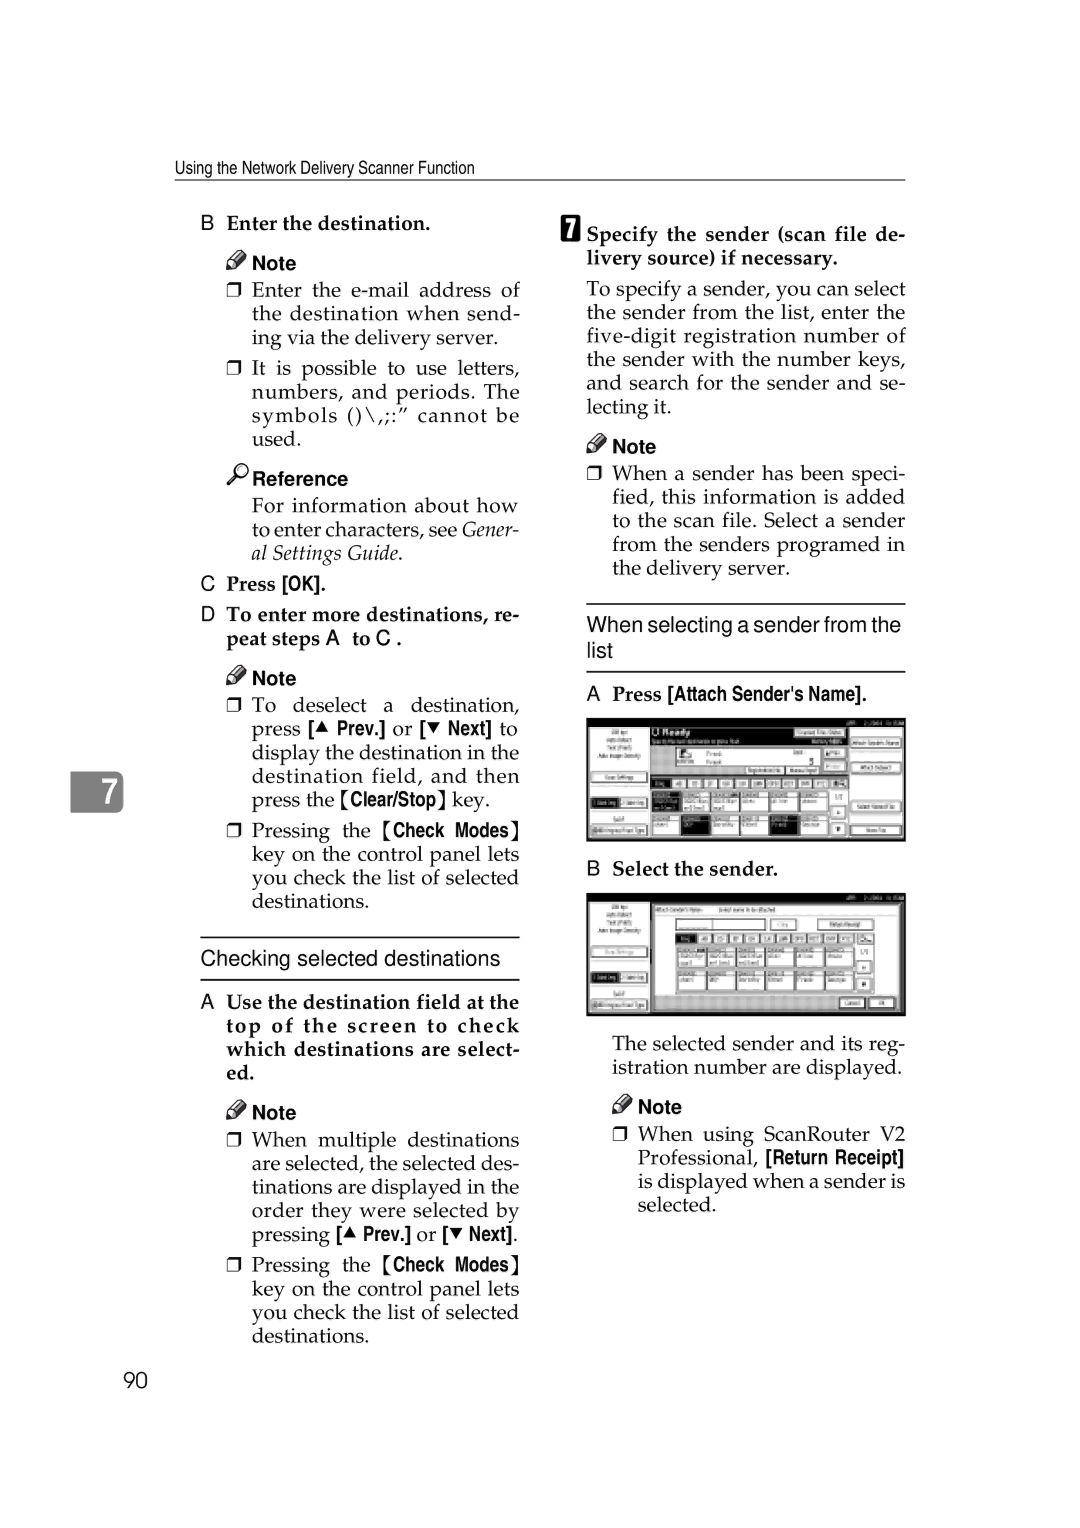
APress [Attach Sender's Name].
B Select the sender.
The selected sender and its reg- istration number are displayed.
![]()
![]() Note
Note
rWhen using ScanRouter V2 Professional, [Return Receipt] is displayed when a sender is selected.
90
