Using the Network Delivery Scanner Function
Network Delivery Scanner Screen
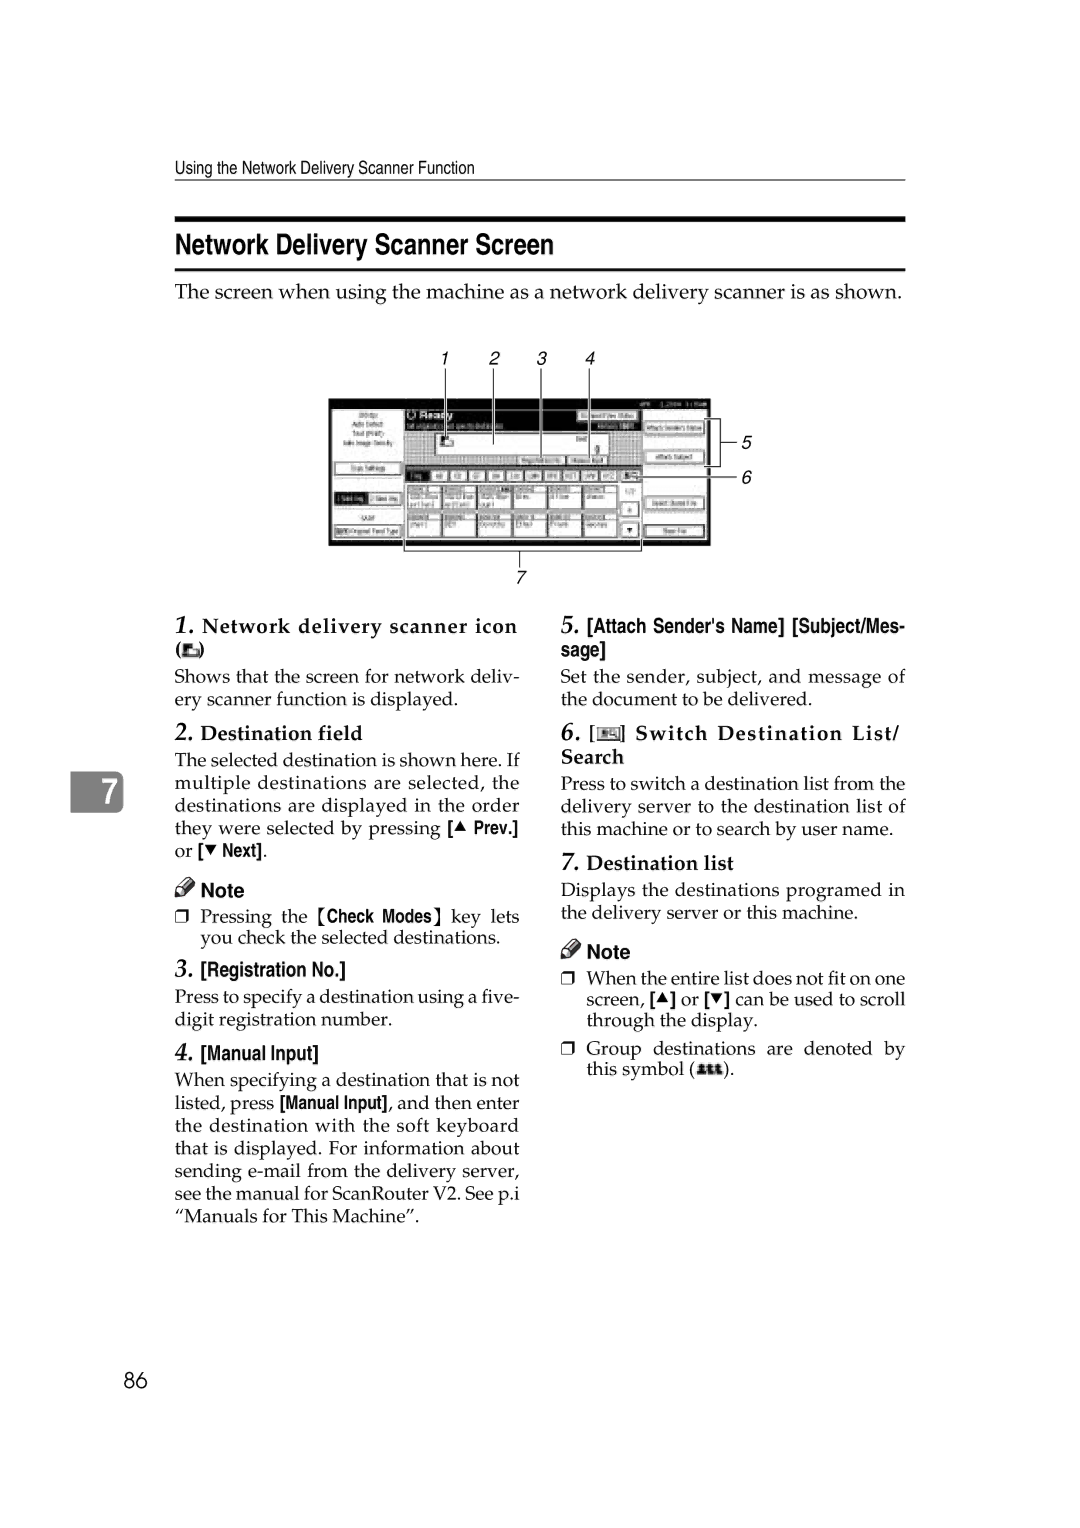
The screen when using the machine as a network delivery scanner is as shown.
1 | 2 | 3 | 4 |
5
6
7
1.Network delivery scanner icon ( )
)
Shows that the screen for network deliv- ery scanner function is displayed.
5.[Attach Sender's Name] [Subject/Mes- sage]
Set the sender, subject, and message of the document to be delivered.
2.Destination field
The selected destination is shown here. If
7 multiple destinations are selected, the destinations are displayed in the order they were selected by pressing [U Prev.] or [TNext].
![]()
![]() Note
Note
rPressing the {Check Modes} key lets you check the selected destinations.
3.[Registration No.]
Press to specify a destination using a five- digit registration number.
4.[Manual Input]
When specifying a destination that is not listed, press [Manual Input], and then enter the destination with the soft keyboard that is displayed. For information about sending
6.[ ] Switch Destination List/ Search
Press to switch a destination list from the delivery server to the destination list of this machine or to search by user name.
7.Destination list
Displays the destinations programed in the delivery server or this machine.
![]()
![]() Note
Note
rWhen the entire list does not fit on one screen, [U] or [T] can be used to scroll through the display.
rGroup destinations are denoted by this symbol (![]() ).
).
86