Removal and Replacement Procedures Drives
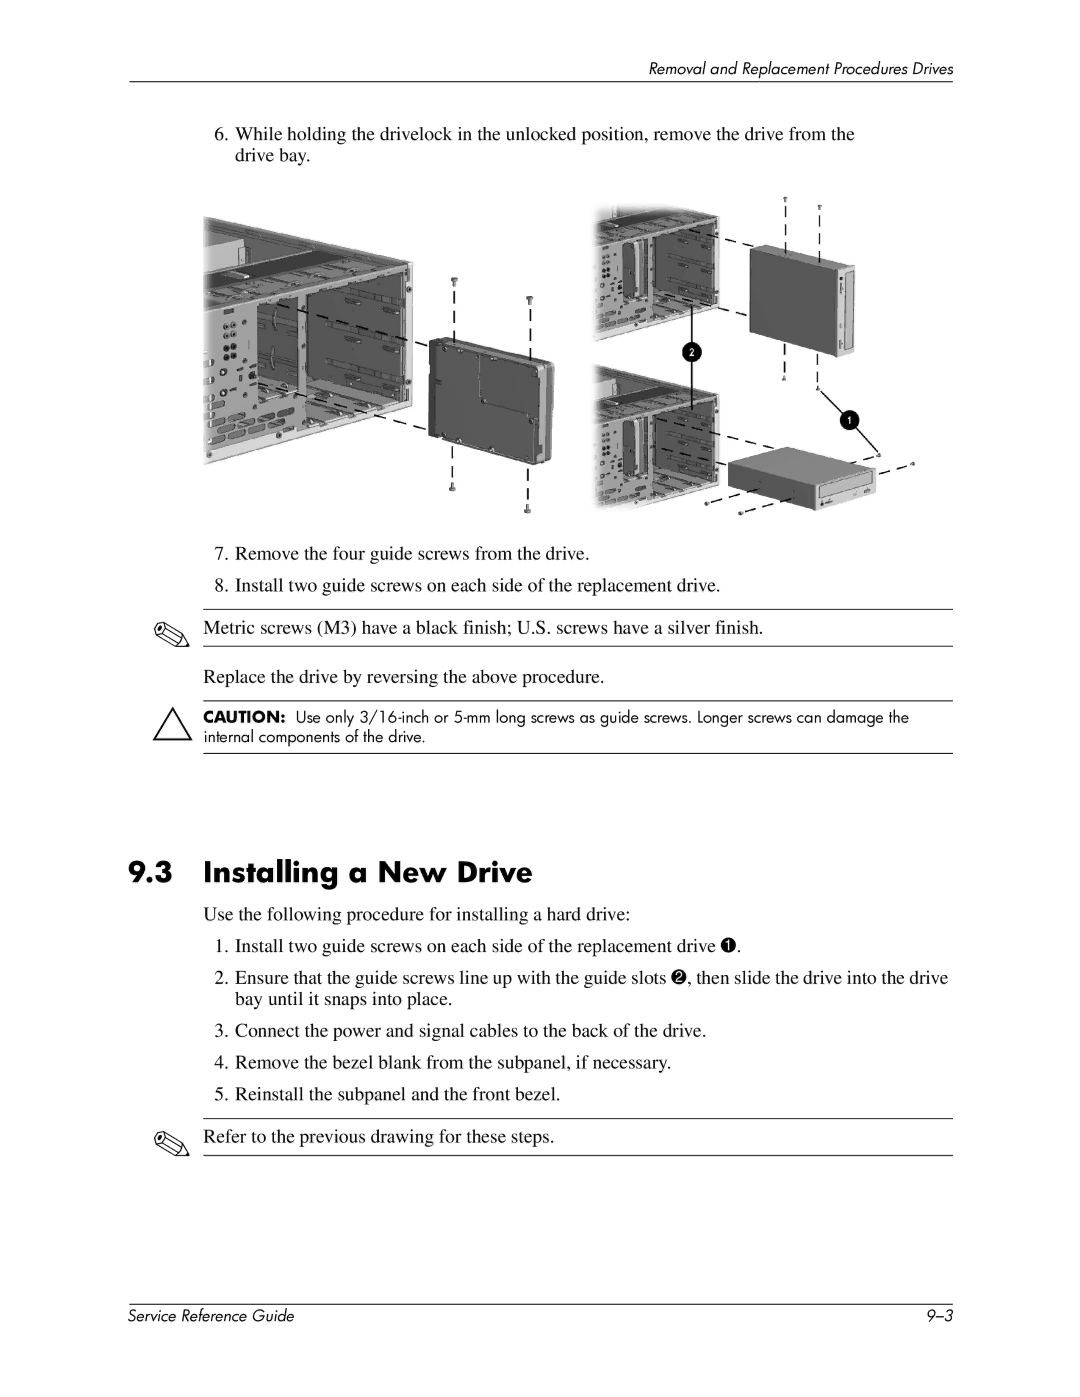
6.While holding the drivelock in the unlocked position, remove the drive from the drive bay.
7.Remove the four guide screws from the drive.
8.Install two guide screws on each side of the replacement drive.
✎Metric screws (M3) have a black finish; U.S. screws have a silver finish. Replace the drive by reversing the above procedure.
ÄCAUTION: Use only
9.3Installing a New Drive
Use the following procedure for installing a hard drive:
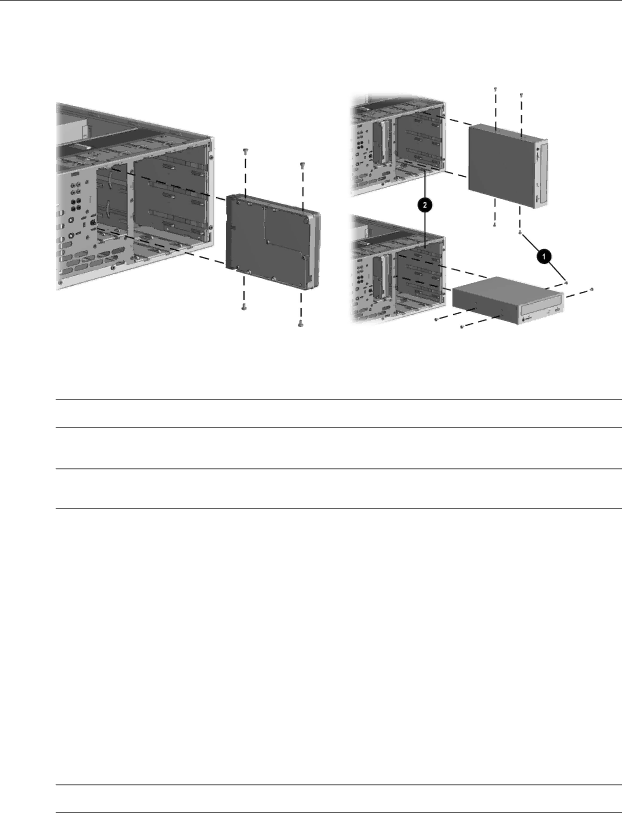
1.Install two guide screws on each side of the replacement drive 1.
2.Ensure that the guide screws line up with the guide slots 2, then slide the drive into the drive bay until it snaps into place.
3.Connect the power and signal cables to the back of the drive.
4.Remove the bezel blank from the subpanel, if necessary.
5.Reinstall the subpanel and the front bezel.
✎Refer to the previous drawing for these steps.
| Service Reference Guide |