Removal and Replacement Procedures System Board with Major Components
12.2.3Installing the Heatsink/Processor Assembly
1.Raise the socket locking lever into the vertical (fully open) position.
2.Place the processor into the processor socket.
3.While holding the processor in place with a finger, lower the locking lever into the down (horizontal) position. Install the processor and latch it securely in the socket. Ensure that the processor is flush to the top of the socket (fully seated). See section 11.1.2 in this chapter.
ÄCAUTION:
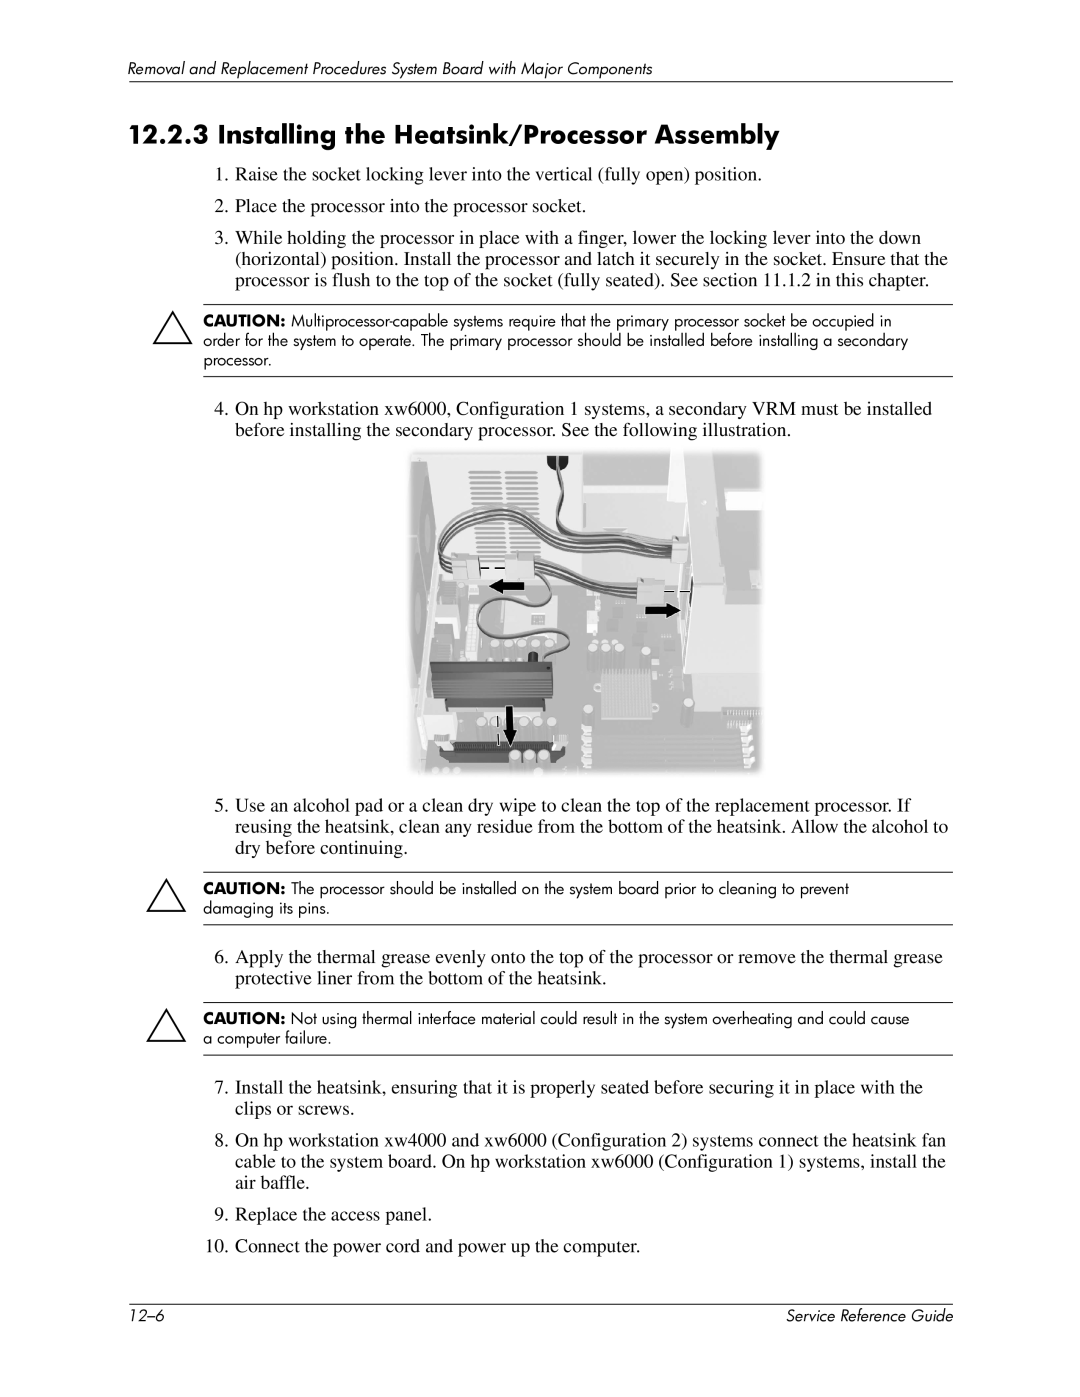
4.On hp workstation xw6000, Configuration 1 systems, a secondary VRM must be installed before installing the secondary processor. See the following illustration.
5.Use an alcohol pad or a clean dry wipe to clean the top of the replacement processor. If reusing the heatsink, clean any residue from the bottom of the heatsink. Allow the alcohol to dry before continuing.
ÄCAUTION: The processor should be installed on the system board prior to cleaning to prevent damaging its pins.
6.Apply the thermal grease evenly onto the top of the processor or remove the thermal grease protective liner from the bottom of the heatsink.
ÄCAUTION: Not using thermal interface material could result in the system overheating and could cause a computer failure.
7.Install the heatsink, ensuring that it is properly seated before securing it in place with the clips or screws.
8.On hp workstation xw4000 and xw6000 (Configuration 2) systems connect the heatsink fan cable to the system board. On hp workstation xw6000 (Configuration 1) systems, install the air baffle.
9.Replace the access panel.
10.Connect the power cord and power up the computer.
| Service Reference Guide |