3.4
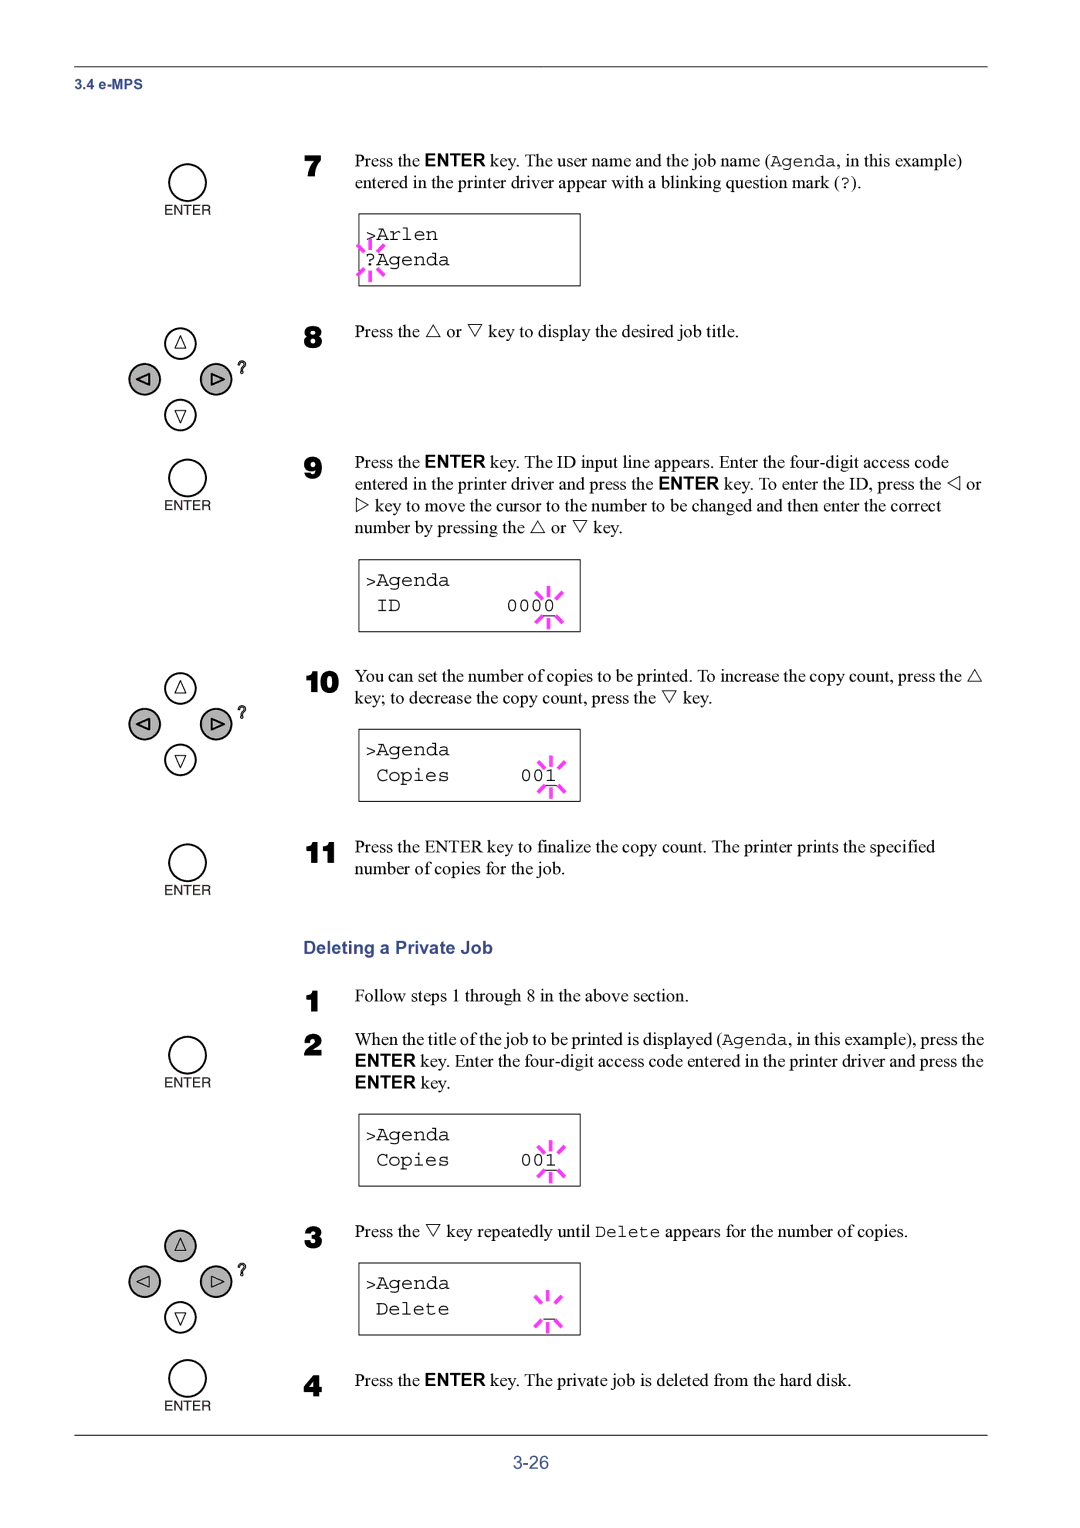
7 | Press the ENTER key. The user name and the job name (Agenda, in this example) |
| entered in the printer driver appear with a blinking question mark (?). |
8
9
>Arlen
?Agenda
Press the U or V key to display the desired job title.
Press the ENTER key. The ID input line appears. Enter the
Zkey to move the cursor to the number to be changed and then enter the correct number by pressing the U or V key.
|
| >Agenda |
|
|
|
|
| ID |
|
|
|
|
| 0000 |
| ||
|
|
|
|
|
|
10 | You can set the number of copies to be printed. To increase the copy count, press the U | ||||
| key; to decrease the copy count, press the V key. | ||||
|
|
|
|
|
|
|
| >Agenda |
|
|
|
|
| Copies |
|
|
|
|
| 001 |
| ||
|
|
|
|
|
|
|
|
|
|
|
|
11 | Press the ENTER key to finalize the copy count. The printer prints the specified | ||||
| number of copies for the job. | ||||
Deleting a Private Job
1
2
Follow steps 1 through 8 in the above section.
When the title of the job to be printed is displayed (Agenda, in this example), press the ENTER key. Enter the
>Agenda
Copies 001
3 Press the V key repeatedly until Delete appears for the number of copies.
>Agenda
Delete
4 Press the ENTER key. The private job is deleted from the hard disk.
