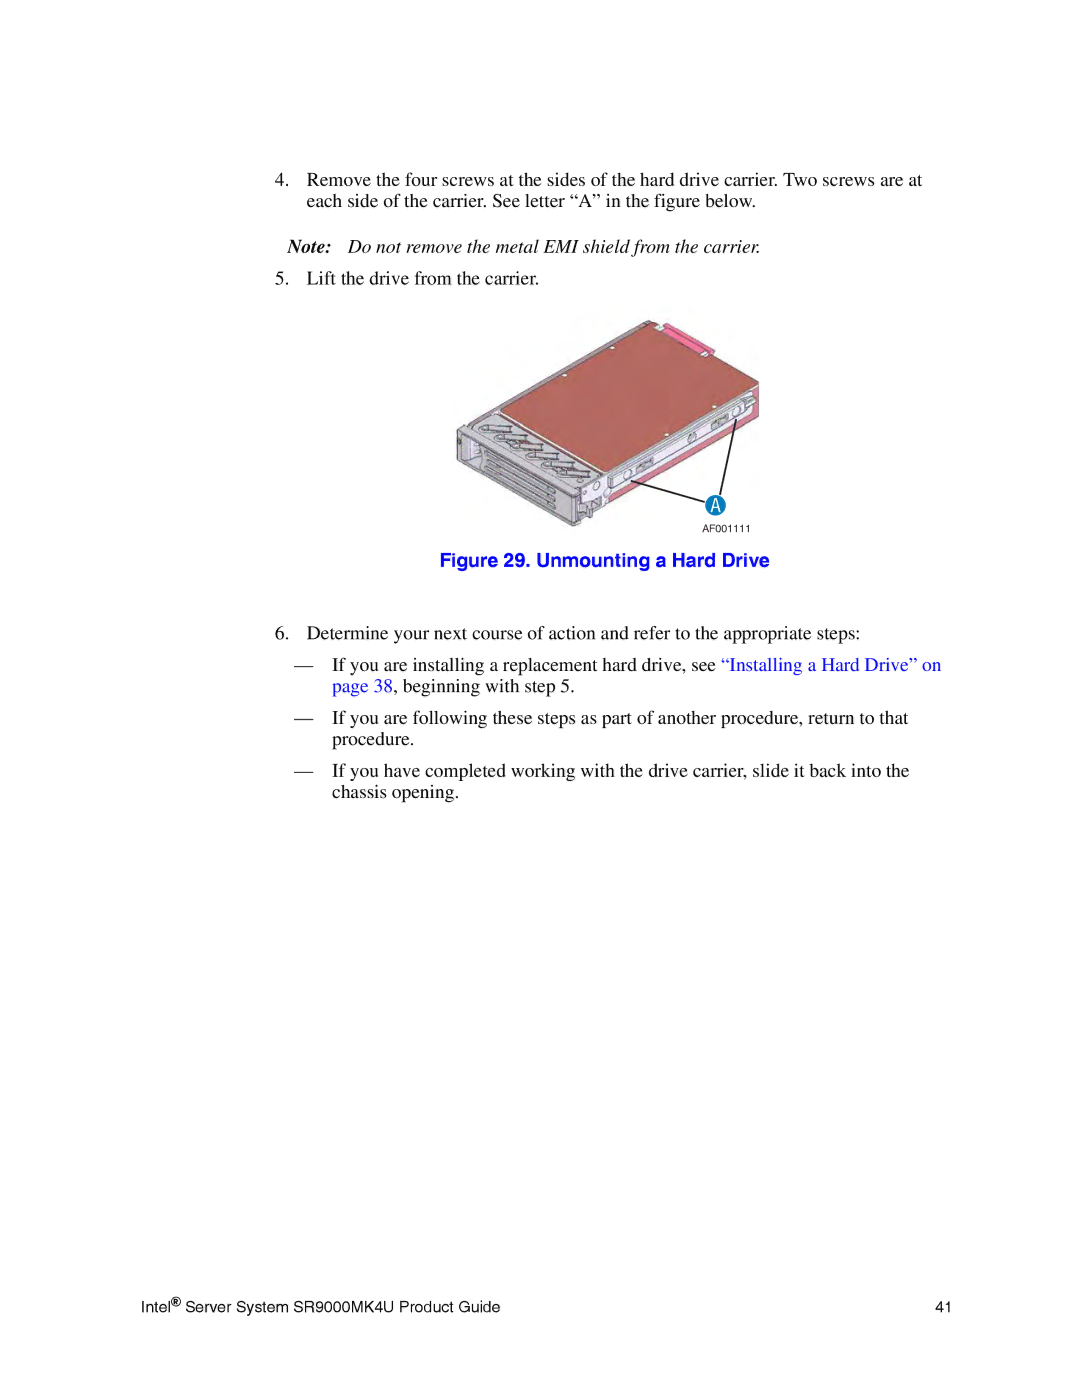
4.Remove the four screws at the sides of the hard drive carrier. Two screws are at each side of the carrier. See letter “A” in the figure below.
Note: Do not remove the metal EMI shield from the carrier.
5. Lift the drive from the carrier.
A
AF001111
Figure 29. Unmounting a Hard Drive
6.Determine your next course of action and refer to the appropriate steps:
—If you are installing a replacement hard drive, see “Installing a Hard Drive” on page 38, beginning with step 5.
—If you are following these steps as part of another procedure, return to that procedure.
—If you have completed working with the drive carrier, slide it back into the chassis opening.
Intel® Server System SR9000MK4U Product Guide | 41 |
