Installing the Mounting Plate
These instructions assume your server system is disassembled and you are replacing a mounting plate.
1.Hold the mounting plate by the front and back handles.
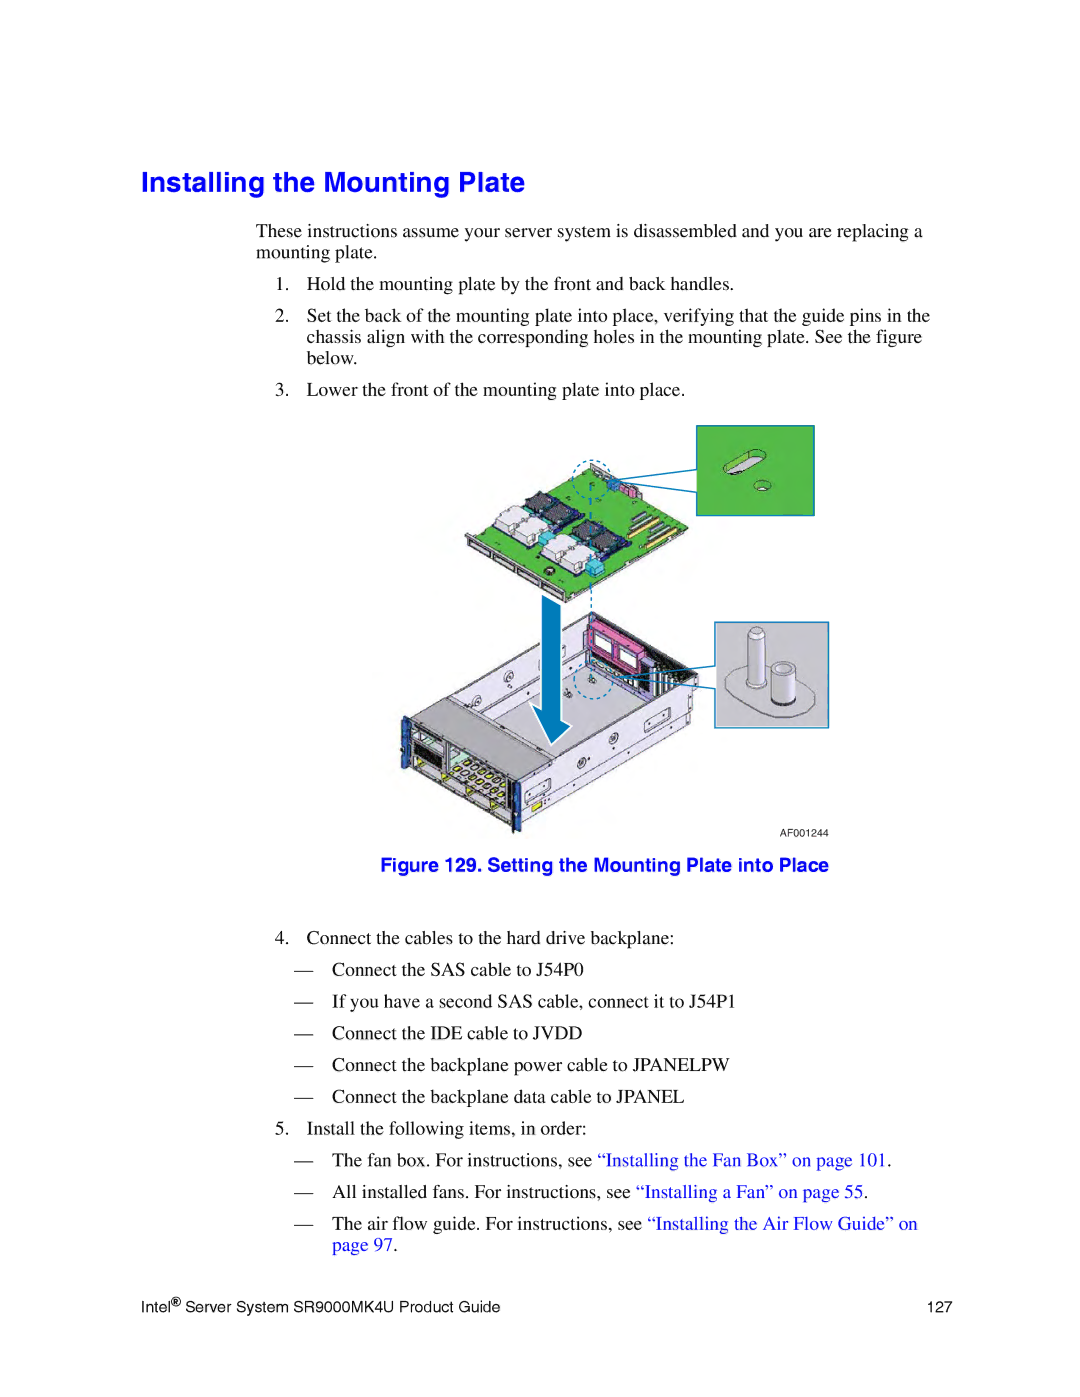
2.Set the back of the mounting plate into place, verifying that the guide pins in the chassis align with the corresponding holes in the mounting plate. See the figure below.
3.Lower the front of the mounting plate into place.
AF001244
Figure 129. Setting the Mounting Plate into Place
4.Connect the cables to the hard drive backplane:
—Connect the SAS cable to J54P0
—If you have a second SAS cable, connect it to J54P1
—Connect the IDE cable to JVDD
—Connect the backplane power cable to JPANELPW
—Connect the backplane data cable to JPANEL
5.Install the following items, in order:
—The fan box. For instructions, see “Installing the Fan Box” on page 101.
—All installed fans. For instructions, see “Installing a Fan” on page 55.
—The air flow guide. For instructions, see “Installing the Air Flow Guide” on page 97.
Intel® Server System SR9000MK4U Product Guide | 127 |