Remove these components, in order, before beginning the steps below.
The steps below do not guide you through reinstalling the components you are removing or disconnecting in this step sequence. These steps assume you are removing the KVM card to either replace it, or to access another component. After completing these steps, continue with the steps that directed you to this section, or follow the steps under “Installing the KVM Card” on page 90 to replace your KVM card.
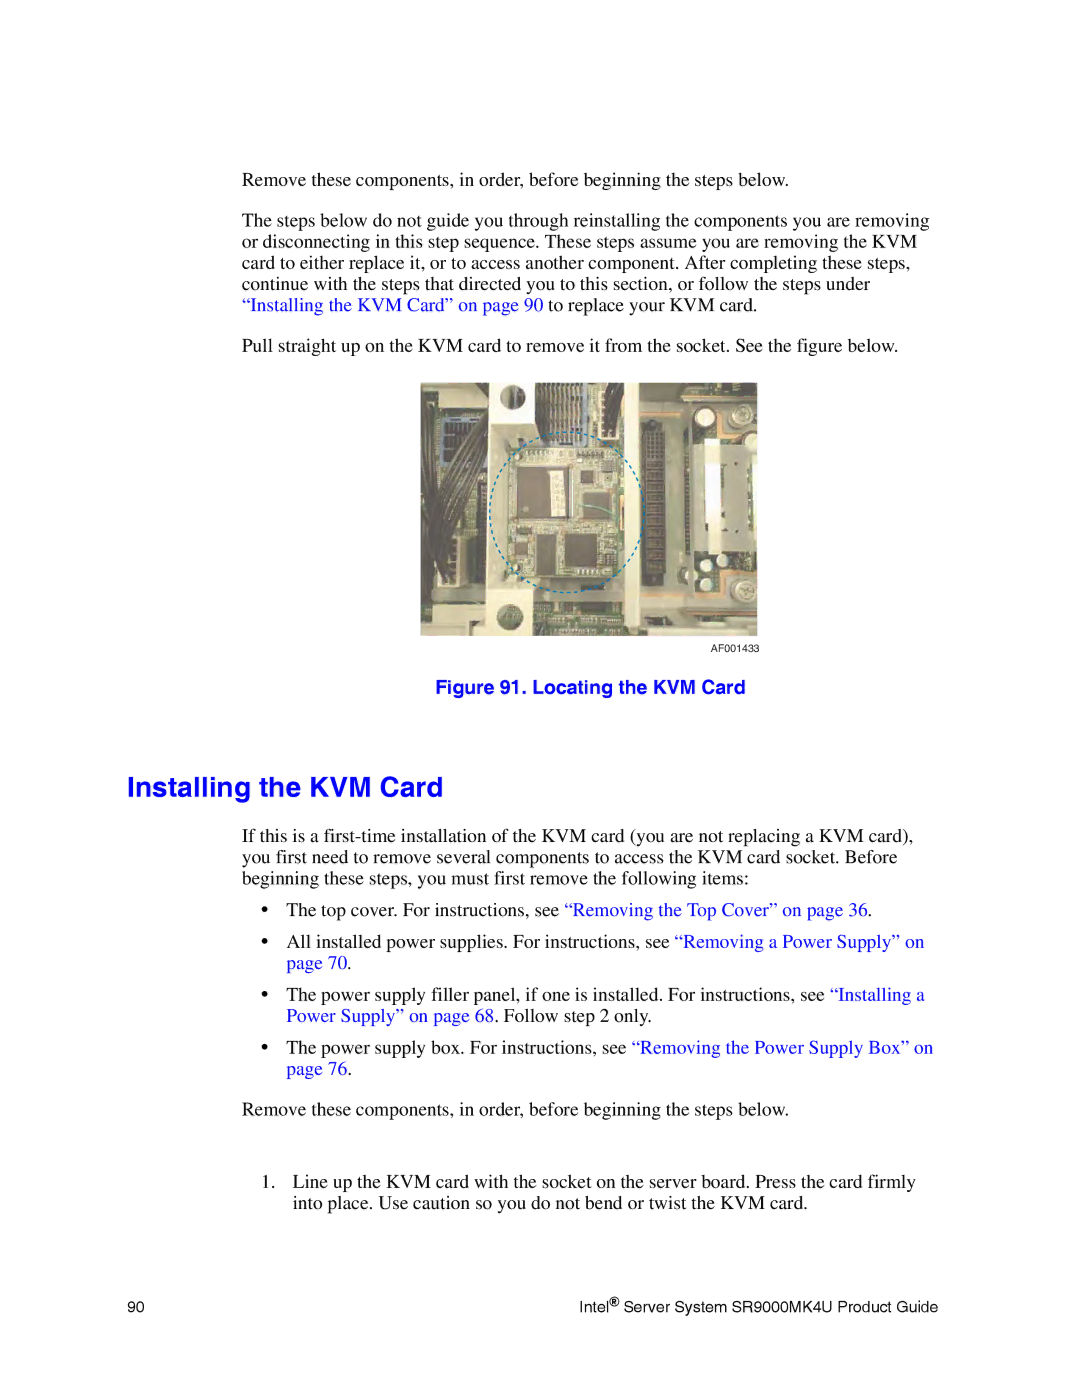
Pull straight up on the KVM card to remove it from the socket. See the figure below.
AF001433
Figure 91. Locating the KVM Card
Installing the KVM Card
If this is a
•The top cover. For instructions, see “Removing the Top Cover” on page 36.
•All installed power supplies. For instructions, see “Removing a Power Supply” on page 70.
•The power supply filler panel, if one is installed. For instructions, see “Installing a Power Supply” on page 68. Follow step 2 only.
•The power supply box. For instructions, see “Removing the Power Supply Box” on page 76.
Remove these components, in order, before beginning the steps below.
1.Line up the KVM card with the socket on the server board. Press the card firmly into place. Use caution so you do not bend or twist the KVM card.
90 | Intel® Server System SR9000MK4U Product Guide |