Installing and Removing an Optical Drive
Installing an Optical Drive
To perform this procedure, you will first need to remove the front bezel. The steps below will direct you to the instructions on removing the front bezel at the appropriate location in the step sequence.
Note: Before performing the procedures in this section, turn off the system and disconnect all power plugs.
1.Remove the front bezel. For instructions, see “Removing the Front Bezel” on page 34.
2.Locate the optical drive location at the left side of the system. See the following figure.
Figure 38. Locating the Optical Drive Installation Position
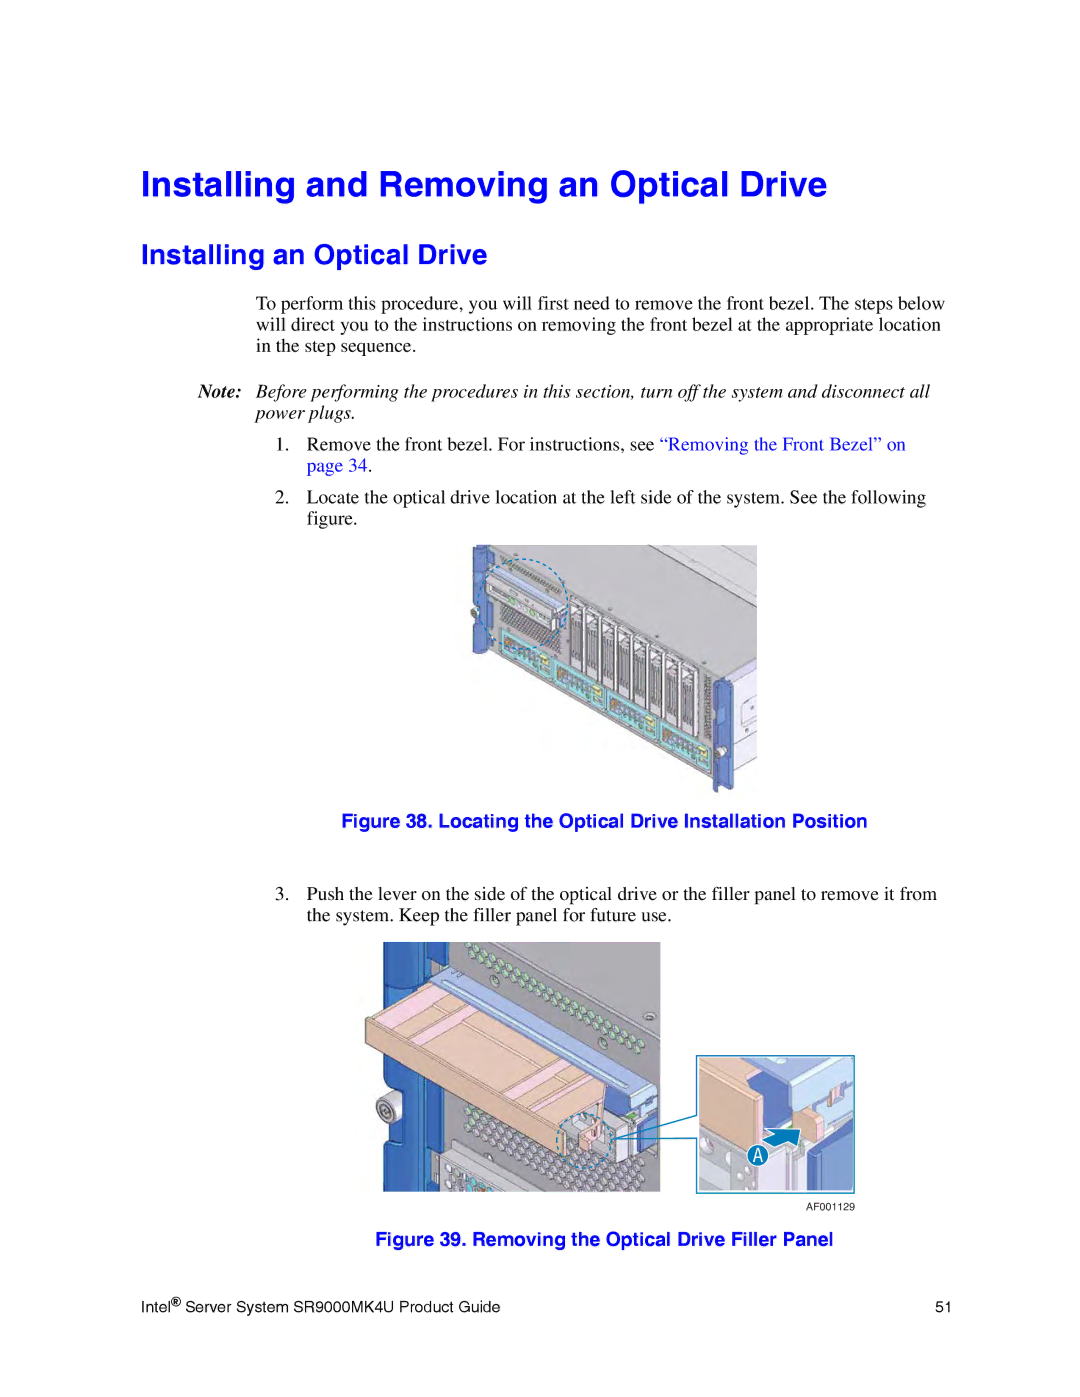
3.Push the lever on the side of the optical drive or the filler panel to remove it from the system. Keep the filler panel for future use.
A
AF001129
Figure 39. Removing the Optical Drive Filler Panel
Intel® Server System SR9000MK4U Product Guide | 51 |