GETTING STARTED
Configuring Polling Parameters
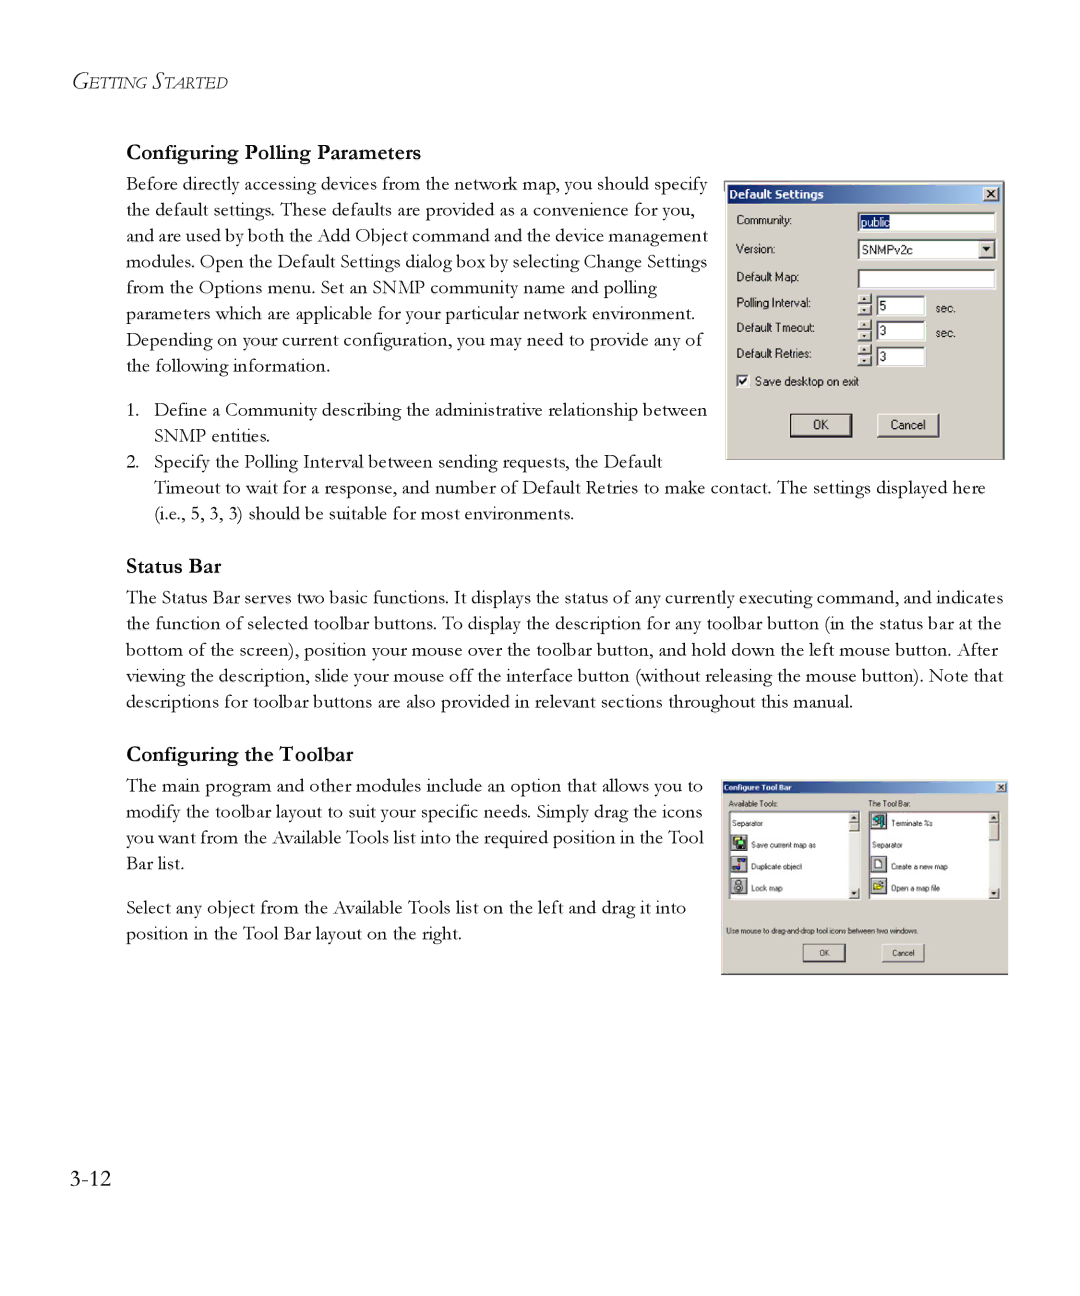
Before directly accessing devices from the network map, you should specify the default settings. These defaults are provided as a convenience for you, and are used by both the Add Object command and the device management modules. Open the Default Settings dialog box by selecting Change Settings from the Options menu. Set an SNMP community name and polling parameters which are applicable for your particular network environment. Depending on your current configuration, you may need to provide any of the following information.
1.Define a Community describing the administrative relationship between SNMP entities.
2.Specify the Polling Interval between sending requests, the Default
Timeout to wait for a response, and number of Default Retries to make contact. The settings displayed here (i.e., 5, 3, 3) should be suitable for most environments.
Status Bar
The Status Bar serves two basic functions. It displays the status of any currently executing command, and indicates the function of selected toolbar buttons. To display the description for any toolbar button (in the status bar at the bottom of the screen), position your mouse over the toolbar button, and hold down the left mouse button. After viewing the description, slide your mouse off the interface button (without releasing the mouse button). Note that descriptions for toolbar buttons are also provided in relevant sections throughout this manual.
Configuring the Toolbar
The main program and other modules include an option that allows you to modify the toolbar layout to suit your specific needs. Simply drag the icons you want from the Available Tools list into the required position in the Tool Bar list.
Select any object from the Available Tools list on the left and drag it into position in the Tool Bar layout on the right.
