SETTING ADDRESSES WITH THE BOOTP SERVER
Select an entry in the node list to display the Note and filename mapping for the selected node.
Each node in the BOOTP Server can have its own filename mapping list. This provides maximum flexibility for the network administrator. Default mapping is also provided, where in most cases
To exit the BOOTP server, click on the Exit button.
Adding and Modifying Node Information
The BOOTP Server starts with a single entry called DEFAULT. No file mapping is initially defined for this entry. To provide BOOTP service based on generic information, add the entries you require to the file map for the DEFAULT node. To service specific nodes, enter data for each node.
To add a new node:
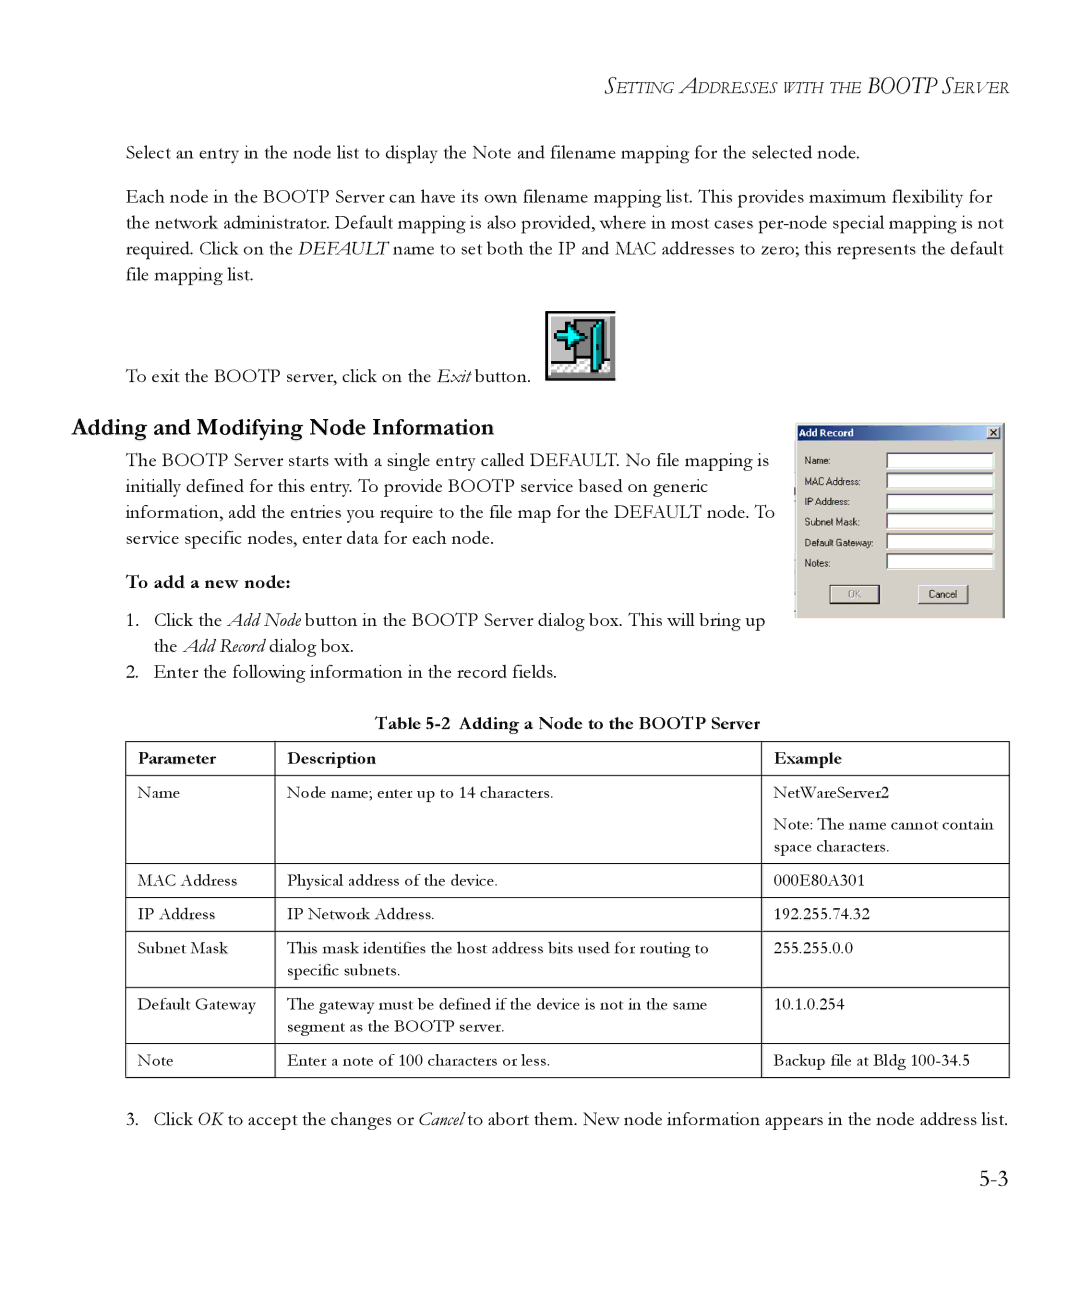
1.Click the Add Node button in the BOOTP Server dialog box. This will bring up the Add Record dialog box.
2.Enter the following information in the record fields.
Table 5-2 Adding a Node to the BOOTP Server
Parameter | Description | Example |
|
|
|
Name | Node name; enter up to 14 characters. | NetWareServer2 |
|
| Note: The name cannot contain |
|
| space characters. |
|
|
|
MAC Address | Physical address of the device. | 000E80A301 |
|
|
|
IP Address | IP Network Address. | 192.255.74.32 |
|
|
|
Subnet Mask | This mask identifies the host address bits used for routing to | 255.255.0.0 |
| specific subnets. |
|
|
|
|
Default Gateway | The gateway must be defined if the device is not in the same | 10.1.0.254 |
| segment as the BOOTP server. |
|
|
|
|
Note | Enter a note of 100 characters or less. | Backup file at Bldg |
|
|
|
3. Click OK to accept the changes or Cancel to abort them. New node information appears in the node address list.
