UPGRADING FIRMWARE VIA THE SERIAL PORT
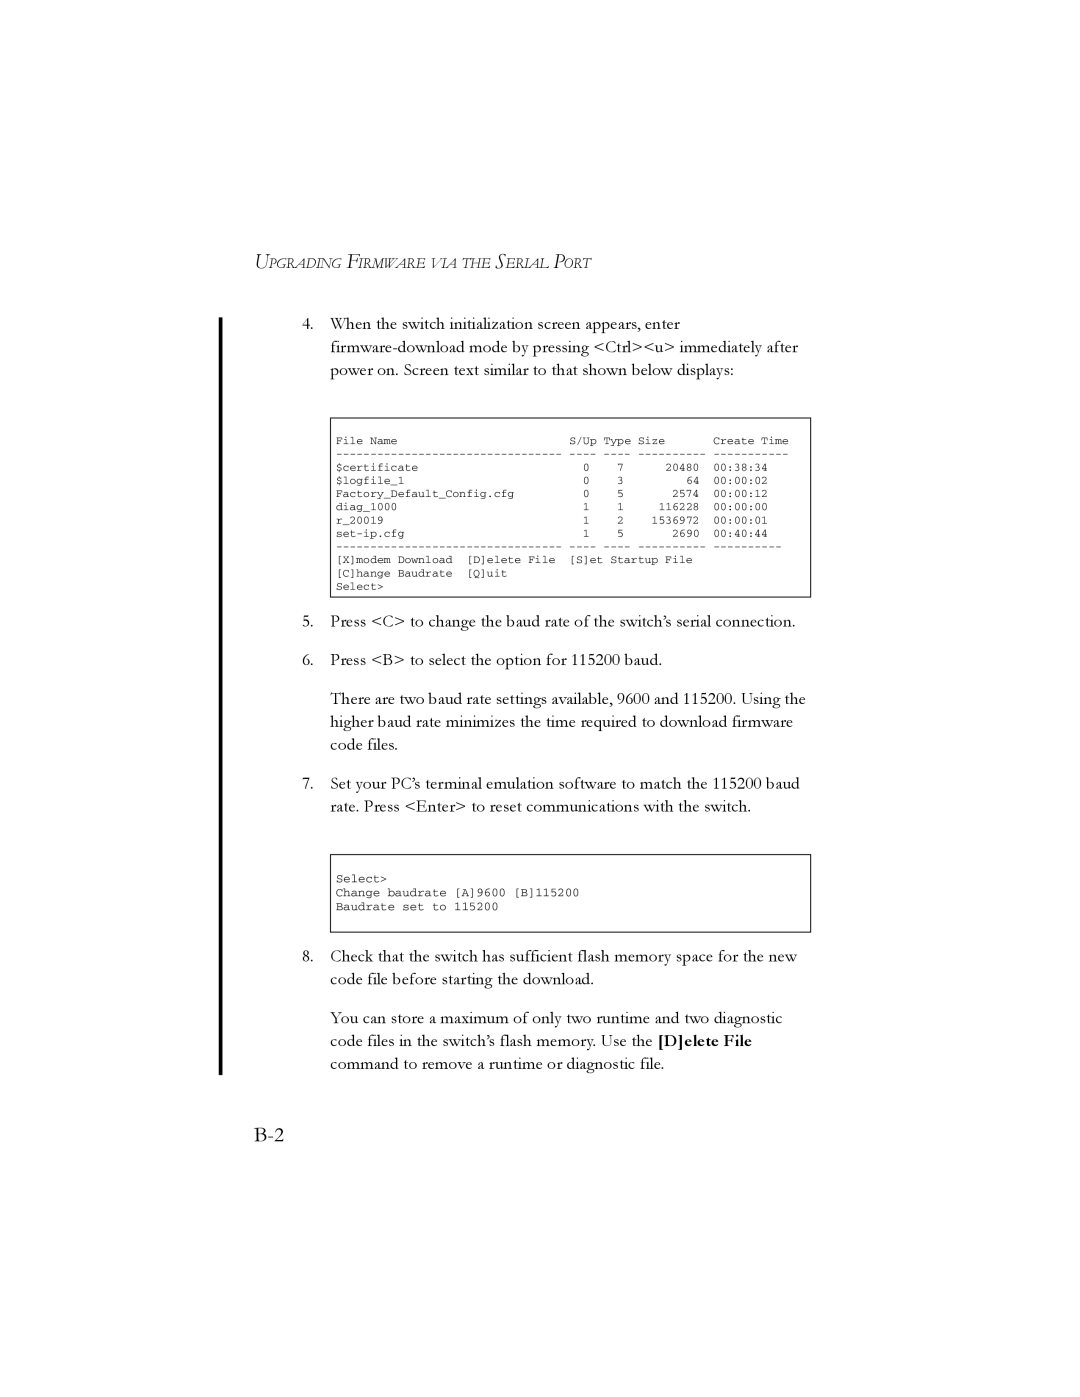
4.When the switch initialization screen appears, enter
File Name | S/Up Type Size | Create Time | ||
$certificate | 0 | 7 | 20480 | 00:38:34 |
$logfile_1 | 0 | 3 | 64 | 00:00:02 |
Factory_Default_Config.cfg | 0 | 5 | 2574 | 00:00:12 |
diag_1000 | 1 | 1 | 116228 | 00:00:00 |
r_20019 | 1 | 2 | 1536972 | 00:00:01 |
1 | 5 | 2690 | 00:40:44 | |
[X]modem Download [D]elete File [S]et Startup File [C]hange Baudrate [Q]uit
Select>
5.Press <C> to change the baud rate of the switch’s serial connection.
6.Press <B> to select the option for 115200 baud.
There are two baud rate settings available, 9600 and 115200. Using the higher baud rate minimizes the time required to download firmware code files.
7.Set your PC’s terminal emulation software to match the 115200 baud rate. Press <Enter> to reset communications with the switch.
Select>
Change baudrate [A]9600 [B]115200
Baudrate set to 115200
8.Check that the switch has sufficient flash memory space for the new code file before starting the download.
You can store a maximum of only two runtime and two diagnostic code files in the switch’s flash memory. Use the [D]elete File command to remove a runtime or diagnostic file.
