SYSTEM SETTINGS
Receive Settings
2 |
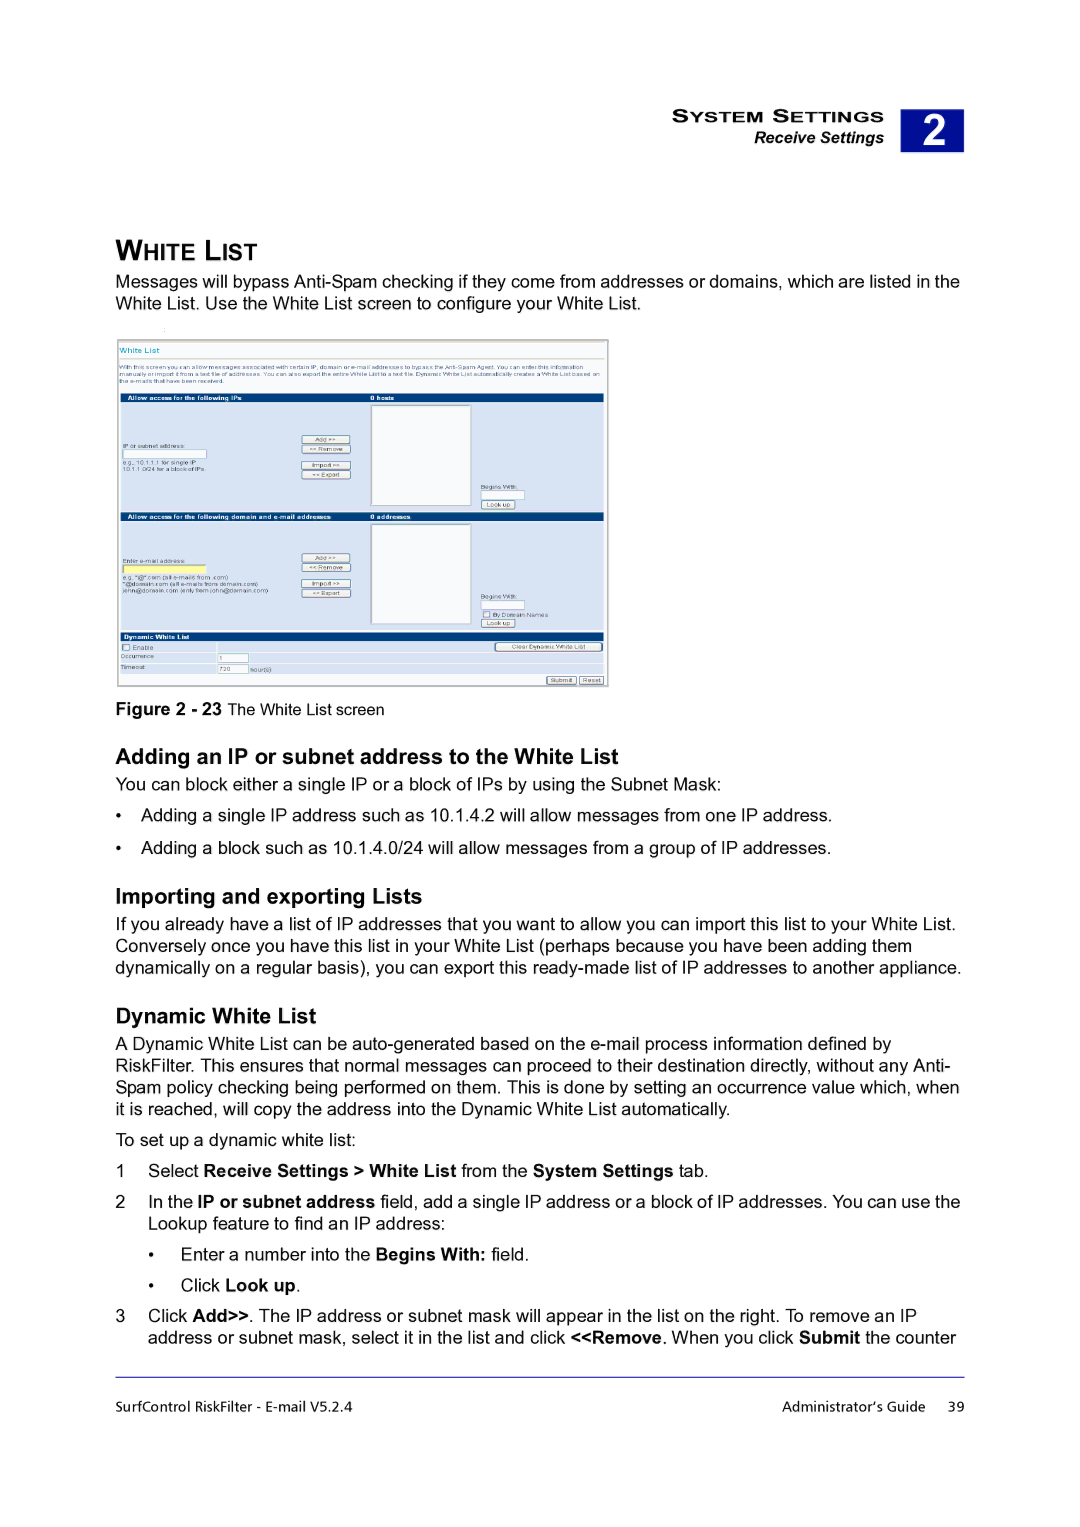
WHITE LIST
Messages will bypass
:
Figure 2 - 23 The White List screen
Adding an IP or subnet address to the White List
You can block either a single IP or a block of IPs by using the Subnet Mask:
•Adding a single IP address such as 10.1.4.2 will allow messages from one IP address.
•Adding a block such as 10.1.4.0/24 will allow messages from a group of IP addresses.
Importing and exporting Lists
If you already have a list of IP addresses that you want to allow you can import this list to your White List. Conversely once you have this list in your White List (perhaps because you have been adding them dynamically on a regular basis), you can export this
Dynamic White List
A Dynamic White List can be
To set up a dynamic white list:
1Select Receive Settings > White List from the System Settings tab.
2In the IP or subnet address field, add a single IP address or a block of IP addresses. You can use the Lookup feature to find an IP address:
•Enter a number into the Begins With: field.
•Click Look up.
3Click Add>>. The IP address or subnet mask will appear in the list on the right. To remove an IP address or subnet mask, select it in the list and click <<Remove. When you click Submit the counter
SurfControl RiskFilter - | Administrator’s Guide 39 |
