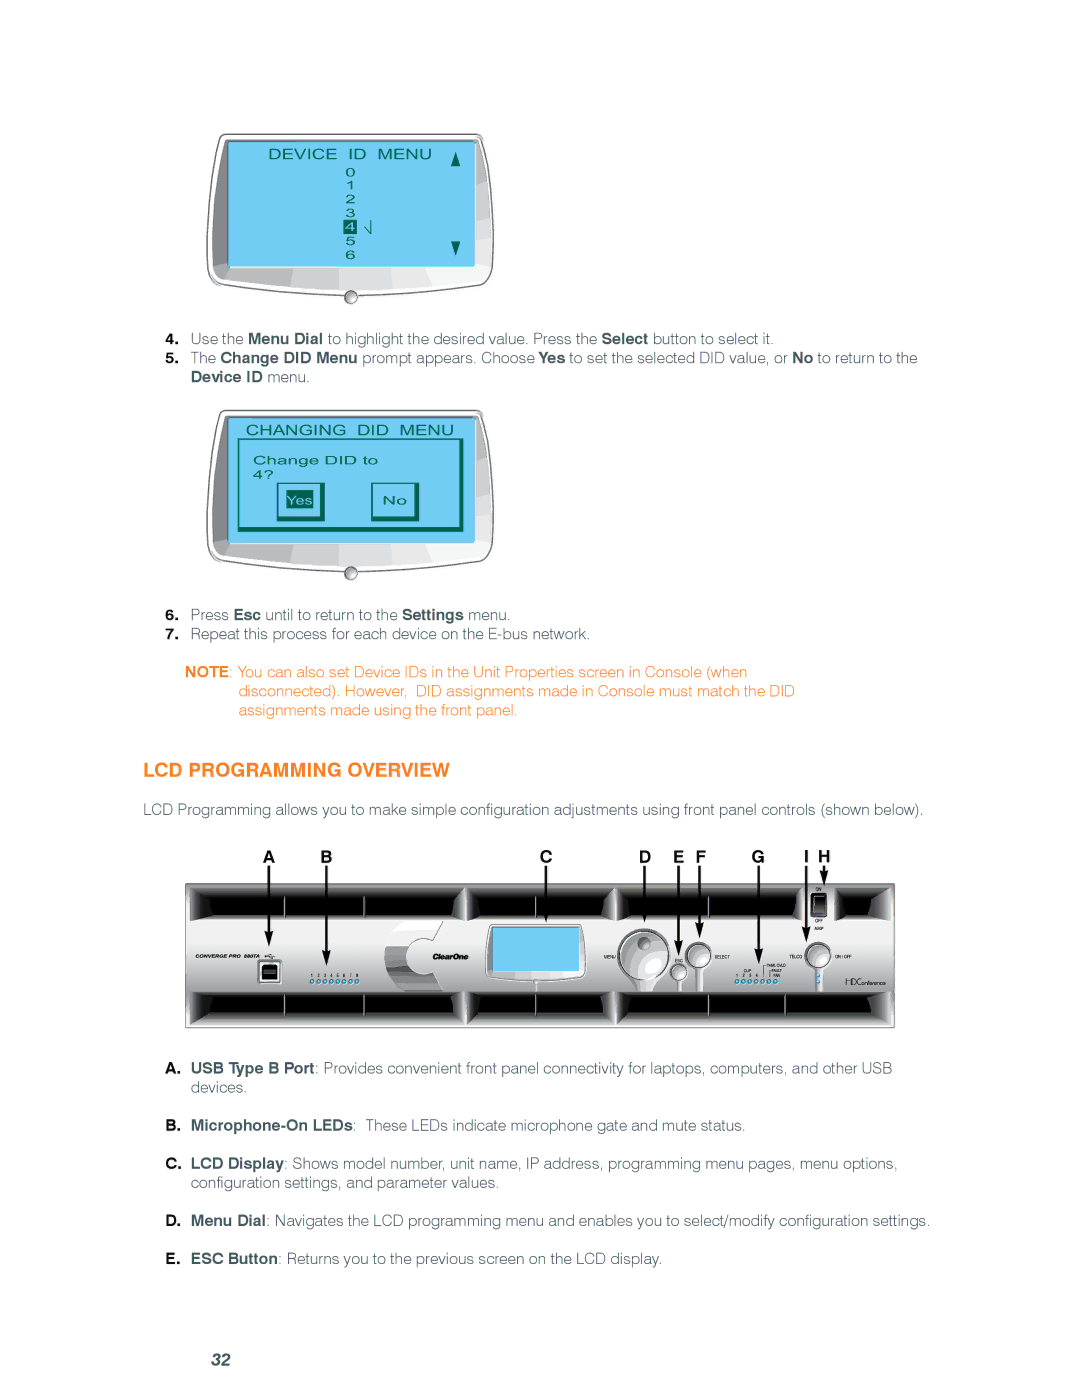
DEVICE ID MENU
0
1
2
3
4
5
6
4.Use the Menu Dial to highlight the desired value. Press the Select button to select it.
5.The Change DID Menu prompt appears. Choose Yes to set the selected DID value, or No to return to the Device ID menu.
CHANGING DID MENU
Change DID to 4?
Yes No
6.Press Esc until to return to the Settings menu.
7.Repeat this process for each device on the
NOTE: You can also set Device IDs in the Unit Properties screen in Console (when disconnected). However, DID assignments made in Console must match the DID assignments made using the front panel.
LCD Programming Overview
LCD Programming allows you to make simple configuration adjustments using front panel controls (shown below).
A |
| B |
|
|
| C | D | E F | G | I H | |
|
|
|
|
|
|
| MENU |
| ESC | SELECT |
|
|
|
|
|
|
|
|
|
|
|
| |
1 | 2 | 3 | 4 | 5 | 6 | 7 | 8 |
|
|
|
|
A.USB Type B Port: Provides convenient front panel connectivity for laptops, computers, and other USB devices.
B.
C.LCD Display: Shows model number, unit name, IP address, programming menu pages, menu options, configuration settings, and parameter values.
D.Menu Dial: Navigates the LCD programming menu and enables you to select/modify configuration settings.
E.ESC Button: Returns you to the previous screen on the LCD display.
32